Change Finder Windows View Style from the Command Line in Mac OS X
Jul 4, 2012 - 7 Comments
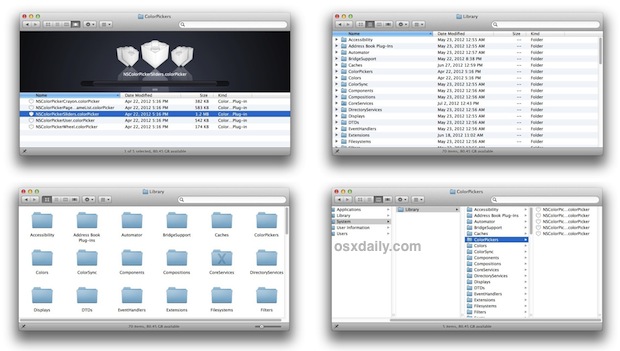
Unless it has been disabled, any Finder window in Mac OS X has the View option buttons in the windows toolbar. From left to right you can select icon view, list, columns, and coverflow. You may have noticed the window view style doesn’t always persist across Finder windows though, even if you selected “Always Open … Read More