Take a Timed Screen Shot in Mac OS X

You can take time delayed screenshots in Mac OS X easily by using the Grab utility or the Terminal app, included with every Mac OS X version.
We’ll cover taking timed screen shots in Grab first because it’s more user friendly and doesn’t involve the command line which is a bit more technical, and then demonstrate timing screenshots with the terminal approach second.
Both Grab app (called Screenshot app in later MacOS versions) and Terminal are bundled on all Macs in the /Applications/Utilities/ directory, find them there to get started, or launch it with Spotlight (Command+Space) or the Launchpad.
How to Take Timed Screen Shots with Grab on Mac
Open the Grab / Screenshot app if you haven’t done so yet. Once you’re in the app, do the following:
- Pull down the “Capture” menu and select “Timed Screen” or hit Command+Shift+Z to bring up the timed capture alert dialog that you see in the screenshot
- When you’re ready to start the screen shot timer, click on “Start Timer” and you’ll have 10 seconds to stage your screenshot before Grab snaps the entire screen

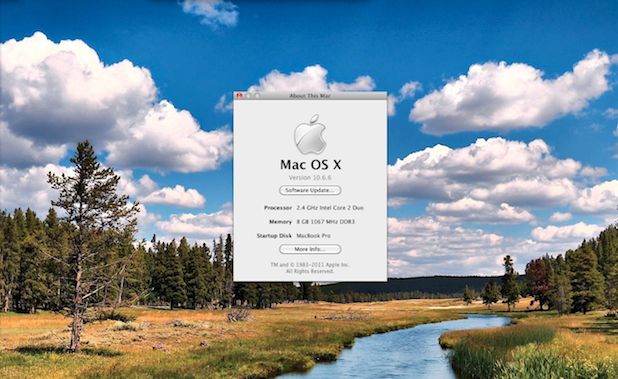
Easy enough, right? Here’s an example of a screen shot timed and taken with the Grab tool:

You’ll notice Grab won’t be visible in the screenshot, which is nice otherwise the app would be kind of useless as it’d include pictures of itself. Another great thing about the Grab app for taking screen shots in Mac OS X is that you can include the mouse pointer, which can be helpful for some situations.
Taking Time Delayed Screen Shots via Terminal in Mac OS X
If you’re inclined to travel the more technical road, you can also take time delayed screen shots from the Terminal using the screencapture command:
screencapture -T 10 osxdaily.jpg
You can adjust the time to anything in seconds, that example is for a 10 second delay. The filename follows, which will be created in your users home directory unless you specify otherwise. You can see some more screencapture options here.
![]()
You’ll notice I say screen shot, but those coming to the Mac from Windows often refer to this process as “Print Screen” thanks to the little button on their old PC keyboards. Unless you time the pressing of that button, timed screenshots are a feature of Mac OS X only. Also you might notice in that screenshot that I’m hiding my Mac OS X menu bar, this is achieved through a 3rd party utility called MenuEclipse.


how would I take screen shots every 30sec for 3months?
now i bet thats a tricky one and i’d love to know
You could use some variation of this:
while true; do screencapture screenshot.jpg; sleep 30; doneThat will repeat the screenshot every 30 seconds until you hit Control+C to stop it
To time it for three months and into a new file each time you’d probably want to make a simple bash or python script though and run that instead.
ya id be setting up a computer just to do this process.
this was a little something I did but only got 130 pics all manual and a pain in the arse. the next chance I have is next spring and i’d like to do a little better.
https://www.facebook.com/video.php?v=10154113599538065&set=vb.506018064&type=2&theater
I don’t know much about Mac, I quit that god awful Windows. So I don’t know much about the code. Is there any manuals to any of this type of stuff?
Yam
Both are useful in the instance where I needed to capture things like the app switcher menu which is not possible unless it’s timed.
[…] the Grab app found in /Applications/Utilities/ and you can take screen captures on a timer, letting you screenshot things that would otherwise be impossible, like some menu pulldowns, system […]
A timed screenshot was useful while I wanted to capture the event of Drag-and-Drop in the state of dragging.
[…] that you have selected a cursor, your best bet is to take a timed screen shot, which can be done through the Grab applications ‘Capture’ menu. Voila, your new screen […]
[…] approach is to take a timed screen shot using Grab or the command line, but the “test” method is usually […]
[…] timed screen shot feature was previously limited to the Terminal or Grab, but it’s pretty handy to have directly in […]
[…] a Screenshot on a Timer One of the better features of the Grab utility is that it lets you take screenshots on a timer, so you can setup an app or situation on the screen and capture things like alert boxes, menus, […]
Just because you personally don’t use it, doesn’t mean a delayed snapshot isn’t useful. Control your digital narcissism!
Sorry, it is:
Command+Shift+4 – and then space bar > click on the window of which you want a screenshot……
I agree with Ian.
I never use Grab – And I don’t see the utility of a timer, but probably there are some (?)
Command+Shift+3 > Full Screen
Command+Shift+ 4 > Select what you want dragging a rectangle around
Command+Shift+3 – and then space bar > click on the window of which you want a screenshot……
Alberto, of course there is a need for a timer:
Sometimes you need to take a snapshot of a pull down menu… there is no other way…
I guess I don’t see the purpose of this when you can just hit Command+Shift+3 and take a screenshot at any time in any situation.