How to Use Reduce Motion on Mac to Disable Most Animations
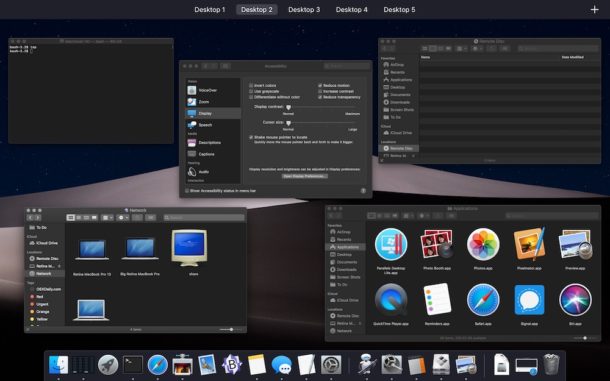
The Mac has many visual animations that draw on screen as you perform various actions throughout the operating system, whether it’s the zooming in and out of opening Mission Control, or sliding between desktops in Spaces, amongst others. These provide for some enjoyable visual eye candy, but some users may find the animations cause motion sickness, or serve as unnecessary glitz.
If you want to disable animations in Mac OS, you can toggle a setting called Reduce Motion that greatly diminishes the interface animations on the Mac.
How to Disable Most Mac Animations with Reduce Motion
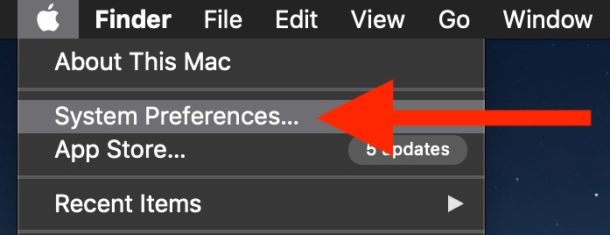
- Pull down the Apple menu and choose ‘System Preferences’
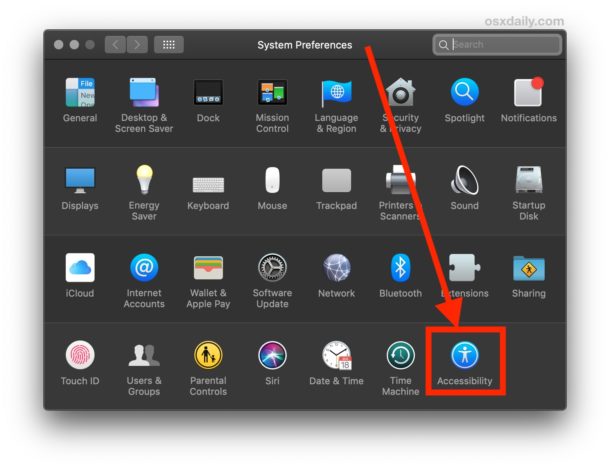
- Choose “Accessibility” from the preference panels
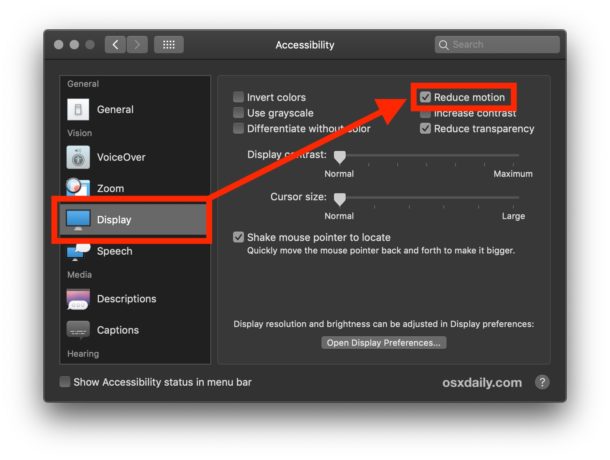
- Select the “Display” option from the left side menu of Accessibility options
- Locate and check the box for “Reduce Motion” to disable most animations in Mac OS
Opening and closing Mission Control is one of the most notable examples of where Reduce Motion has a big impact, transforming the moving window animations into a simple fade in and fade out transition effect.
Likewise, switching between desktop spaces will no longer slide a desktop on and off the screen, instead it will be a fading animation.
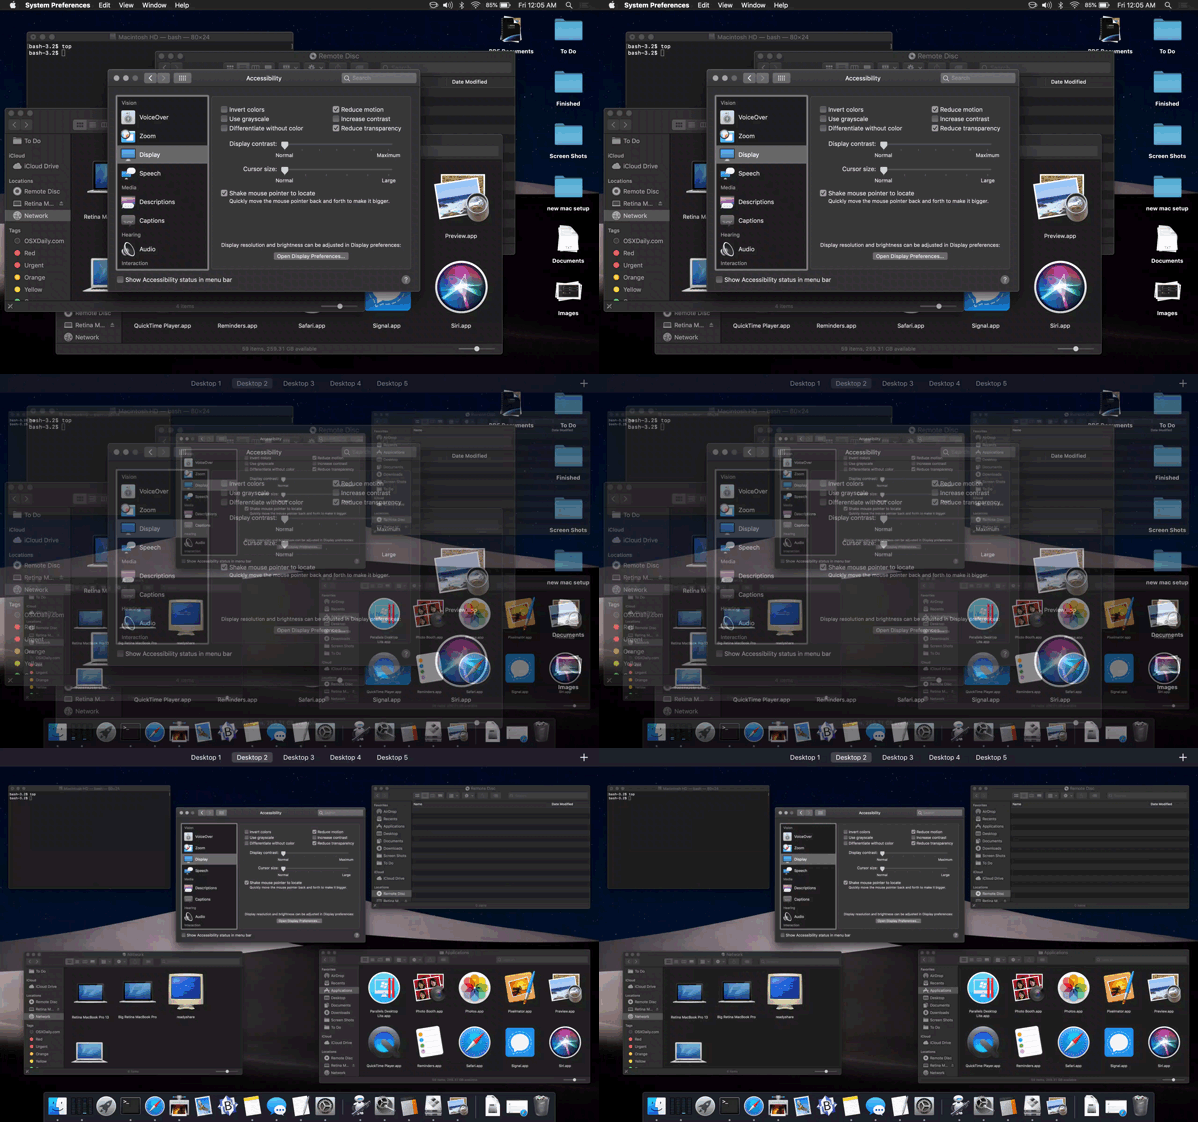
The animated gif attempts to demonstrate this animation reduction in Mission Control, though ultimately if you want to see it yourself you should just enable the Reduce Motion setting and see it.
Some animations persist even with this feature enabled, for example the Mac App Store still zips and slides around from all angles regardless of how Reduce Motion is set. But, using Reduce Motion on the Mac will turn off video auto-play in the Mac App Store.
While some Mac users may turn on Reduce Motion to stop the animations from displaying for various reasons, another sometimes desirable side effect of using Reduce Motion is that it can speed up some Macs (or at least the perception of speed). Likewise, using Reduce Motion in the Photos app for Mac too can speed up the Photos app. If you’re aiming for performance improvements, disabling interface transparency on the Mac can also be desirable, since it reduces the resource requirements to render various windows and interface elements.
While this obviously is focused on the Mac, if you have an iPhone or ipAd you can also disable animations in iOS by using the Reduce Motion setting on iPhone and iPad, which has a similar result of turning many animations into a nice and fast fading transition effect instead.


thanks!
Sweet! This made the horrible animations in Xcode go away :D
Thanks! Never thought of that. A bonus is that iStat Pro in Dashboard is instantly available. No waiting for it to load graphically.