How to Get Bokeh Light Effects with the iPhone Camera
![]() Bokeh is a photography effect that creates strong light blurs on any out of focus light, frequently rendered as circular blurry elements where a point of light is visible in the image. You’ll see it often in professional photography as well as more abstract artistically oriented photography, and it can help to create a depth of field and also add some very unique character to photos. But bokeh isn’t just for professionals with expensive lenses and DSLR cameras, you can get that same effect shooting with an iPhone as well. We’ll cover two easy ways to do it, one uses nothing but your iPhone, and the second uses the excellent third party lens attachment known as Olloclip.
Bokeh is a photography effect that creates strong light blurs on any out of focus light, frequently rendered as circular blurry elements where a point of light is visible in the image. You’ll see it often in professional photography as well as more abstract artistically oriented photography, and it can help to create a depth of field and also add some very unique character to photos. But bokeh isn’t just for professionals with expensive lenses and DSLR cameras, you can get that same effect shooting with an iPhone as well. We’ll cover two easy ways to do it, one uses nothing but your iPhone, and the second uses the excellent third party lens attachment known as Olloclip.
For the purposes here, we’re going to focus on casting a strong abstract bokeh effect on everything in an image that is shot with the iPhone, rather than just the background elements as you’d commonly find in macro photography and portraits.
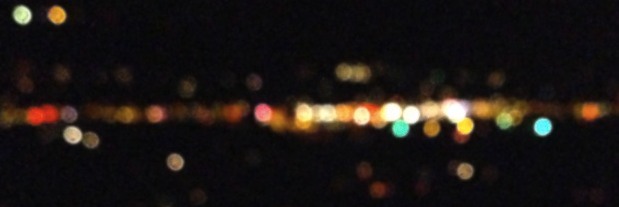
For those who are uncertain as to what a bokeh effect looks like, this image demonstrates the bokeh camera effect as shot with an iPhone. Notice the defining elements of the image are unclear as the picture is blurred and instead any light or focus of the image is captured as elusive blurry circle elements, which is the quintessential “bokeh” effect.
Enough with the discussion, let’s demonstrate how to easily capture photos with the bokeh effect using your iPhone camera!
Create Bokeh on the iPhone with Focus Lock
The simplest way to create bokeh effect on all lit elements of a picture are to utilize the iPhone cameras software focus lock feature. Keeping in mind that focus lock is also exposure lock – you can’t separate the two with the standard iOS camera, yet at least – you’ll want to focus lock on something that is roughly the same exposure, particularly when shooting in daylight. For shooting night photos, the exposure lock is less important, though the depth of field remains crucial.
Shoot Bokeh in Daylight
Shooting bokeh in the daylight can take some trial and error to get down, but it’s not particularly complicated once you try a few times. The gist of it is to lock onto something very close as if you were taking a macro photo, but then turn arrange the camera to shoot the subject instead, creating the bokeh:
- Launch the Camera app
- Find a close object of approximately the same exposure (brightness) as the subject you wish to shoot with bokeh
- Place the iPhone camera roughly 3-8″ away from that object and tap and hold on the screen to focus lock on that object, you will know it’s active when “AE/AF Lock” appears on screen
- With Focus Lock on, aim at the subject and take the picture to capture the bokeh effect
With the focus lock trick in daylight, it generally works best to have HDR photos enabled, because it’s often the HDR photo and not the standard image that has the most accurate reproduction of colors while still maintaining the strong bokeh blur that was desired.
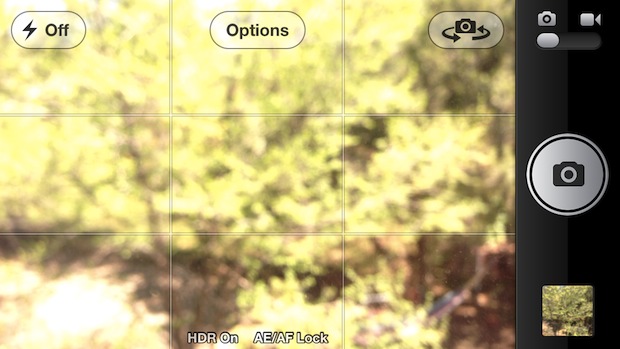
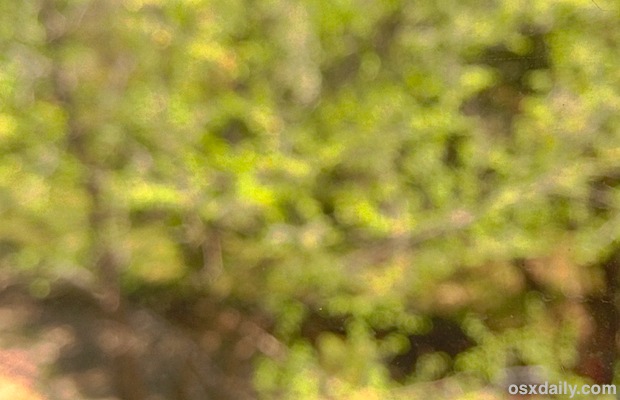
The example images below demonstrate this trick while shooting a tree in directly sunlight. You’ll notice the initial exposure isn’t that great, it’s the HDR photo that captures the full bokeh effect we’re aiming for here with better color reproduction.
Initial default exposure with bokeh but overexposed:
The better HDR photo with strong bokeh:
It may take you a few times to get it down, but it’s very easy once you figure out the proper exposure for the subject. I’m not much of a photographer but get creative and you’ll almost certainly create better pictures than the samples shown here.
Capturing Bokeh at Night & with Dark Lighting
Shooting bokeh on the iPhone is a lot easier at night or in dark lighting, and it’s great for capturing city lights or night scenes in an abstract way. The basics are similar to getting bokeh in daylight, though the HDR aspect is less significant:
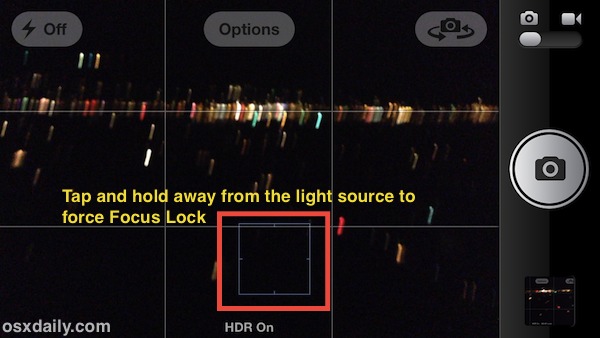
- Open Camera app and tap-and-hold for Focus Lock onto any object away from the lighting source you want to shoot
- With Focus Lock enabled, aim at your subject and shoot the picture while holding fairly steady – do note the bokeh will compensate for some jitteriness of the lens
We’ll review some user submitted photos for this one (thanks Elizabeth!), which demonstrates the bokeh effect at night when taking a picture of a distant street from a rooftop. Here’s the initial exposure, notice the screenshot is blurred because the iPhone isn’t that great at taking night photos – but we’ll use that to our advantage here – the focus lock is being set on a random dark area of the screen:
Here’s the final shot of that same road, with a good bokeh blur captured in the image:
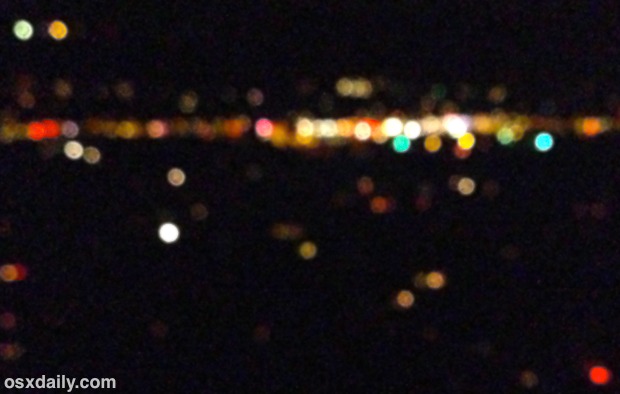
I takes advantage of the iPhones inability to shoot great photos at night, and instead you end up with a pretty nice bokeh effect.
The focus locking technique tends to work best in low lighting situations, particularly at night.
Thanks to Elizabeth for providing the tip idea and night picture
Capturing Strong Bokeh Effects with an iPhone & Olloclip
If the focus lock bokeh trick isn’t enough for you and you want more professional quality pictures, you’ll need to step it up and get a third party lens for the iPhone. The Olloclip is our lens of choice for this purpose, it includes three lenses: a macro lens, a wide-angle lens, and a fish eye lens. For the purposes of creating very strong bokeh, you’ll want to use the macro lens.
If interested, you can get an Olloclip detachable lens from Amazon![]() at a fairly sizable discount.
at a fairly sizable discount.
- Attach the Olloclip onto the iPhone camera with the macro lens
- Point at any far away, well-lit object to immediately see very strong bokeh and take the picture
With the Olloclip trick, you don’t even need to focus or anything, because the macro lens and it’s focal length force everything to blur that’s at a distance.
Here’s a shot of a tree with the Olloclip macro lens attached, the strong bokeh is very obvious:
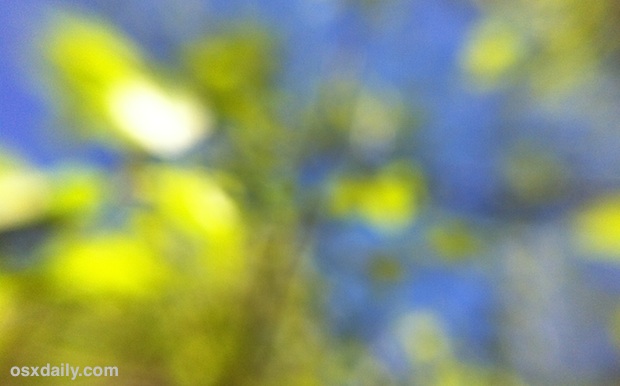
I’m not much of a photographer but the Instagram blog shows us this bokeh photo taken with an Olloclip, demonstrating the before and after of shooting christmas lights to get the effect:
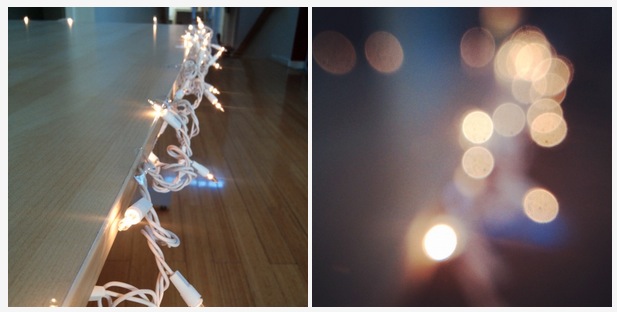
Got any other tips for shooting bokeh with an iPhone? Let us know in the comments. Have fun, experiment, and enjoy your iPhone photography!


Thank you for the tutorial, loved it
I’m trying to get this to work, but when I hit the Macro button, it zooms in and cuts off the top and bottom of my tree. Is there any way to keep it from doing that?
-Steve
Works well using camera+ app in macro, lock focus on a subject about 4″ from phone, with background lights. You can manually adjust exposure to get the best exposure for subject and bokeh affect in background.
Super Refocus is really good tool https://itunes.apple.com/us/app/super-refocus-add-focus-depth/id1016794110?mt=12
Enter Super Refocus, a Mac photo enhancement app which does the unthinkable. It adds focus or blur after you take the photo. For me, I just shoot– iPhone or DSLR– and autofocus does a good job of keeping everything in focus. Super Refocus applies focus or blur exactly where you want within the photo.
You should definitely check out tadaa.
It’s blur creates the most beautiful bokeh!
The “TaDaa” app can do this too and it has a little paint feature to paint on the effects. Snapseed maybe too? Both are free in either case.