How to Change the MacOS High Sierra System Font to Lucida Grande

Do you wish you had Lucida Grande as the system font in macOS High Sierra? Wish no more, it’s possible to easily change the system font away from San Francisco and to the fan favorite Lucida Grande again in macOS 10.13.
Some of you are probably confused so let’s cover some quick background; Some Mac users may prefer the older Lucida Grande system font that existed on Mac OS for many years prior to the introduction of Yosemite, where it was changed to Helvetica Neue, and then again in El Capitan and onward where the system font changed again to San Francisco. The difference between the system fonts is subtle but noticeable in overall spacing and thickness, and some users may prefer one to the other. If you’re one of us who enjoys the easy-on-the-eyes Lucida Grande font and you’re running macOS High Sierra, you can use a nice little tool to easily switch between those two system fonts on your Mac. System font readability is one of those topics that some users care greatly about, and others could not care any less about and won’t even notice. Obviously if you don’t miss the older Lucida Grande system font then you’re probably not the target audience for this particular tool. But if you do, it’s super easy to change in macOS High Sierra and this utility is a great little add-on.
How to Switch the macOS High Sierra System Font to Lucida Grande
You should backup your Mac before using this utility. It’s very unlikely something will go wrong, but if something does you’ll be glad you have made a fresh backup beforehand. Also, it’s good practice to routinely back up your Mac anyway :-)
- Get macOSLucidaGrande from Luming Yin’s Github page here
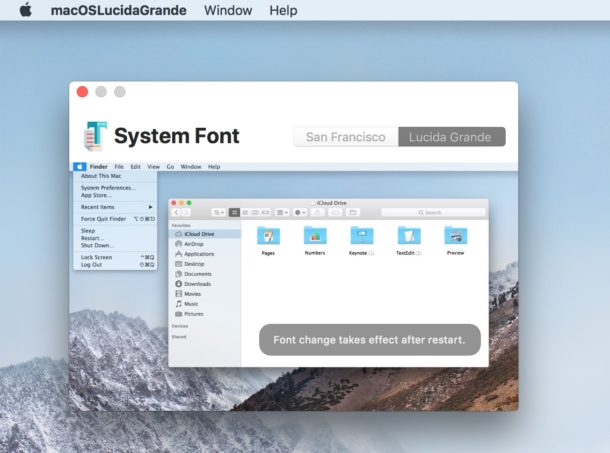
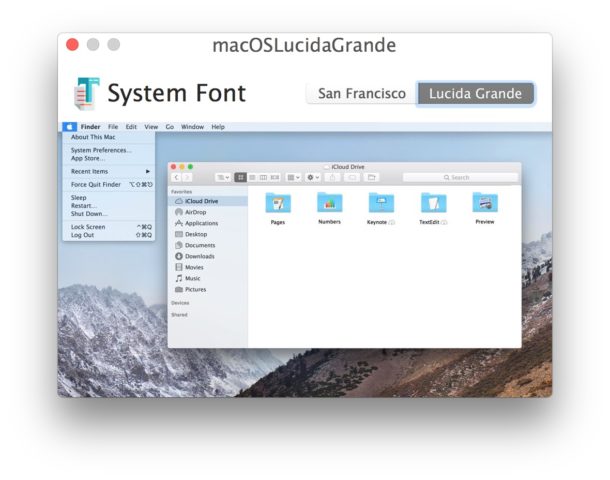
- Launch macOSLucidaGrande, then click on the “Lucida Grande” tab and then click on the green check button to install the font on the Mac
- Restart the Mac for the system font change to take full effect

Once you reboot you will find that Lucida Grande is the default system font everywhere, in menus, title bars, window bars, all system text will be switched over.
For the most part the effects are flawless, but you may notice some curious font issues with groups of browser tabs and various apps, whether or not that is acceptable to you is your choice. If you decide it’s not tolerable, you can remove Lucida Grande and restore the default system font just as easily as setting Lucida.
How to Restore Default System Font in MacOS High Sierra
If you decide you’re not into Lucida Grande on the Mac, you can easily change back to the High Sierra default system font of San Francisco again.
The steps are basically the same as installing Lucida Grande, but choose “San Francisco” from the app instead.
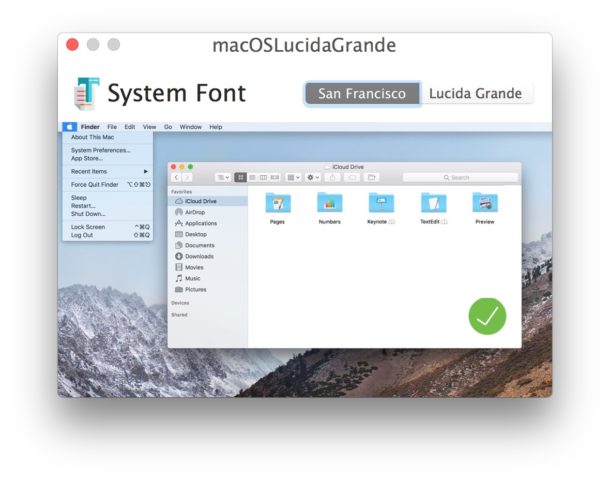
- Relaunch the macOSLucidaGrande app and click the “San Fransisco” tab
- Click the green check button to re-set the original San Francisco font as the system font
- Reboot the Mac

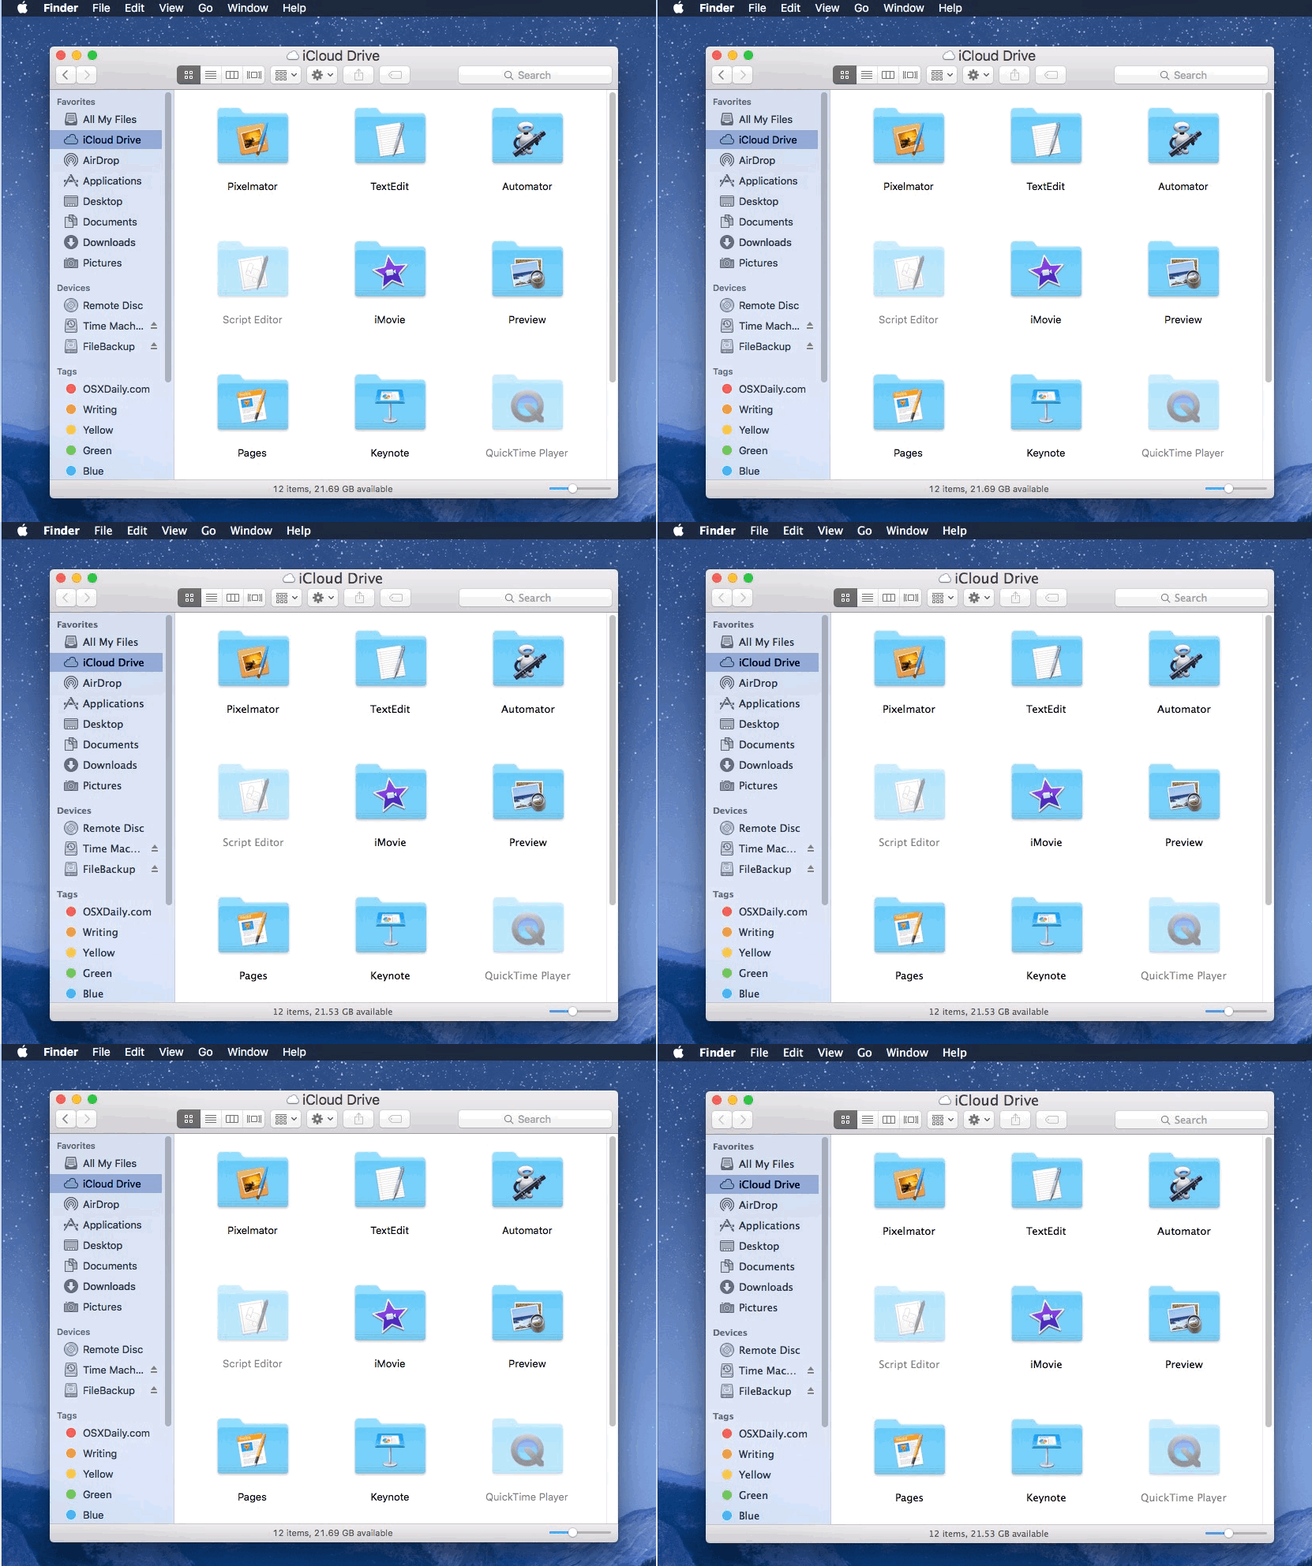
The change between Lucida Grande and San Francisco is fairly subtle. Lucida Grande has larger spacing and is a bit thicker, making it easier on the eyes for some users, whereas San Francisco has tighter spacing and is thinner overall. Many users might not even notice the change.
The animated GIF below shows San Francisco versus Lucida Grande in the Finder:

For those who care about this sort of thing because they find Lucida Grande easier to read, you may appreciate some other tips to improve the readability of text and fonts on a Mac include disabling transparency effects in Mac OS, increasing interface contrast, and increasing all text and font sizes by changing the Mac resolution. The latter option is less than ideal for many users because it reduces the screen resolution and available screen space on a Mac, but it does make things appear larger as a trade-off. The Mac does not have a bold fonts option (yet anyway), which is unfortunate, but such a feature does exist in the iOS world.
This tool is a revamped version with High Sierra support of something we have covered in the past for Sierra, and has been a topic covered for El Capitan and Yosemite as well. So if you have an older MacOS version as well you can change the font there too if you’d like, though it’s worth pointing out that the macOSLucidaGrande tool works with all modern versions of macOS that used San Francisco, including High Sierra, Sierra, and El Capitan.


Doesn’t work at all. On High Sierra, even with gatekeeper and SIP turned off, it doesn’t copy anything into any font directory. The green mark appears on the app screen, but no font files appear on the machine.
Yes this does work in High Sierra, Mojave, El Capitan, etc. You can view the project homepage here and reach out the developer if you are interested in doing so:
https://github.com/LumingYin/macOSLucidaGrande
2-22-18
I used this a few days ago, changed System Font, decided I wanted to go back, and the App will not give me a green check mark for San Francisco. I’m running Sierra 10.12.6 with all current updates. Early 2015 MBP
I did it… looked cool, then when I restarted, not only was password not entering, typing invisible password was still incorrect. I cant get into my computer now. Having to reinstall OS and hoping I can get in so I can promptly delete this program. Lucida is not worth all this trouble.
I’m one of those old school System 6/7 users who likes his Finder just the way he found it. But, for some reason I actually like San Francisco even though it can look a bit awkward in some places. It seemed to make the “back to the future” 2-D look of the current macOS more paletteable.
Has anybody noticed that macOS and iOS seem to be ever so subilty adding a hint of “skeuomorphisms“ compared to the initial Yosemite ”hello kitty” yuck of 2014? I still want the old Trash can though. I don’t care what Apple HIGs it breaks. The Dock could still look cooler. I think Mavericks was the peak of the look except for the leather Calendar. Just keep toning down the pinks Apple. Back to blues, greys, blacks and whites. No more pink. Maybe Apple will slightly update the look again when the iMac Pros and Mac Pros hit the streets.
Anyway, sorry to get off topic.
I hear that Apple is working on an exclusive Hello Kitty iMac Pro in hot pink and all decked out with sparkly things stuck to it.
;)
What I don’t like about the San Fransisco font, is how numbers like 6 and 9 have to much curl, and can resemble the number 8. Also, I think Lucida Grande has better spacing and is just easier to read.
nah… I like SF PRO Display better than Lucida Grande. and this is easier to do, without having to install a 3rd party app.
Sounds interesting, how do you use SF Pro Bold for system font in MacOS?
Clicked on your links and none of them returned what you reference in your instructions.
San Francisco was created in part to make the system font easier to read. Why go back to Lucida Grande?
Both typefaces are awful. Check out Input from Font Bureau. Free for personal use (like this very thing). A few versions old, so use with caution.
http://input.fontbureau.com
You’ll thank me.
Can Input Sans be used for High Sierra? It shows older versions of Mac OS as the support.
Same here, advise not to use it, Asterisks no longer appear nor does the i-bar for the curser move in password field. In some cases I get small faded squares instead of the asterisks. Tab’s on Safari no longer readable, letters running together. Changed back to San Francisco, bounced PC, and uninstalled the app. No help….. Bummer, have to restore to get my system back in order. Running High Sierra 10.13.1
You can’t just uninstall the app to change the font back. You have to open the app again and choose ‘San Francisco’ again as the system font to use, that will restore the original default system font.
The reason is the app basically places a modified system font file into a user level system folder. So if you just delete the app, that font stays in place. You have to remove that font and replace it with the default system font again, which the app does by choosing “San Francicso” and clicking green install button.
Did that, no help, had to restore from backup
I had the same thing happen, fonts are jammed together, virtually unreadable tabs in Safari, previews in Mail also jammed together. What exactly did you restore, the system? Thanks.
The article details exactly how to reset to the default system font.
– Relaunch the macOSLucidaGrande app and click the “San Fransisco” tab
– Click the green check button to re-set the original San Francisco font as the system font
– Reboot the Mac
https://osxdaily.com/2017/11/19/change-macos-high-sierra-system-font-lucida-grande/
You can restore from a backup but that should not be necessary unless you messed something up separately.
Tried this, but had to uninstall.
When activated, passwords become invisible. That is, the password input field will not even display dots when you type in it.
Thought my Bluetooth keyboard had died for a minute.
I had the same issue and reverted to the original font. It took me a few minutes to figure out why passwords were invisible.
I don’t desire a change of the system font – what I want to restore the ability to change Safari’s font. I’ve pretty much quit using Safari over it’s font.
For the Safari font, you just need a custom CSS like this example. The !important statement is essential for overrinding the website provided styles.
/* for Safari put into ~/Library/Safari/Custom.css */
body {font-family: “Seravek” !important; }
#root {font-family: “Seravek” !important; }
/*
input[type=text]
{
font-family: “Seravek” !important;
}
*/
pre, tt, code, kbd, samp, textarea, textarea.large {font-family: “PT Mono” !important;
}
a:link, a:visited { text-decoration: none !important; }
a:hover { text-decoration: underline !important; }
/* Twitter */
.r-1qd0xha {font-family: “Seravek” !important; }