How to Adjust Video Alignment on iPhone & iPad

As each year goes by, smartphones are becoming increasingly popular for their video recording capabilities. Today, we have several smartphones with multiple camera setups and advanced video stabilization that some of them come close to rivalling dedicated cameras. For example, the triple-lens camera system on the new iPhone 11 Pro seamlessly work together, providing unmatched flexibility to the user while filming.
If you’re an iOS user who shoot plenty of videos on your iPhone or iPad, you might have noticed that some of your clips aren’t perfectly aligned, and as a result, aren’t aesthetically pleasing to watch. Due to how compact the device is, it’s pretty easy to mess up a shot, because all it takes a slight tilt to mess up the alignment.
Thanks to new features in iOS and iPadOS, it’s fairly simple to align and straighten your video clips before you upload it to social media. This is made possible with the help of the new video editing tools that are baked into the Photos app.
Are you looking to re-align the videos you shot on your device? Look no further, because in this article, we’ll be discussing exactly how you can adjust video alignment on iPhone & iPad running iOS 13 or later.
How to Adjust Video Alignment on iPhone & iPad
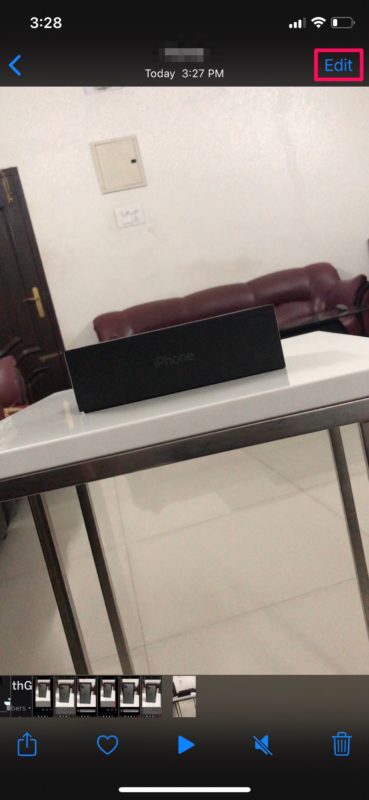
- Head over to the stock “Photos” app from the home screen of your iPhone or iPad and open the video that you want to align.

- Tap on “Edit” located at the top-right corner of the screen in order to get to the video editing section.
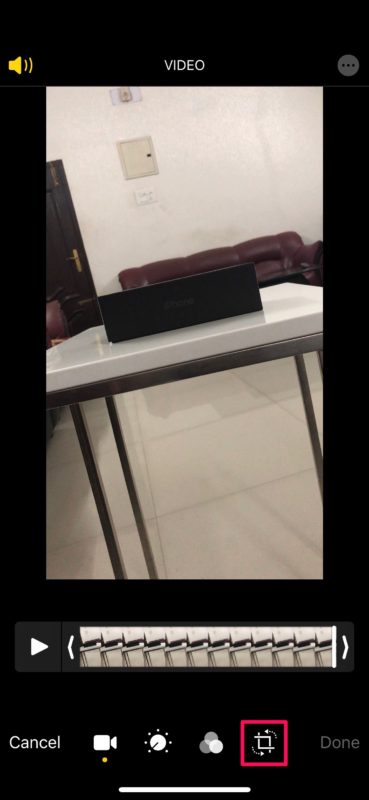
- Here, you’ll see a set of video editing tools at the bottom. Tap the “Cropping” tool located right next to the filters icon, as shown in the screenshot below.
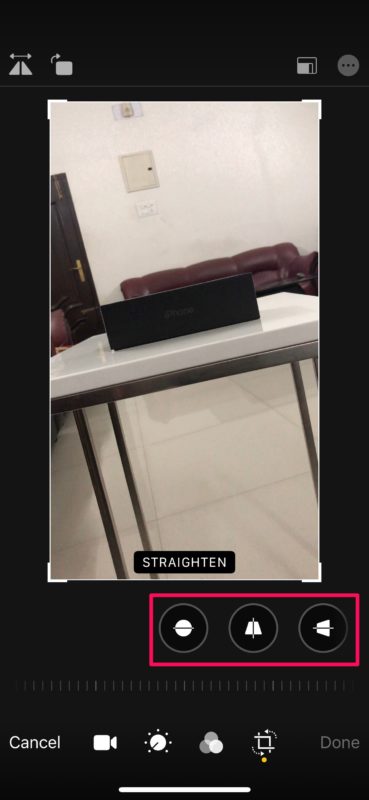
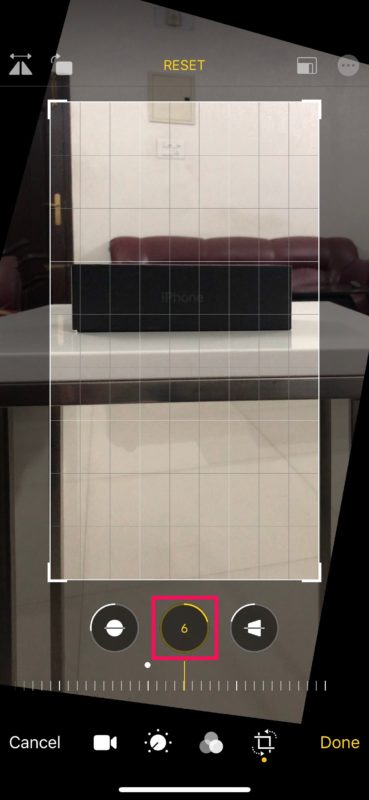
- Now, you’ll notice three different alignment tools right below the video, namely Straighten, Vertical and Horizontal alignment.
- The first tool here is the straightening tool. Tap the icon and drag the slider to adjust the alignment according to your preference. As you can see here, I’ve almost perfectly aligned a slightly tilted video.
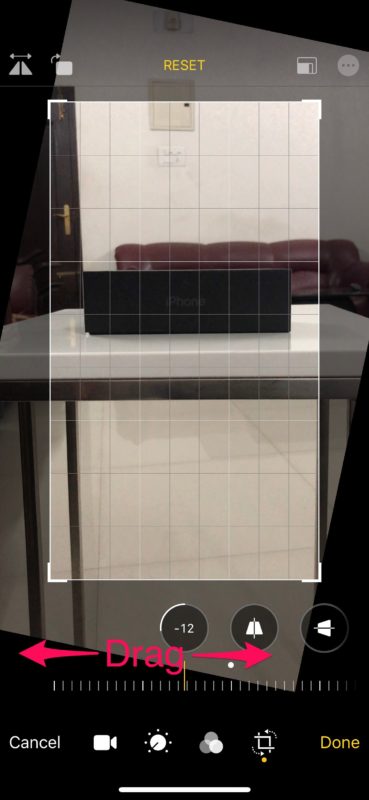
- Moving on to the next tool, we have Vertical alignment. Like before, use the slider to make adjustments. This tool sort of skews the video, but you could use the grid to make sure it aligns perfectly.
- Lastly, we have the Horizontal alignment tool which is pretty much the same as Vertical tool, except for the fact that it skews the video along the horizontal axis. Once you’re satisfied the alignment, tap “Done” to confirm and save the edited video.
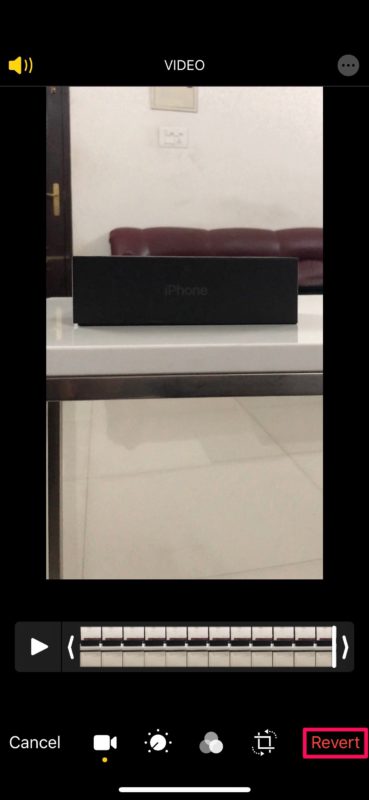
- If you want to undo this crop for any reason, simply head back to the edit menu and tap “Revert” at the bottom-right corner of the screen.

That’s pretty much all you need to do, in order to align and straighten your video clips. Once you get a hang of it, you should be able to re-align your video recordings within a matter of seconds. From now on, you could always make sure your clips are perfectly aligned before you share them with your friends on Instagram, Snapchat or Facebook.
The new video editing tools are exclusive to iPhones and iPads running iOS 13 or later. Older versions of iOS only had the ability to trim videos, so make sure your device is updated before going ahead with the procedure. Before the release of iOS 13, your best bet was to use iMovie or rely on other third-party video editing apps found on the App Store to make any sort of adjustments to a video, which was far from convenient. Now, the new built-in video editor can do anything from adding filters to fine-tuning the exposure on a precise level, eliminating the need for any other app especially if you’re a casual user.
That being said, if you’re looking for even more advanced tools like color grading, you’ll still need to use an advanced app like LumaFusion or transfer it to your Mac and use Final Cut Pro for professional grade editing.
Did you manage to straighten your video clips using the alignment tools? What do you think about the new built-in video editor within the Photos app? Do you think it could replace the video editing apps that are available on the App Store? Let us know your thoughts and opinions in the comments section down below.
