How to Use Snap Camera Filters on Zoom, Skype, & Hangouts Video Chat
Looking for a way to have a bit more fun and goof around on video chat? Snapchat Camera allows you to use Snapchat filters applied directly to other video chat apps used on a Mac or Windows PC, including Skype, Zoom, Hangouts, and more.
So, do you want to use the Snapchat filters you know and love while video calling your colleagues, friends, and family members?
Snap Camera is a software developed by none other than Snapchat themselves to allow people use the filters and lenses they’re accustomed to, while video calling from a computer. It’s free to download and use, so you don’t have to worry about spending any money. Therefore, whether it’s to look goofy or enhance your visual appearance during video calls, Snap Camera can be put to good use.
This tutorial will cover how you can use Snap Camera filters on Zoom, Skype, Hangouts, and other video calling services, all from a Mac or Windows PC. For the purposes of this article, we’ll cover Zoom, Skype, and Hangouts, in particular.
How to Use Snap Camera Filters on Zoom
To use Snap Camera, your computer needs to be running at least Windows 7 or macOS 10.12 and have a working webcam. Most of us are already aware of the popularity Zoom has gained recently. If you use Zoom meetings to stay connected with your friends, colleagues and classmates while you’re staying home, follow the steps below to use your favorite Snapchat filters.
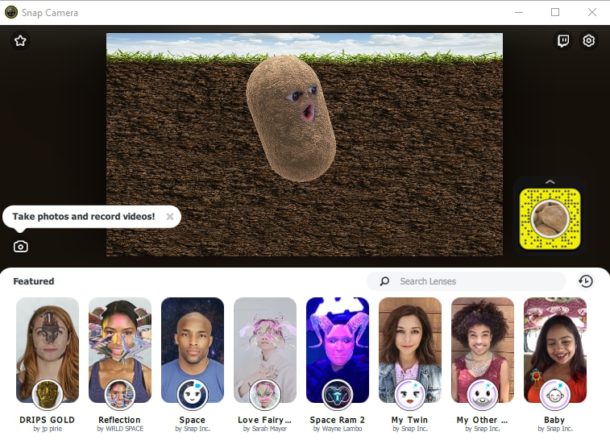
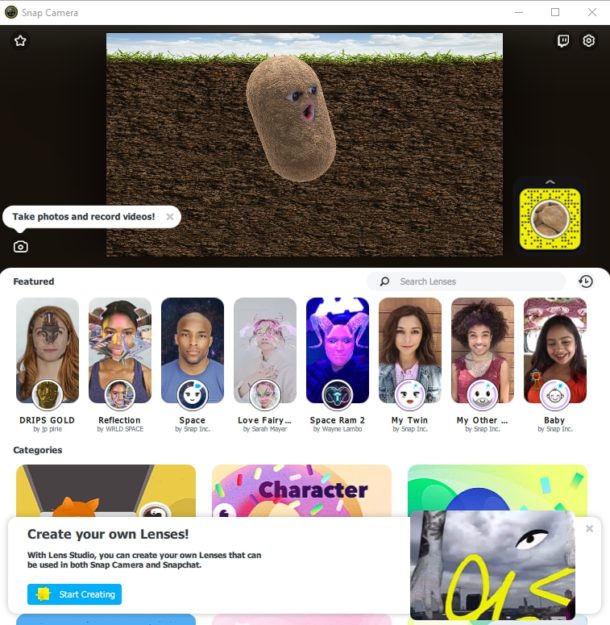
- First of all, you need to download Snap Camera from the official website. Once you’ve installed it, make sure your webcam is connected and open Snap Camera on your computer. Select any one of the filters and lenses that you see in the software.

- Next, head over to zoom.us and click on “Join a Meeting” or “Host a Meeting” to enter a video call. This will download a “Start Zoom” executable file on to your computer. It will automatically open up after installation.
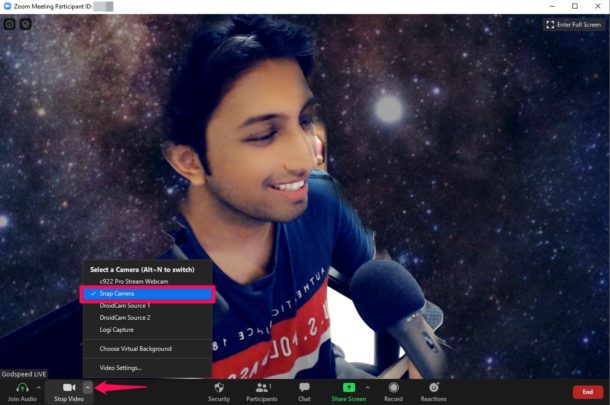
- Now, click on the “arrow” icon right next to Start Video/ Stop Video option to change the camera you use for the video chat session. Choose “Snap Camera” as your preferred webcam.

That’s it. You’ll notice that your Snapchat filter is instantly applied to the video feed. This filter can be removed by changing the camera back to the original source again.
How to Use Snap Camera Filters on Skype
If you use Skype instead of Zoom for all your video calling needs, we’ve got you covered too. After all, it’s still the most popular video calling service out there. Simply follow the steps below to get started.
- Open Snap Camera on your computer and make sure it’s running. Then, download Skype for Windows or Mac, if you don’t already have it installed on your computer.
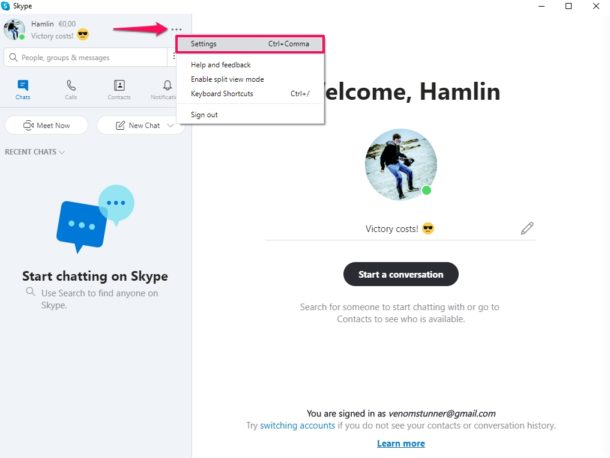
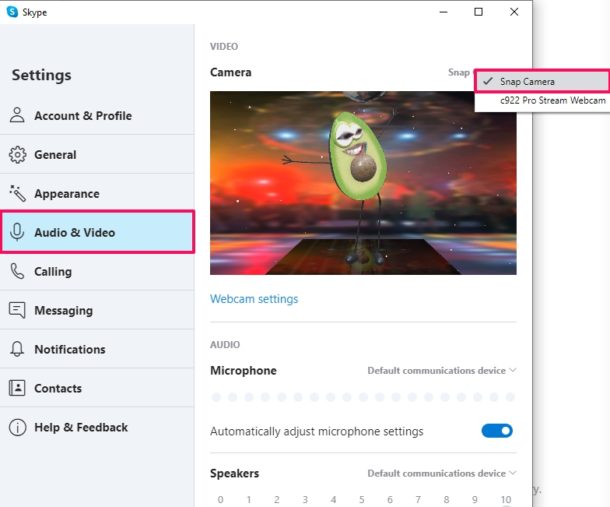
- Once you’re done, Open Skype. Click on the “triple-dot” icon right next to your profile name and choose “Settings”.
- In the Settings menu, head over to the “Audio & Video” section and set the preferred camera as Snap Camera, as shown in the screenshot below.
There you go. Now you know how to use Snapchat filters during your Skype video calls.
How to Use Snap Camera Filters on Google Hangouts
Do you use Google Hangouts for video conferencing with your colleagues? Well, you can use Snap Camera filters with Hangouts in a fairly similar way too. Let’s take a look at the necessary steps.
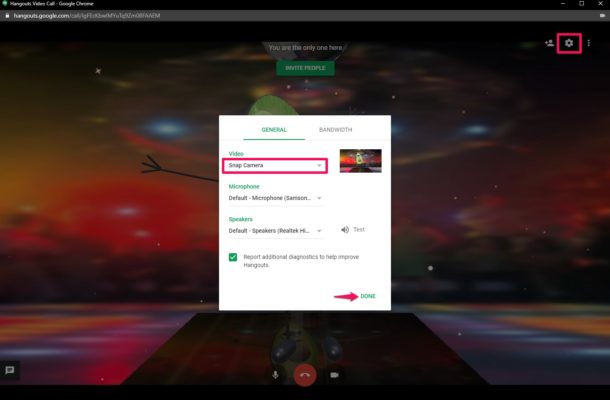
- Head over to hangouts.google.com on your web browser and click on “Video Call”.
- Now, head over to settings by clicking on the “gear” icon as shown below. In the settings menu, change your preferred camera by clicking right below the “Video” option. Click on “Done” to go back to your video call session.

That’s pretty much all there is to it. Have some fun!
As you can see, you basically launch Snap Camera first to apply the filters, then use the video conferencing software to broadcast your filter to the video chat participants. It works this way with just about any video chat app, so try them all out if you’d like.
Snap Camera can essentially be considered as a third-party software for your webcam. Therefore, regardless of what video calling service you use, you’ll probably be able to use Snap Camera with it by setting your preferred camera as Snap Camera instead of the default webcam on a Windows or Mac computer.
It’s important to note that Snap Camera needs to be running in the background to keep using these filters. If you close it or the software crashes for any reason, the video feed from your webcam will be cut off during the call, unless you change your camera or re-launch Snap Camera.
Also, if you want to switch between the various filters and lenses that are available in Snap Camera, you need to do it in Snap Camera app directly, and not within the video calling apps.
Unfortunately, Snap Camera is only available on Windows and Mac (for now anyway), so if you were hoping for an iOS, iPadOS, or Android application for using Snapchat filters during video calls on your smartphone or tablet, you’re out of luck. It’s not available on Linux either.
We hope you had plenty of fun messing around with Snapchat filters during video calls. What’s your favorite Snapchat lens or filter? Will you be using Snap Camera filters during Zoom, Skype, or Hangouts video calls? Do share your thoughts and experience in the comments section down below.
