How to Enable & Disable Private Wi-Fi Address on iPhone & iPad to Increase Privacy
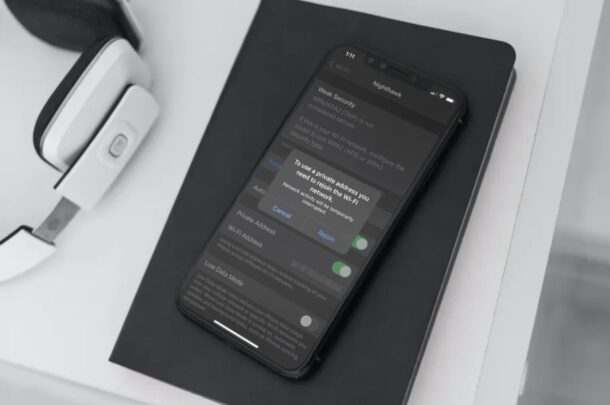
Do you connect to multiple Wi-Fi networks from your iPhone or iPad on a daily basis? Whether it’s your workplace or somewhere in public, you may want to help protect your privacy by using private Wi-Fi addresses on your device, which basically spoofs the devices MAC address to a randomized one. But having a changing MAC address is not always desirable for some network situations, thus you may want to turn off this feature in other circumstances too.
When you connect to any Wi-Fi network using any device, the device needs to identify itself to the network using a MAC address. Normally, when you connect to multiple networks, the same MAC address is used, which makes it easy for network operators and observers to track your activity and access your location over time. However, devices running iOS 14 and iPadOS 14 and newer use a different MAC address for each network, thereby helping to safeguard your privacy.
Using Private Wi-Fi addresses could sometimes prevent you from connecting to certain Wi-Fi networks, particularly if they use MAC address filtering and approval. In this article, we’ll be discussing how to enable and disable private Wi-Fi addresses on both the iPhone and iPad.
How to Enable & Disable Private Wi-Fi Address on iPhone & iPad to Increase Privacy
You’ll only find the option to enable and disable private Wi-Fi address if your device is running iOS 14/iPadOS 14 or later.
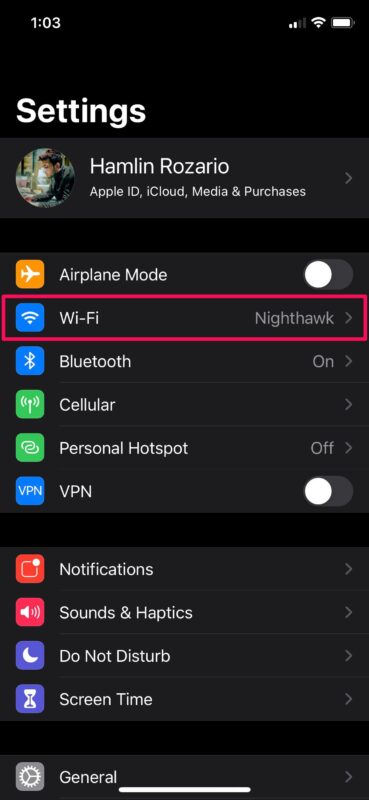
- Head over to “Settings” from the home screen of your iPhone or iPad.

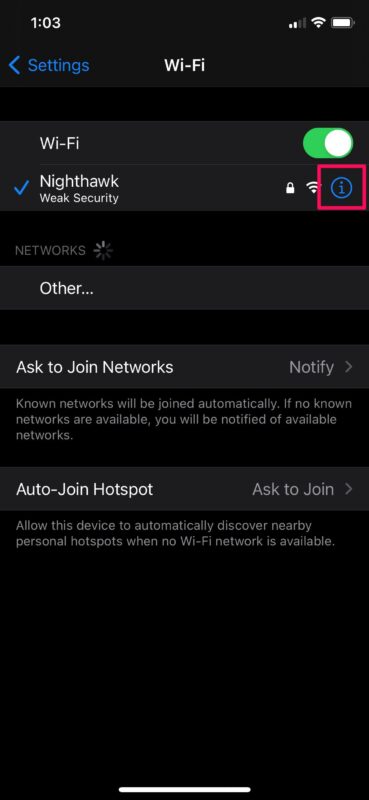
- In the settings menu, tap on “Wi-Fi” to change your Wi-Fi settings.

- Here, tap on the “i” icon next to the Wi-Fi network you’re currently connected to, as shown below.

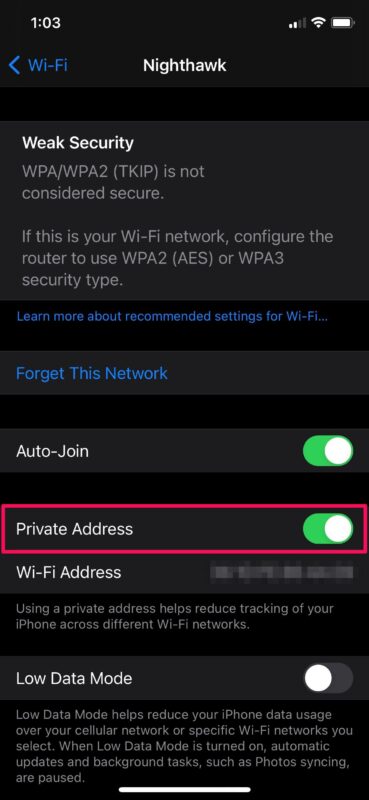
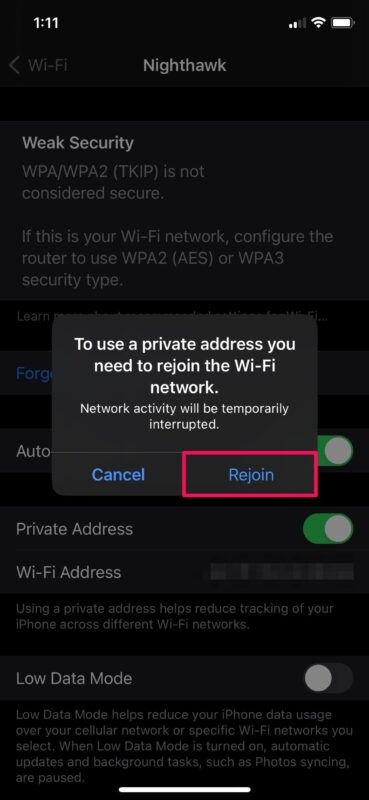
- Now, you’ll find the toggle to enable or disable Private Address. It’s enabled by default and the address that’s used for the connected Wi-Fi network is displayed right below the toggle.

- Every time you enable or disable private Wi-Fi address, you’ll be prompted to rejoin the Wi-Fi network. Choose “Rejoin” to reconnect to the network and you’re good to go.

That’s pretty much all there is to it, now you know how easy it is to use (or not use) Private Wi-Fi addresses on your iOS or iPadOS device.
It’s worth pointing out that each time you disable and re-enable Private Address, a new Wi-Fi address will be used with the network. This is why you’re prompted to reconnect to the Wi-Fi network.
Resetting the network settings on your device will also change the private Wi-Fi address it uses for the connection, along with any customizations to network settings.
Although Private Addresses can reduce user tracking and profiling, you could face connectivity-related issues on some Wi-Fi networks. For example, some networks may be unable to identify your device as authorized to join. MAC address filtering is fairly common in some secure network environments, corporate networks, and other large LAN settings, so the feature may not work well in those settings for obvious reasons.
In some cases, a network that allows you to join with a private address might block you from internet access too because of the unidentified MAC address, but you can turn off the feature if that happens.
Do you use an Apple Watch alongside your iPhone? Although we were focusing on iOS and iPadOS devices, you’ll be pleased to know that you can enable or disable Private Address on an Apple Watch too, provided it’s running watchOS 7 or later.
What are your overall thoughts on this new privacy feature? Do you adjust or toggle Wi-Fi Private Address for particular networks? If the general topic of privacy interests you, don’t miss out on our other articles on the subject matter. As always, share your relevant thoughts, tips, opinions, and experiences in the comments.


While I realize MAC based security is weak, this has caused nothing but headaches in my network.