How to Use a Different Apple ID for FaceTime on Mac
Have you ever wanted to use a separate Apple ID for FaceTime on the Mac? Maybe for privacy reasons, or because you have another Apple ID from a job, that you want to use to communicate on your Mac, or some other unique situation. Apple allows you to change the Apple ID you use specifically for FaceTime, so this is technically possible.
When you set up a new Mac, you’re requested to sign in with an Apple account which most users do. This immediately connects you to Apple services such as iCloud, iMessage, FaceTime, Apple Music, and more. Sure, you could technically log out of your Apple ID on your Mac at any point and use a different account instead, but this means you’ll be locked out of all the other Apple services too while you’re using FaceTime. Instead, this approach lets you use two different Apple ID’s, the one set by FaceTime, and the other in use elsewhere on the Mac. This is not recommended because it can lead to all sorts of confusion, but it’s worthwhile to cover since it is possible, and may be desirable for some unique situations.
How to Change FaceTime to Use Different Apple ID Account on Mac
The following steps remain the same regardless of the Mac you use or the macOS version it’s currently running. Here’s what you need to do to get started with a different account:
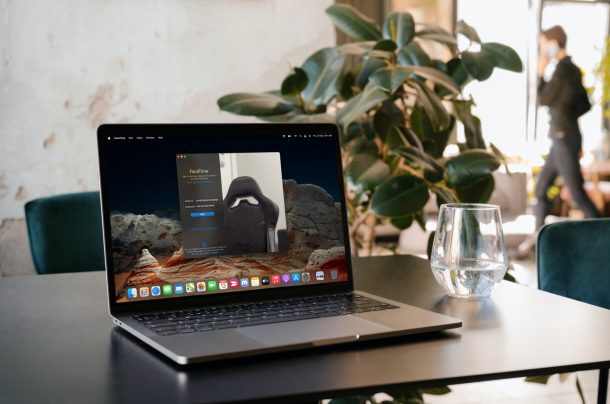
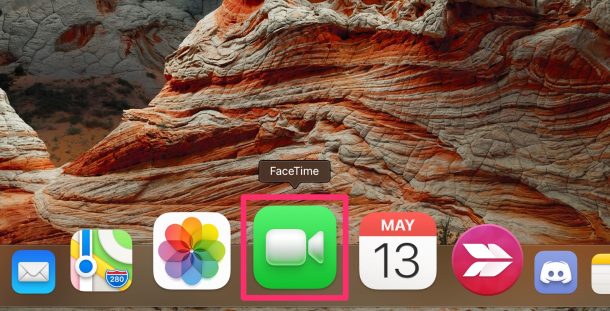
- Open the FaceTime app on the Mac.

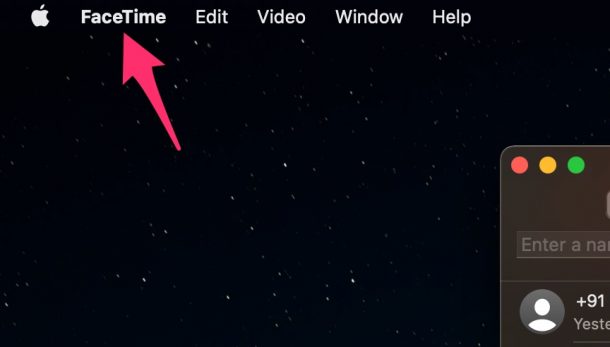
- Next, make sure FaceTime is the active window, and then click on “FaceTime” from the menu bar located right next to the Apple menu.
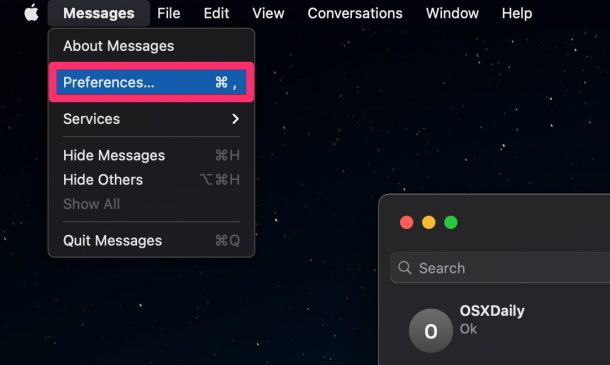
- Now, choose “Preferences” from the dropdown menu as shown in the screenshot below.
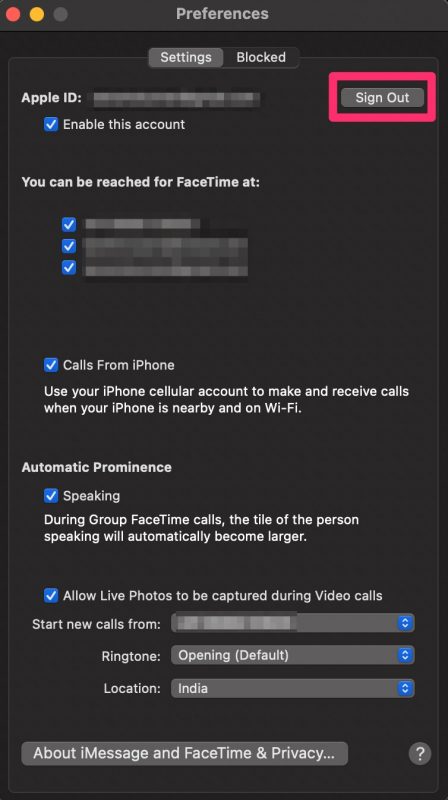
- Once the Preferences panel opens in a new window, you’ll be able to see the Apple ID that you’re currently using for FaceTime. Right next to it, you’ll find the option to log out. Click on “Sign Out” to proceed.
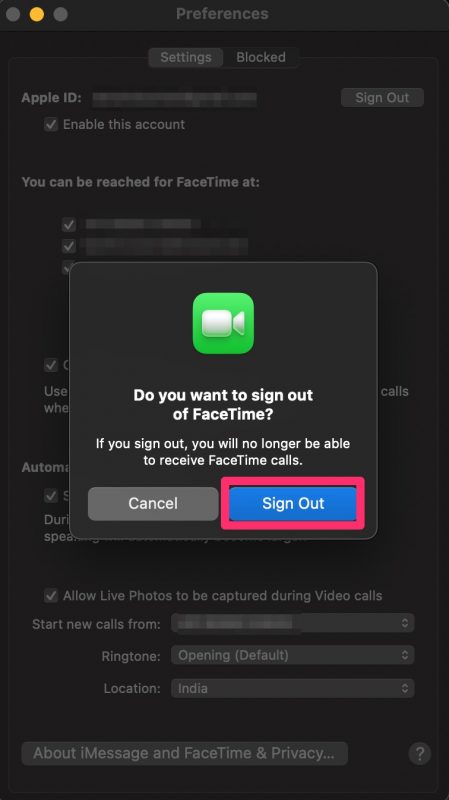
- You should get a confirmation prompt on your screen. Choose “Sign Out” to confirm and log out of your primary Apple ID.
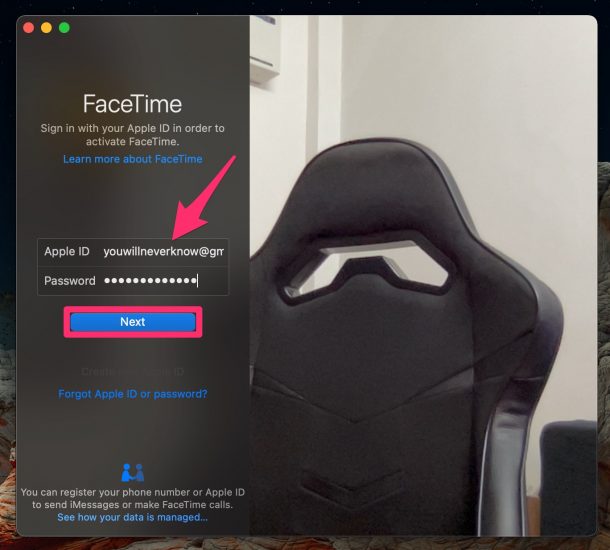
- Now, simply enter the login details for your alternate Apple account and click on “Next” to sign in with it.
You’re pretty much ready to go. As you can see,
it’s that easy to use a different Apple account with FaceTime on your Mac.
By following this method instead of the traditional one that most users are accustomed to, you don’t have to worry about being logged out of iCloud, iMessage, Apple Music, and other Apple services that you may need while you’re making video calls from a different account. This may be handy for a lot of people who use a work email for online meetings.
If you’re a privacy buff and you want to hide either your primary email address or phone number while making new FaceTime calls, you have the option to change the caller ID in the same Preferences panel. This works best if you have an iCloud email address linked to your Apple ID.
In a similar manner, you can use a different Apple ID just for iMessage as well. Also, if you own an iPhone or iPad, you may be interested in checking out how to use an alternate account for FaceTime on your iOS/iPadOS device. Again, this is not really recommended, but it is technically possible.
Did you change the Apple ID used by Facetime? If so, why? Let us know your thoughts and experiences in the comments.

Thank you, as always a very detailed article.