How to Create Custom Quick Actions on Mac
Quick Actions are a handy feature that allows users to perform tasks such as markup, image rotation, create PDF, etc by simply right-clicking on a file. However, you’re not just limited to the default set of Quick Actions and you can create a custom Quick Action that does a lot more, from scratch.
For people who aren’t aware, this Quick Action functionality was introduced with the release of macOS Mojave back in 2018. If you have a workflow that you use on a regular basis, like resizing an image or adding your watermark to a bunch of photos, you can create a custom Quick Action to get this done easily. Quick Actions can also be accessed from the Touch Bar, provided you’re using a supported MacBook.
If you’re interested in improving your workflow by using custom quick actions, then read along as we’ll walk through a demonstration of creating an action that resizes images.
How to Make Your Own Custom Quick Actions in macOS with Automator
In this article, we’ll be creating a custom Quick Action to instantly resize an image stored on your Mac. This will give you an idea of how you can configure your own Quick Action to meet your workflow requirements, using the tools within Automator.
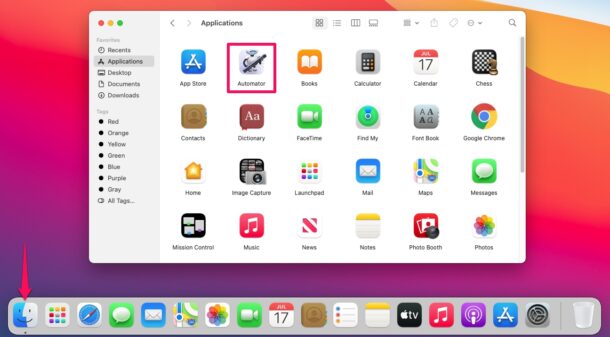
- Click on the Finder icon located in the Dock and head over to “Applications” from the left pane. Now, launch “Automator”. Alternatively, you can open Automator using Spotlight search by pressing Command + Space bar.

- Once the app launches, it will also open a pop-up window to let you choose a document type. Choose “Quick Action” to proceed.
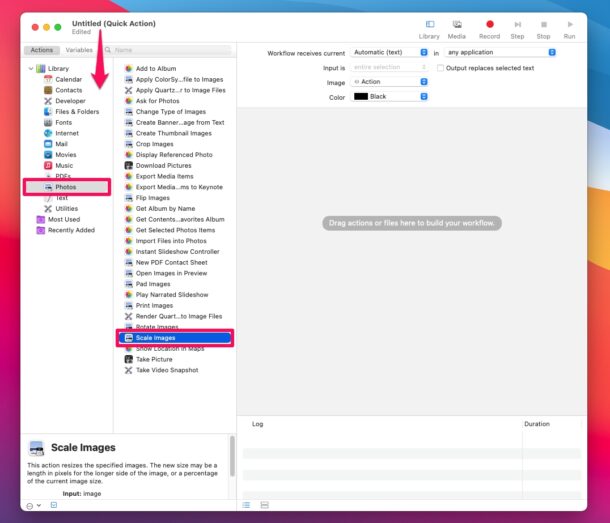
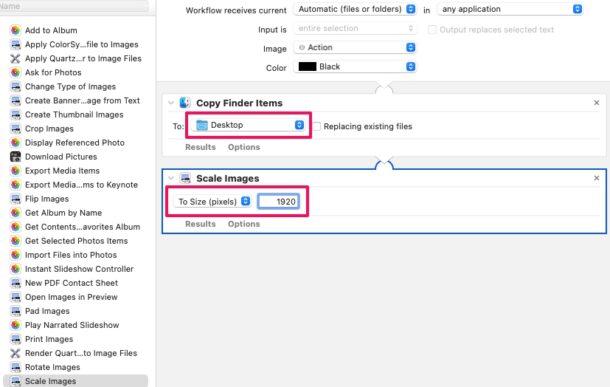
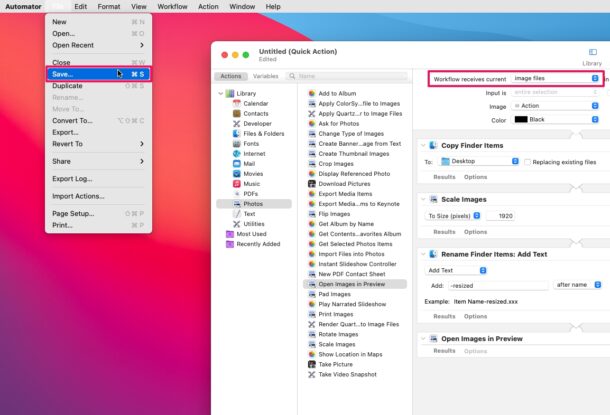
- Now, you’ll notice a vast library of actions in the sidebar. Select “Photos” under Library and double-click on “Scale Images” actions, as shown here.
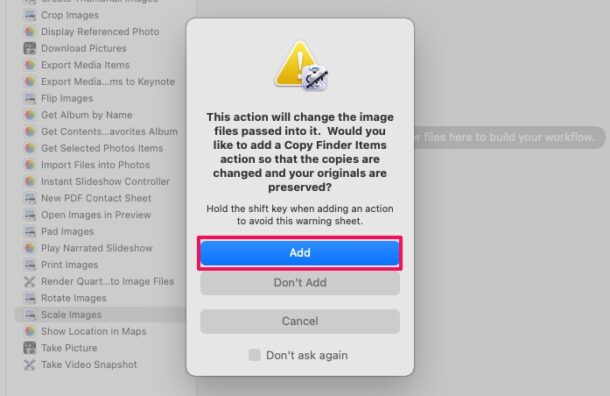
- You’ll be prompted to add a “Copy Finder Items” action so that your original image files aren’t overwritten while resizing. Click on “Add” and continue.
- On the right pane, you’ll see two actions. You can choose a desired location for Copy Finder Items. Note that this is the location where the resized images will be stored. Under Copy Finder Items, you’ll see the Scale Images action. Type in a preferred size or pixel value to set the resolution for the resized image. For example, type 1920 if you want a Full HD scaled image.
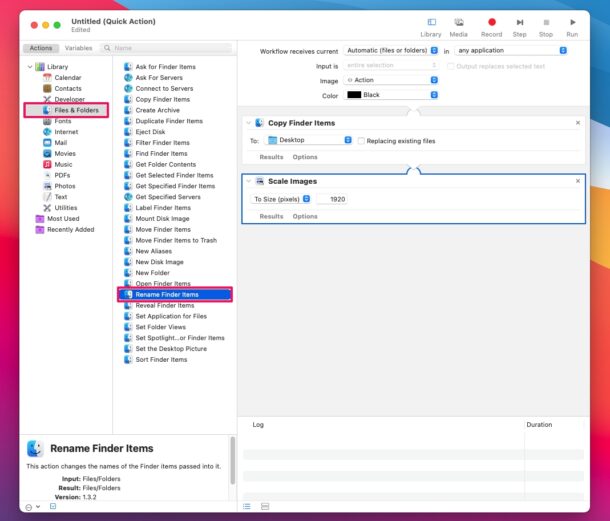
- Next, choose “Files & Folders” under Library and double-click on the “Rename Finder Items” action.
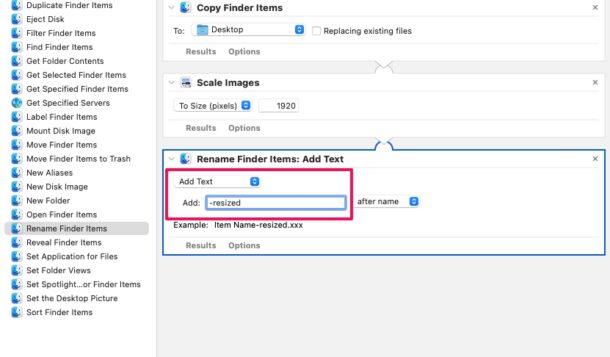
- Make sure you’ve selected “Add Text” instead of “Add Date” and then type in the text you want to add to the renamed image files. In this instance, we’ve used “-resized” which means a file with the name IMG.jpg will be renamed to IMG-resized.jpg.
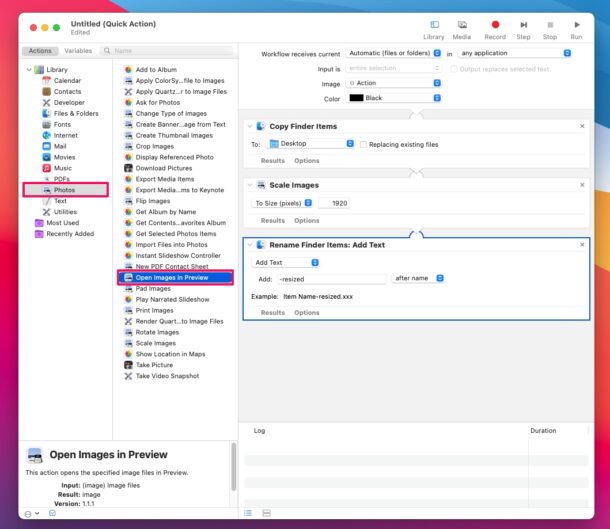
- Now, choose “Photos” under Library and double-click on the “Open Images in Preview” action. This will automatically open the resized image as a preview when you use the Quick Action.
- At the top of the Automator app, you’ll notice an option called “Workflow receives current”. Set this to “Image files” as shown below. Now, it’s time to save this Quick Action. Click on File from the menu bar and choose “Save” from the dropdown menu.
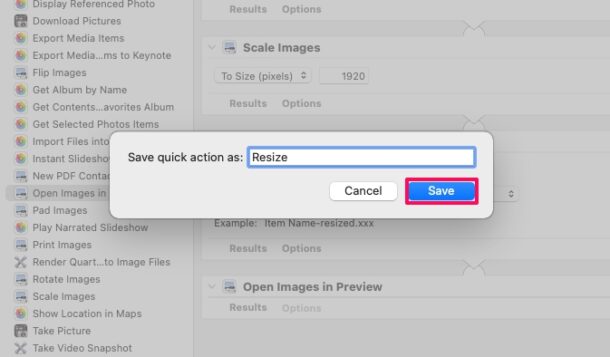
- Give a suitable name for the Quick Action such as “Resize” in this instance, and click on “Save” to make the changes.
- Now, launch Finder and find the image file you want to resize. Right-click or Control-click on the image file and choose “Resize” as shown in the screenshot below. if you can’t find the Resize option here, you can click on “Quick Actions” in the same menu to access it.

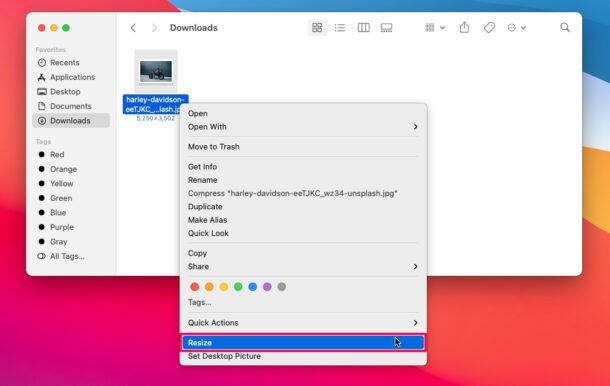
There you go. The image will now be resized, renamed and stored in the location you set for Copy Finder Items. The resized image will also open in a preview automatically. It wasn’t too hard, right?
Now that you have a proper understanding of how custom Quick Actions can be configured and used, you can create your own custom Quick Action to perform a vast array of actions and improve your workflow.
As mentioned earlier, your Mac needs to be running macOS Mojave or later to take advantage of Quick Actions. It’s worth pointing out that when you open Automator in Mojave, you’ll find the option “Contextual Workflow” instead of “Quick Actions”, although they’re basically the same thing and got renamed with the macOS Catalina update, and onward with macOS Big Sur and Monterey.
Interested in learning a different Quick Action? In that case, you may want to try and create a rotate video files Quick Action on your Mac, which can can be used to instantly fix those video clips that were shot in the wrong orientation using smartphones. Or you can learn how to combine PDF files on Mac using Quick Actions. There are nearly endless possibilities, just get creative within Automator.
We hope you were able to create your first custom Quick Action in macOS, and have a better understanding of how this whole process works. Did you create the image resize workflow we discussed here, or did you make your own custom Quick Action from scratch? Share your experiences and thoughts in the comments.

How are Quick Actions different than the older Service option?
Thanks for the example, lots of potential here but not confident with all the options.
Would also like an example of a workflow. There’s a sequence of menus and dialogs I often work through in Libreoffice but one step requires me to select a different file each time, not sure how to make it pause to allow me to do that then continue.