How to Use Speak Selection on Mac

Did you know that your Mac is capable of reading highlighted text out loud? This is a feature that could come in handy for many reasons, whether you prefer to have some particular text read, for accessibility reasons, if you’re focusing on something else, for dramatic effect, or myriad other purposes.
Speak Selection does what it says, basically you select text on the screen, and then allow the Mac to speak it to you using text-to-speech capabilities. This is just one of the many accessibility features that macOS has to offer. With Speak Selection, Mac users have complete control over when it is activated too. You could use Speak Selection wherever you’re able to select the text that’s displayed on the screen, including emails, web content, notes, ebooks, and more.
Using Speak Selection to Speak Text on Mac Screen
Turning on Speak Selection is a fairly easy and straightforward procedure on a macOS system. Your Mac doesn’t need to be running the latest macOS version, as this feature has been around for quite a while. Simply follow the steps below to get started.
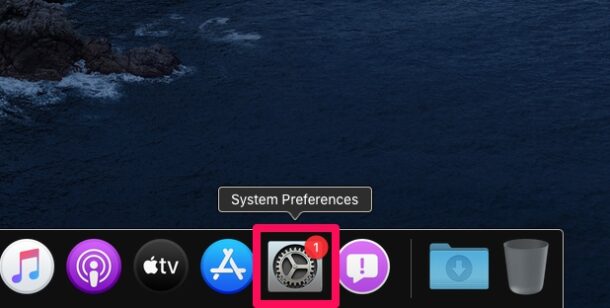
- Head over to “System Preferences” on your Mac from the Dock or Apple menu.

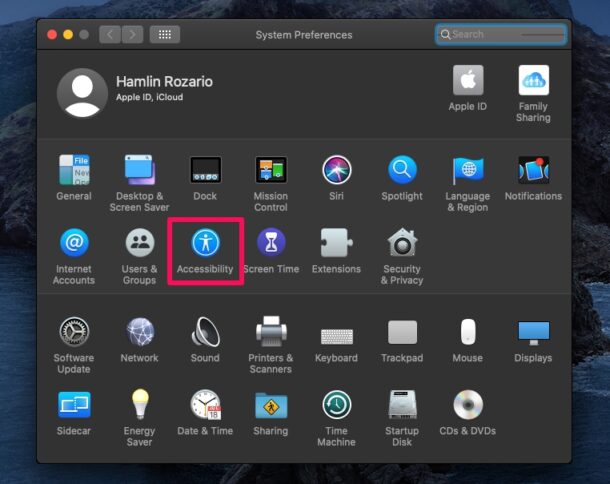
- This will open a new window on your screen. Click on “Accessibility” to proceed further.
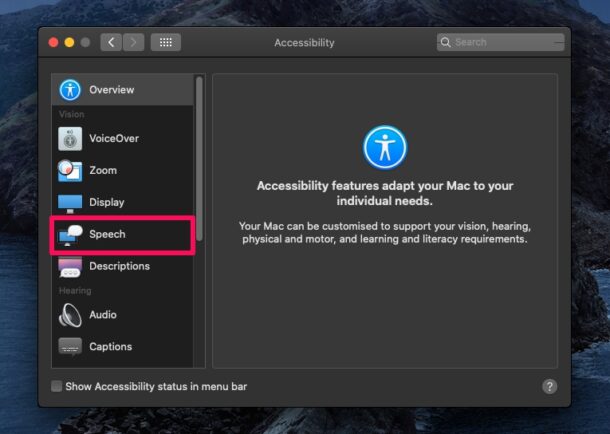
- Here, choose “Speech” or “Spoken Content” from the left pane, as shown below.
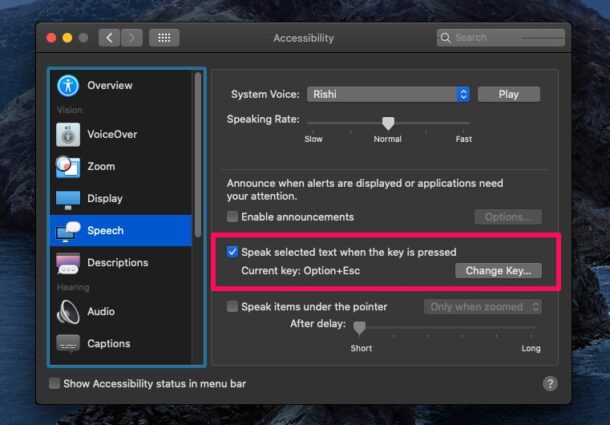
- Now, you’ll find the option to enable speak selection on your Mac. Check the box to speak selected text when the key is pressed. By default, you can activate this feature by simultaneously pressing Option and Esc keys. However, you can switch to a different key by clicking on “Change Key”.
- Now, you can press any other key or key combination to set as the trigger for speak selection. Click on “OK” to save the changes.
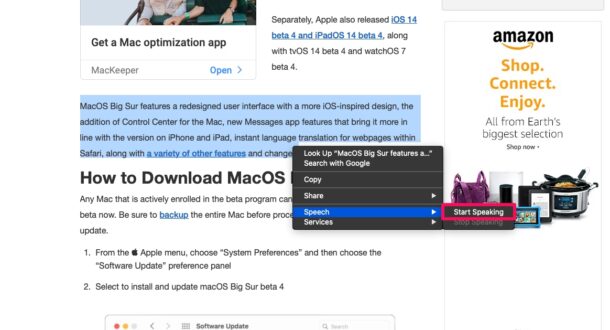
- Open a supported app like Safari, Pages, Chrome, Word, etc, then highlight the text that you want to be read out, and hit the keyboard shortcut to activate it. Alternatively, you can right-click on the highlighted text, click on “Speech” and choose “Start Speaking”, or pull down the “Edit” menu and choose Speech from there.

It’s pretty easy to get your Mac to speak the highlighted text, as you can see.
Note that the settings precise names are slightly different in various releases of macOS, eg “Speech” vs “Spoken Content”, but the setting and functionality itself is the same regardless.
This feature could prove to be extremely useful for multitaskers, or for accessibility reasons, whether your eyesight is not perfect or you find some onscreen text simply too small, or unreadable.
One handy trick for multitasking is this example, you could select a long email on your Mac and use Speak Selection to read it out loud. This feature could be also used to check the pronunciation of certain words that you’re not familiar with, without having to look it up on YouTube or elsewhere.
If you liked using this feature on your Mac, you might be interested in learning how you can use speak selection on iPhone and iPad too, provided you have one. Plus, iOS devices have an extension of this feature called “Speak Screen”, which as the name suggests, reads out whatever that’s displayed on the screen. Speak screen is something that could come in handy for reading ebooks or even written content on the web, like some of our articles.
Do you use Speak Selection and text-to-speech features on the Mac? What’s your favorite use case for this capability? Share your experiences, tips, and comments!

This is great! The screenshots don’t match my big sur 11.5.1 although it wasn’t too hard to figure it out.
Indeed the feature is the same, but Apple renamed “Speech” to “Spoken Content” in Accessibility, and the setting is shortened to “Speak selection” in the latest release with an Options menu.
Maybe they just like to keep us all on our toes by introducing minor changes and name changes :)
There’s a pretty big difference between these options on my laptop (Mojave) and iOS devices. On iOS, you can have Siri do the reading which is a far FAR more natural-sounding voice. I don’t understand why Siri is available on my laptop but Siri “Spoken Content” is not.