How to Get File Paths on iPhone & iPad Files App

The Files app for iPhone and iPad offers a file system for iOS and iPadOS, and though it’s limited, it does offer some advanced features like file paths. File paths may be familiar to Mac, Windows, and Linux users, as a file path points to exactly where to go find a file or folder in the file system. With Files app in iOS and iPadOS, you can find and get file paths.
For those who aren’t aware, a file path is nothing but the address or location of a file or folder stored on the device. Typically, a file path includes the folder it’s stored in and the storage device where it’s located, along with other directories. These constitute the path components. If you’re an advanced user, you may use file paths already on a daily basis. Just like on computers, you can now get the file path on your iPhone and iPad as well, which can come in handy for certain iOS shortcuts, and other more advanced stuff in the iOS and iPadOS ecosystem. So, let’s learn how you can grab a files path in Files app of iOS and iPadOS.
How to Get a File Path on iPhone & iPad via the Files App
We’ll be making use of the Files app that comes preinstalled on iOS and iPadOS devices. Make sure the file you’re looking for is locally stored. Now, let’s go ahead with the procedure.
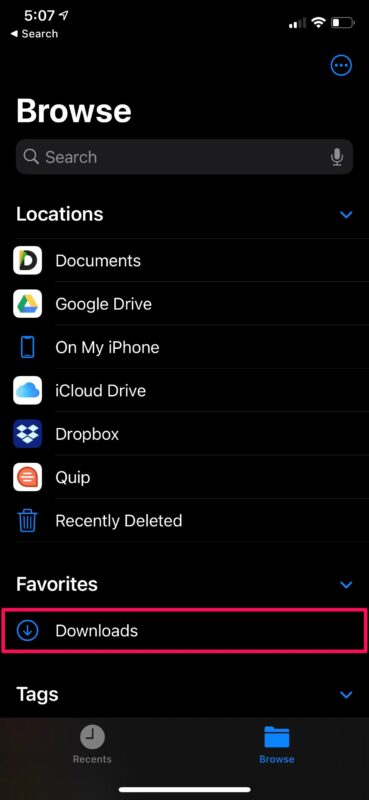
- Launch the native Files app on your iPhone or iPad.

- Make sure you’re in the “Browse” section and select the location where your file is stored.

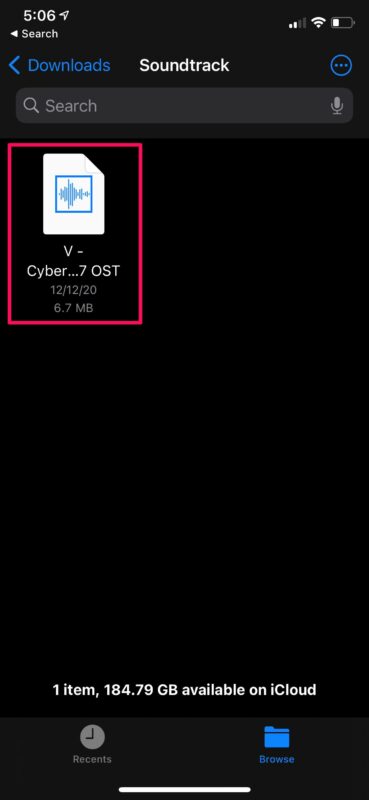
- Next, head over to the directory where the file is located and simply long-press on the file to access more options.

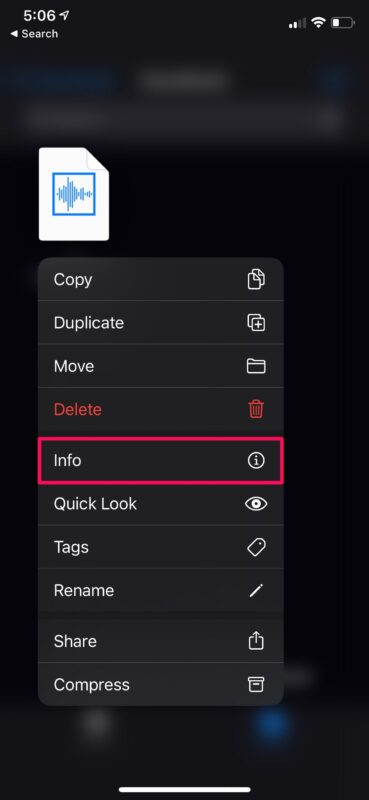
- Now, select “Info” to view all the information on the file.

- This will bring up a menu where you’ll be able to see the file path, as shown in the screenshot below. You can long-press on the path to access the “Copy” option.

There you have it. Now you know how to grab the path of a file on your iOS/iPadOS device.
Of course, you can now paste the file path anywhere you want, but it’s worth noting that this is not exactly the final file path itself. Instead, it’s the GUI’s way of showing where the file is exactly stored. To change it to an actual file path, you need to paste it and replace the arrows with forward slashes (/) and make sure there are no spaces between the path components. For example, Chrome▸Downloads▸Sample.mp3 should be changed to Chrome/Downloads/Sample.mp3.
File paths may come in handy for some very specific iOS/iPadOS shortcuts that grab and save content from folders. This makes inputting file paths easy without having to manually type them out. Remember, in order to make the file path shortcut-friendly, you’ll have to first remove the arrows and replace them with forward slashes (ie: Chrome▸Downloads▸Example.mp3 to Chrome/Downloads/Example.mp3).
Mac users can also quickly copy a file path to the clipboard in macOS, and there are multiple ways to go about this, so check it out and find your preferred method. File paths are typically much more commonly used in desktop environments and workstations, particularly at the command line.
Are you using file paths in iOS/iPadOS for Shortcuts, or for some other purpose? Do you have any particularly interesting tricks or tips with file paths? Share with us in the comments.


I use this set up to access my Mac, type in the Shared option, then at the upright corner click on the three dots and choose connect to server, then use this formula smb://192.168.0.x where x is the ip number of your machine.
Keep in mind, if you have a dynamic ip addresses set up in your router, the last digit will change.
Hope is useful for you.
My first contribution for this website.