How to Create an Email Signature in Gmail on the Web

If you use the Gmail web client from a web browser, no matter what device you’re on, you may be interested in making an email signature for use with Gmail.
When you create an email signature for Gmail on the web, it will also carry over to using the same Gmail account with the Gmail app on iPhone, iPad, or Android (but not the default Mail app on iPhone, where Mail app signatures are handled separately).
How to Make a Gmail Email Signature from the Web
You can make an email signature from any web browser and your gmail account, here’s what to do:
- Go to https://gmail.com and log in to your Gmail account
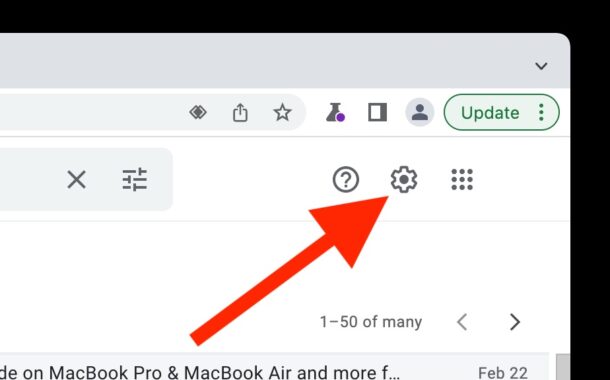
- From the top right corner, choose the Settings (gear icon) option
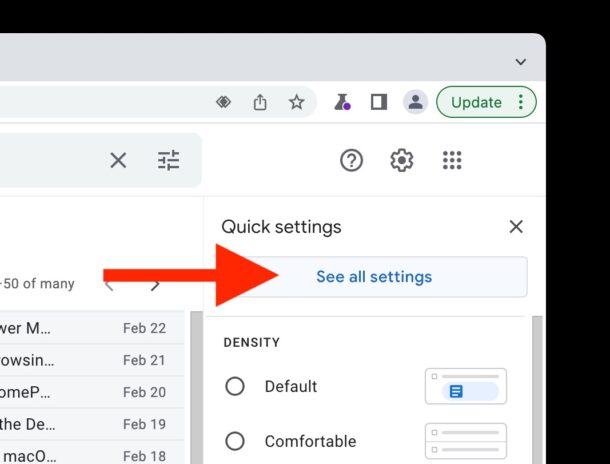
- Choose “See All Settings”
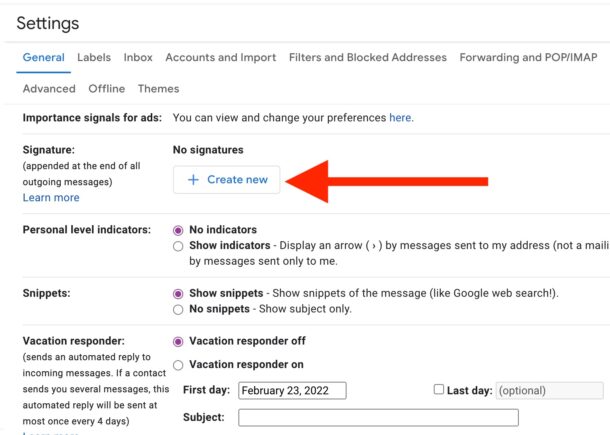
- Locate the “Signature” section and click “Create New”
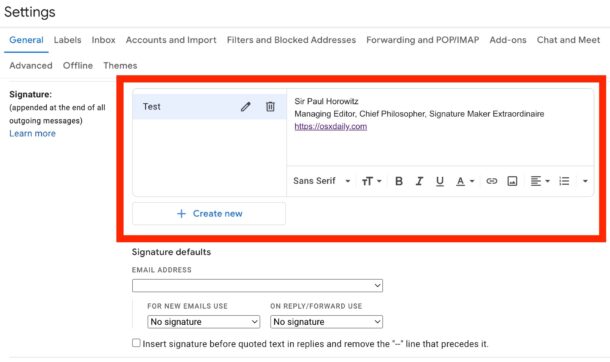
- Add the signature and customize it as you see fit, changing the look and appearance by using the Gmail text styling and link tools
- Optionally, set the signature to be included by default and define how you want it to show
- Scroll down and choose Save Changes
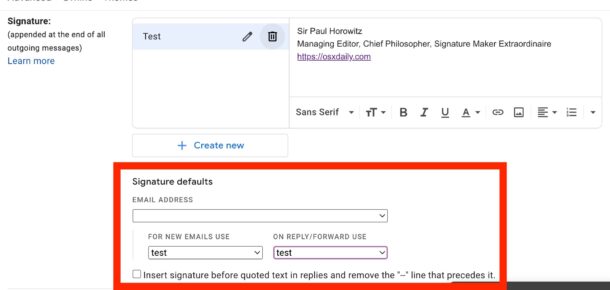
Your Gmail email signature has now been created.
If you chose the optional Signature Defaults for the signature to be included in all new emails, and/or to all replies, the signature will appear automatically.
If you didn’t set the signature to be included by default in emails, you will have to manually include it whenever you compose an email by clicking on the Add Signature button in the email toolbar.
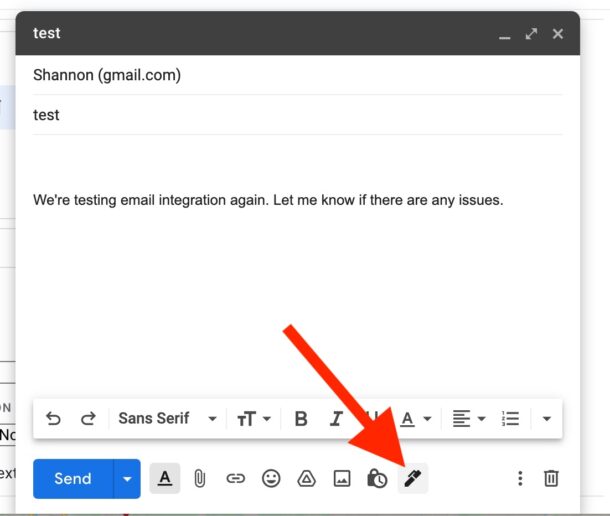
And that’s about it, your Gmail email signature has been created.
Note that email signatures created in Gmail on the web will carry over to using the same email account in the Gmail app on iPhone or iPad, or even Android, and vice versa. This is convenient since if you use the Gmail app as your default mail app on iOS or iPadOS, you’ll have consistency. We’ll cover setting it up through the Gmail app directly in another article though.


I need to create a new account