How to Change or Remove Font Smoothing on MacOS Monterey & Big Sur
Are you noticing blurry text on your Mac’s display while navigating through the menu and across apps? More specifically, has this been an issue ever since you updated to macOS Monterey or Big Sur, and on a non-retina display? If so, chances are, font smoothing is enabled by default, and for some users they feel like this can result in slightly blurry text in menus and across apps. If you don’t like this, you’ll need to disable the feature in MacOS.
Until the release of macOS Big Sur, there was this setting called “Use Font Smoothing when available” which was located in the General section of System Preferences. If you were using this setting and you’re not able to find it anymore, it’s because Apple removed it for some reason. If you’re using macOS Monterey or macOS Big Sur on a regular non-retina display, you may also notice blurry text when font smoothing is disabled. Although the toggle to enable/disable font smoothing is no longer available, it can still be accessed from the system level by turning to the command line.
Looking to make the texts crispier by disabling or adjusting the level of font smoothing on macOS? We got you covered, read along.
How to Disable Font Smoothing on MacOS Monterey & Big Sur
Since the feature is still available at the system level, it can be accessed using the Terminal app and defaults write commands. Just follow the steps below to get started.
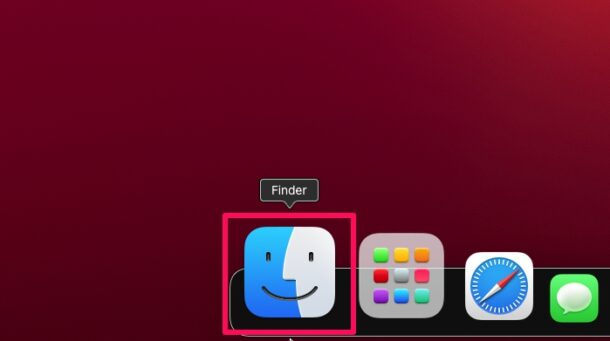
- Click on the Finder icon located in your Mac’s Dock.

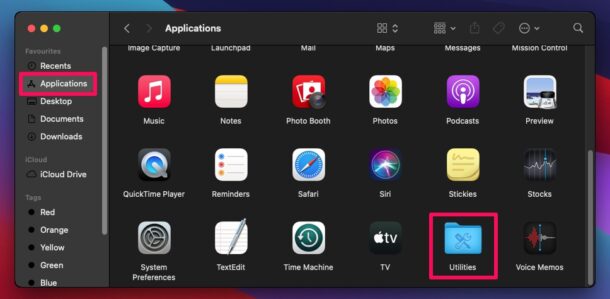
- This will open the Finder window on your screen. Now, click on “Applications” from the left pane and go to the “Utilities” folder to continue.
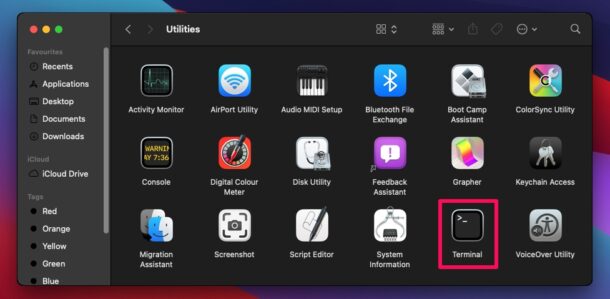
- In the Utilities folder, you’ll find the “Terminal” app. Click on it to launch Terminal on your Mac. Alternatively, you can open Terminal using Spotlight search by pressing Command + Space bar.
- Now, type in the following command and press Return or Enter:
defaults -currentHost write -g AppleFontSmoothing -int 0
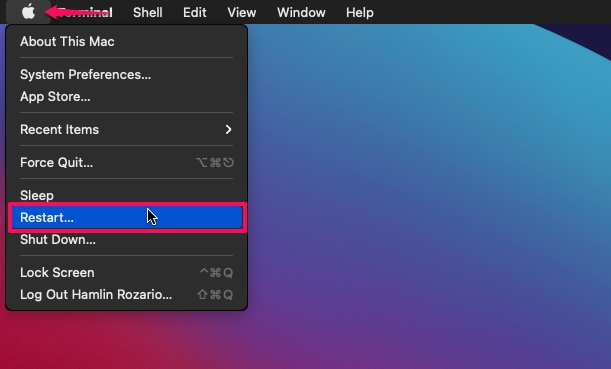
- Exit Terminal and click on the Apple logo at the top-left corner of your screen. Choose “Restart” from the dropdown menu and reboot your Mac.

That’s it. Once your Mac boots up, you should notice that the text is crispier and sharper. This can be a notable difference particularly on non-retina displays, but for users on Retina Macs they may notice not much of a difference, or the difference may be undesirable.
How to Change Font Smoothing Levels in MacOS Monterey & Big Sur
The command we mentioned above was to disable smoothing completely, but if the text is still blurry, you can adjust the level of font smoothing by slightly tweaking the command. See the integer value at the end of the command? Change that value to “1” if you want to use light smoothing, “2” if you want medium smoothing, and lastly “3” for strong font smoothing. Thus in the Terminal you would use commands like the following:
Light:
defaults -currentHost write -g AppleFontSmoothing -int 1
Medium:
defaults -currentHost write -g AppleFontSmoothing -int 2
Strong:
defaults -currentHost write -g AppleFontSmoothing -int 3
Off:
defaults -currentHost write -g AppleFontSmoothing -int 0
We’ve discussed changing font smoothing settings on Mac before a few times with similar issues when users complain of blurry text in different MacOS releases including Mojave and Yosemite, but it’s certainly worth the reminder for modern MacOS releases too, especially now that the individual system preference option is not available.
If you’re using a Mac with a non-retina display, let’s say you connected your Mac mini or MacBook to a Full HD monitor, you may need to enable some sort of font smoothing to make sure the texts are crispy again. On the other hand, if you’re already using a high-resolution retina display and you’re seeing blurry texts, disabling font smoothing may help. Some of this is really entirely a matter of user preference, because to some users text may look crisp and for others it may look blurry.
We’re guessing Apple removed the font smoothing option from System Preferences since they don’t sell non-retina Macs anymore. In fact, the MacBook Air 2017 model was their last Mac with a low-resolution display. Whether you need font smoothing or not will completely depend on your Mac’s display or the external monitor it’s connected to, and your particular preferences.
We hope you were able to get rid of the blurry texts from menu items and apps by enabling or disabling font smoothing on your Mac. What integer value did you set for font smoothing? What’s your opinion on font smoothing with your particular Mac’s display? Do share your personal experiences and voice out your opinions in the comments section down below.

Can the default system font in Monterey be changed to the system font used in Catalina?
Great article, I have bought mac mini with 4k displays and encounterd font rendering issues in Big Sur. I needed more control on the resolution and and found EasyRes in the AppStore that give me more resolution options! Combined with this I can customize my workstation to my liking!
Is it possible to return to unset state?
AppleFontSmoothing is treated as a boolean in Monterey. Entering higher numbers is the same as 1. 0 is less bold but still has anti-aliasing.
This is very helpful, but how do you find out the current setting?
defaults -currentHost read -g AppleFontSmoothing
A response of “The domain/default pair of (kCFPreferencesAnyApplication, AppleFontSmoothing) does not exist” means the value is not set, which is the same as it having a value of 0.
This is incorrect. 0 turns off the smoothing. 1 or nothing (unsetting) turns it on. Default value is unset (equivalent to 1).