How to Setup & Use iPhone as iTunes Remote (PC & Mac)
Mar 21, 2020 - 3 Comments
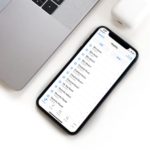
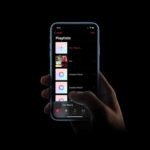
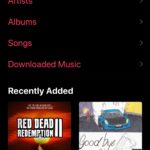
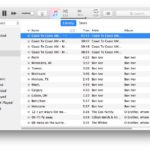
Did you know that you could use your iPhone as a remote to control your iTunes library? If you regularly use iTunes on your Windows PC or Mac for listening to music or playing back content purchased from the iTunes Store, this feature will prove to be extremely useful.