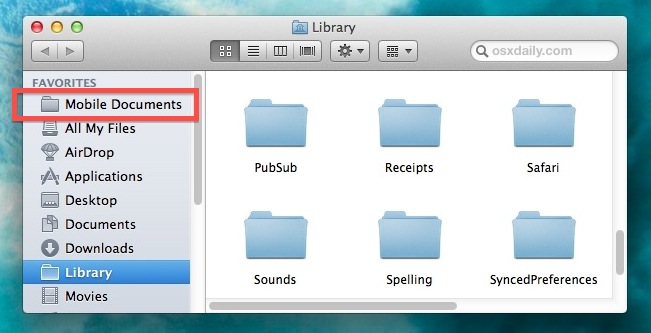
Open a Files Enclosing Folder from All My Files in OS X
Oct 8, 2012 - 11 Comments
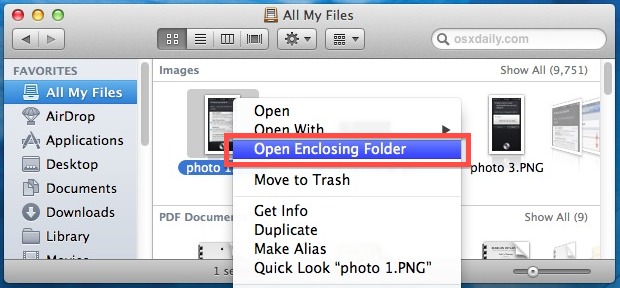
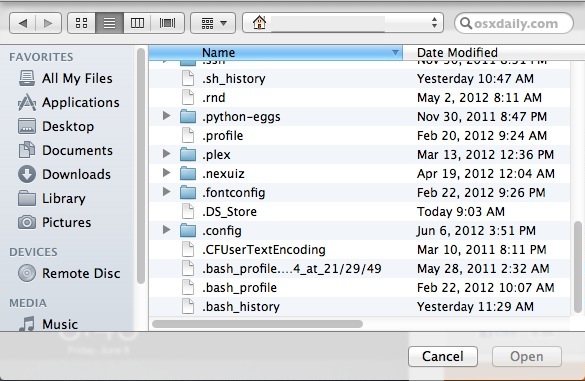
All My Files is one of those features of Mac OS X that was somewhat controversial at first, but once you start using it often, you can stop sorting files yourself in the Finder and just let All My Files, search, and Spotlight manage documents instead. Nonetheless, there are still times when you’ll want to … Read More