How to Add a Spacer to the Mac OS X Dock
You can add blank spacers to the Mac OS Dock as a way of customizing the appearance a bit. This is accomplished by issuing a defaults write command in the Terminal. Each spacer is about the same width as an icon would be, except nothing takes the place of the space, it simply separates other Dock icons from one another.
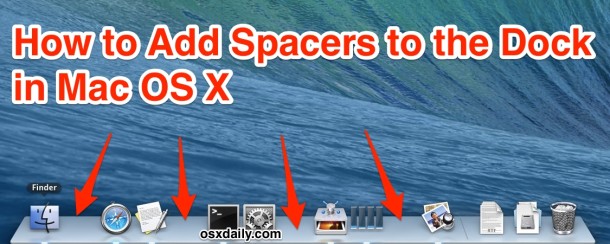
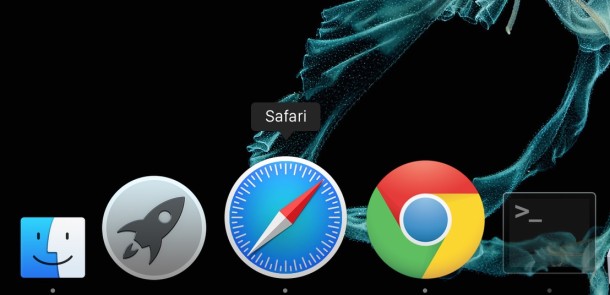
You can see the effect in the screenshots attached to this article, where spacers are inserted, visible as gaps in the Dock of Mac OS X between various icons. Want it try this yourself?
How to Add Spacers to the Dock in Mac OS X
This works to create spaces in the Dock for all versions of MacOS, here’s what you’ll want to do:
- Launch the Terminal application in /Applications/Utilities/
- To get a single spacer, copy and paste the following command into the Terminal:
defaults write com.apple.dock persistent-apps -array-add '{"tile-type"="spacer-tile";}' - You then must kill and relaunch the Dock to have the spacers appear, you can do this with the following command:
- The effect is immediate, and a spacer appears that you can move around in the Dock yourself
killall Dock
If you want multiple spacers, just issue the defaults write command the same number of times. For example, if you want 5 spacers, you’d issue the command five times, then kill the Dock for changes to take effect.

Instead of repasting the command, you can do this by hitting the “Up” arrow on your keyboard within the Terminal to bring up the previously executed commands, just hit UP until you see the defaults write string and then hit return again.
The Dock spacers can be moved by simply dragging them around the Dock like any other icon. Likewise, you can remove the spacers by simply dragging them out of the Dock.
This works in literally every version of Mac OS X, it doesn’t matter what the system software is, bet it macOS Big Sur, Catalina, Mojave, High Sierra, Sierra, Mt Lion, El Capitan, Yosemite, Mavericks, Snow Leopard, Tiger, you name it and it still works. It’s a great tip that offers a nice way to customize the Dock appearance a bit, so thanks for the tip TJ!

If you need a one click app for adding spaces to your Mac’s Dock easely, you can try Space App!
https://github.com/gianlucacerutti/space-app
cool. im experimenting with this, but how do i get it back to normal?..
Is there a way to give this separator an image instead of just being blank?
For example, I think it would be pretty cool to give it the standard dock separator image (between the apps and the documents folder), found in the dock.app folder
Great tip!
I recommend “killall -HUP Dock” (-HUP will relaunch so you don’t have to do it manually)
Hi, this feature is really cool! I own a Mac and can try to add a spacer to the dock now.
Great tip!
Thanks
/Karl