3 Ways to Make the Mac OS X Cursor More Visible for Presentations
 If you present or create screen casts with any regularity, you probably know that being able to clearly show the cursor can make a huge difference in the audiences ability to follow what you are doing on screen. This is especially true for product demonstrations and high resolution screens shown by projectors, where a tiny cursor can easily get lost.
Whether you are using QuickTime’s Screen Recorder or demoing new software to a group, here are three ways to make the Mac OS X cursor more visible for a presentation, two are free and one is a paid but professional solution.

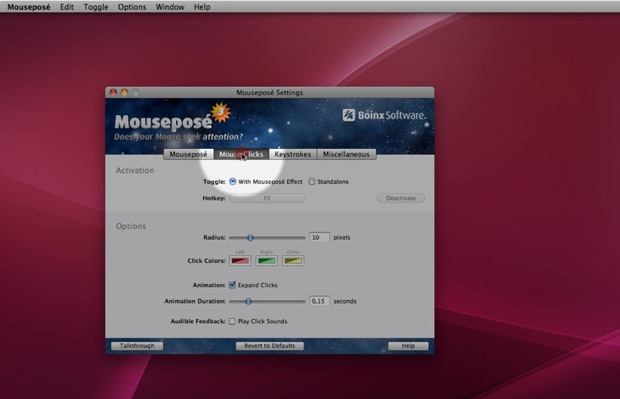
1) Mouseposé – $2.99 on the Mac App Store
By far the most attractive and the professional solution, Mousepose creates a shade around the mouse cursor to highlight where the mouse is at all times on screen. Mouseposé is also smart enough to recognize window focus and then redirect the visual highlight to that window. Finally, Mousepose will display what keys and keystrokes are being pressed, making it extremely easy for an audience to follow along during tutorials, walkthroughs, or product demonstrations. Whether you are a full time presenter or casual screen caster, Mousepose is an invaluable addition to your toolkit.

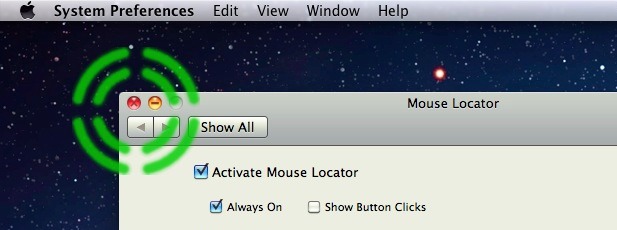
2) Mouse Locator – Free
Mouse Locator is a simple preference add-on that can be either triggered by a keystroke or always enabled, it creates a green crosshair of sorts around the cursor making it easy to identify on screen. The primary weakness with Mouse Locator is that the default green image doesn’t look as professional as Mousepose’s offerings, but if you don’t mind designing one yourself then you can use your own cursor by creating a transparent PNG file named “MouseLocator.png” and placing it in your ~/Pictures folder. The customization aspect makes this a good free solution.

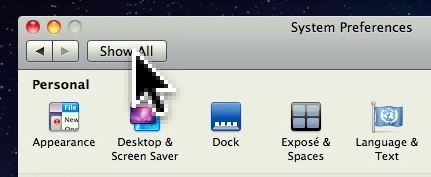
3) Increase the Cursor to a Larger Size – Free and no downloads required
You can do this yourself directly in Mac OS X’s Universal Access preferences, just adjust the slider to make the Mac cursor significantly larger and very easy to see on the screen. If you are looking for a free solution that makes the mouse cursor very easy to identify on screen and requires no additional downloads, this works fine.


Mouse Locator has a “graphics pack” where you can download a handful of other locator icons. i like the red one.
Problem RE large cursor size… good for LIVE demo, but NO screen capture software* will display the larger cursor (as of this date, with Lion 10.7.2). This is a behavior change from Snow Leopard. [* tried Snapz Pro X 2.3.3, iShowU HD Pro, Screenflow 3, QuickTime, and Lion’s own Grab app.]
Any solution yet regarding how to capture screen with an enlarged cursor??
Just found pinpoint (http://itunes.apple.com/us/app/pinpoint/id408265505?mt=12) on the MAS for $0.99
Also Mouseposé looks like it is also $0.99 at the moment.
Another great one is OmniDazzle. It has several mouse enhancements. Selecting the Flashlight in OmniDazzle will give a great spotlight on things you want to highlight.
Another excellent (and free) option is OmniDazzle by OmniGroup.
http://www.omnigroup.com/products/omnidazzle/
OmniDazzle looks fantastic, thanks for the recommendation
This is a great app.
It should be noted that while increasing the size of the cursor in Snow Leopard (method #3) looks horrible, Lion offers a perfectly smooth cursor when enlarging it. Yet another reason to upgrade to Lion!
It looks nice in Yosamite too, but any screen recording in quicktime shows a small cursor!
Any solution yet regarding how to capture screen with an enlarged cursor??