How to Quickly Create Beautiful Abstract Wallpapers for iOS 7
Many have noticed that iOS 7’s overall appearance is largely dependent on the devices wallpaper, and a good or bad wallpaper can make or break the look of things along with general usability, particularly for the home screen. It turns out that some of the best looking wallpapers on iOS 7 are very abstract, multicolored, blurry images, and that’s what we’re going to focus on making here. I’ve sort of perfected a quick formula for creating nice wallpapers in iOS 7 directly on an iPhone, iPad, or iPod touch, using an excellent free photo editing app called Snapseed. Snapseed is really great at making very nice professional looking photo adjustments on the go, but we’re going to use it to go the other direction; make a bad photo look even worse, thus creating an abstract blurred image that actually makes an excellent wallpaper.
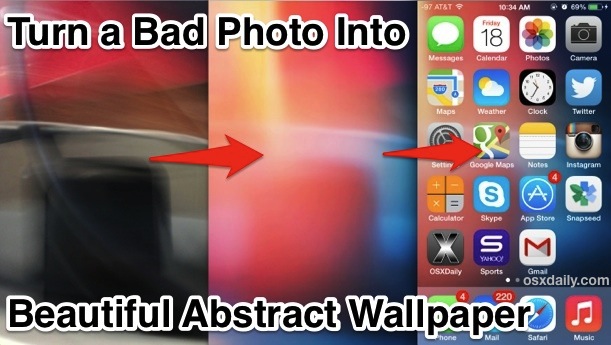
Before doing anything else, you will need to download Snapseed from the App Store for iOS, it’s free and works great on any iPhone, iPad, or iPod touch. The Snapseed UI is a little odd at first but after a minute or two of playing around you’ll figure it out and be a master. It’s very gesture based, with tap-and-hold bringing about filtering adjustment options, and swipes left and right to boost or reduce filter strengths. We’re not doing a general tutorial for it here but don’t worry, you’ll figure it out quickly for these purposes.
1: Take a Terrible Picture
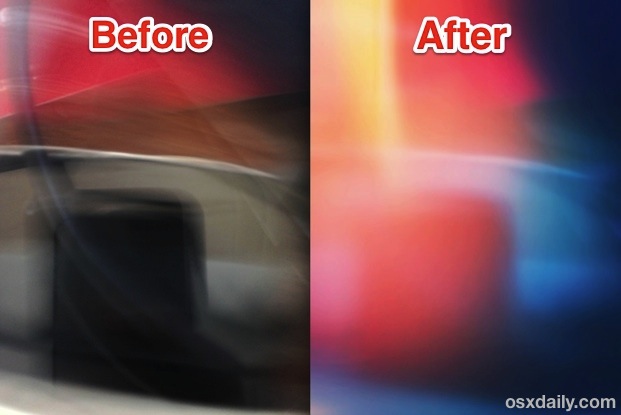
Are you bad at photography? Me too, so you and I are going to be great at this. Yes, seriously, break out the iOS Camera and take an awful picture, the worst you can imagine. My preferred trick for taking a bad picture is to start waving the iPhone (or iPad, but don’t accidentally hit anyone with it please) from side to side over your mismatched hyper-color socks, a messy tangle of multi-colored computer cords, or your coworkers face the next desk over while he’s telling you to stop or he’ll report you to HR. Hit the shutter button while the camera is moving, the result will be some blurred out garbage photo that you’d normally toss out immediately. Yup that’s perfect, you’re such a good artist. OK if you’re not sure what we mean by a bad picture, here are two examples of awful photos that quickly turned into great wallpapers.
This is a blurry photo of a couple USB cables, an iPhone charger, a MacBook, and a Starbucks gift card. Looks awful you should be ashamed of yourself right? Bingo, it’s a beauty for this assignment and turned into a great wallpaper!
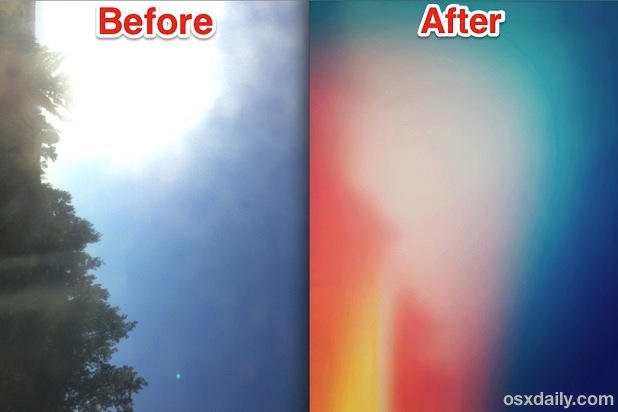
Or how about this awfully blown out over-exposed picture of the morning sun with some unfocused trees thrown in there, then rotated on it’s side. It hurts the eyes, an absolute hideous disgrace of pixels. You’re fired of rather I mean hired, because this piece of trash became a beautiful wallpaper Picasso:
How often do you get an assignment with the first step being ‘do something poorly’? This is a bad photographers slackers paradise right? I mean it, the crappier the picture the better the results. Just about any bad picture will do, but try to get some contrasting color elements and blurred in there, or not, just make sure it looks bad.
2: Open the Bad Picture in Snapseed and Adjust Poorly
The first thing I like to do is crank up the saturation and adjust colors, then blur it a bit. Snapseed makes this a piece of cake:
- Rotate to Vertical: First things first, if you didn’t take a vertical picture rotate it really quickly, do that with Photos app or using the “Straighten” option in Snapseed to rotate it 90° and set it vertically
- Tweak Colors: Tap the “Tune Image” button and use the “White Balance” option to adjust the bad picture into a color scheme you want to use for a basis for the wallpaper, then use “Saturation” to boost the intensity of the color a bit
- Blur: If the bad picture isn’t blurry enough, use Snapseed’s “Tilt Shift” option to make it very blurry, just throw the focal point to the far side of the picture and crank up the blur to 100% – go ahead and apply the Tilt Shift filter twice or three times if you don’t think your photo is blurry enough
Your phenomenal artistic progression will look something like this:
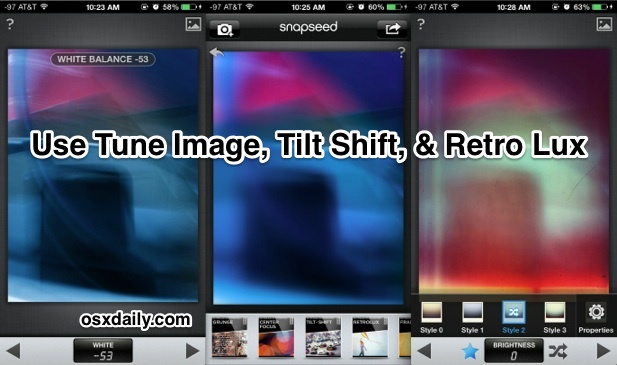
Still looking pretty awful, huh? Yup sure is, and you’re almost done!
3: Use Snapseed Retrolux to Jump Into Abstraction-ville
Retrolux is a hipster paradise filter within Snapseed that intends to make photos look like they came from a broken 1970’s Polaroid camera, complete with severe overexposure, textures, and light leaks. It looks genuinely terrible, meaning it’s perfect for what we’re looking to do here.
- Choose the “Retrolux” filter option and tap the star icon to summon the preset options
- Pick a preset and start hitting the little arrow button to toggle various styles until you find one that is heading in the right (or wrong) direction, focus on the crazy colors and light leaks
- Now start adjusting that specific filter; crank up the light leaks, ditch the scratches if they’re not your thing or increase them if you like textures, boost the “Style Strength”, play with saturation, and in short order you should be looking good
- When satisfied tap the > arrow button, then the share button in the corner to save your wallpaper
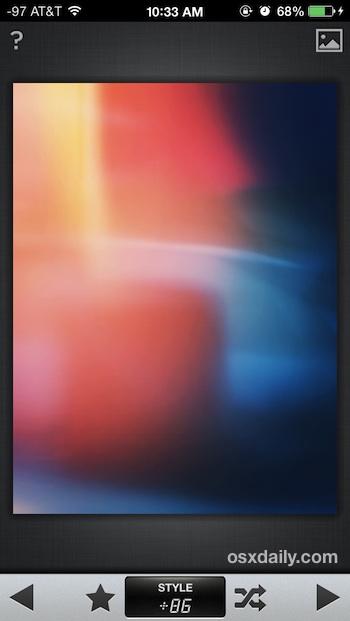
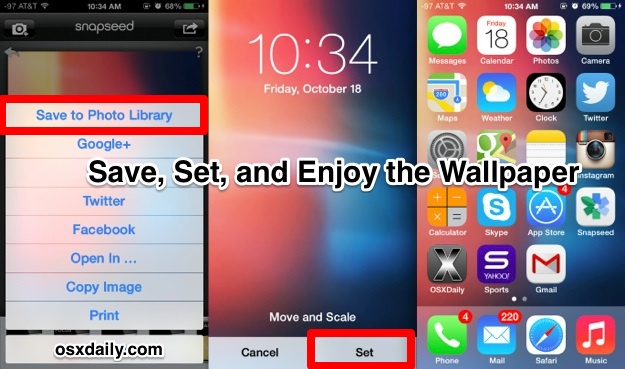
Wait what, what just happened? That ugly piece of garbage is suddenly a beautiful abstract multi-colored wallpaper just like you’d find in some wallpaper roundup post of digital abstract beauty. And you made it all yourself, you artist you. Give yourself a star sticker, Pablo.
4: All Done, Set Your Wallpaper!
Now that all the hard work is over in a grand total of one minute, you’re ready to temporarily retire from your newfound career as an abstract artist and set that beautiful masterpiece as your wallpaper (assuming some glorious patron of the arts doesn’t buy it first right?). Do that through the normal means, whether through Settings > Wallpapers & Brightness, or through Photos > tap the photo > choose Use As Wallpaper.
Looks pretty great, doesn’t it? Here are the two images used in the bad picture example sitting pretty as wallpapers. Shed a tear in awe of their beauty.
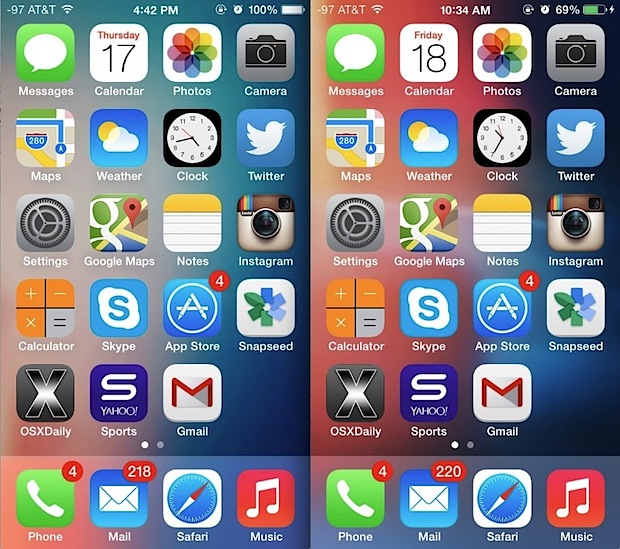
Ok you’re on your own now, take some awful pictures and have fun!

