How to Use Portrait Lighting Mode on iPhone Camera
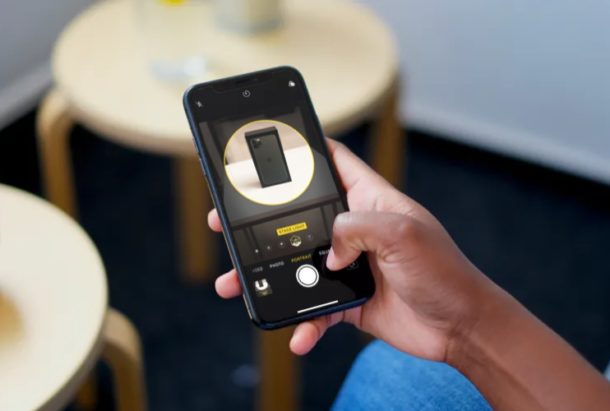
Portrait Lighting is a powerful photography tool available on newer iPhone models cameras. Apple aimed to bring studio-quality effects to the camera app by analyzing light on a subject in real-time while in portrait mode, and the result is the portrait lighting mode feature.
There are five different studio-like effects to choose from, in the Portrait Lighting mode. They’re simply called Natural Light, Studio Light, Contour Light, Stage Light and Stage Light Mono, each of them attempting to add a professional touch to your photos.
If you’re one of those iPhone users who are interested in taking advantage of these unique effects, you’ve come to the right place. In this article, we’ll be discussing exactly what each of these effects does and how you could use Portrait Lighting on your new iPhone.
How to Use Portrait Lighting Mode on iPhone
In order to take advantage of this tool, you’ll require at least an iPhone 8 Plus or later. Without further ado, let’s take a look at the steps below to learn and start using these Portrait Lighting effects.
- Open the stock “Camera” app from the home screen of your iPhone.

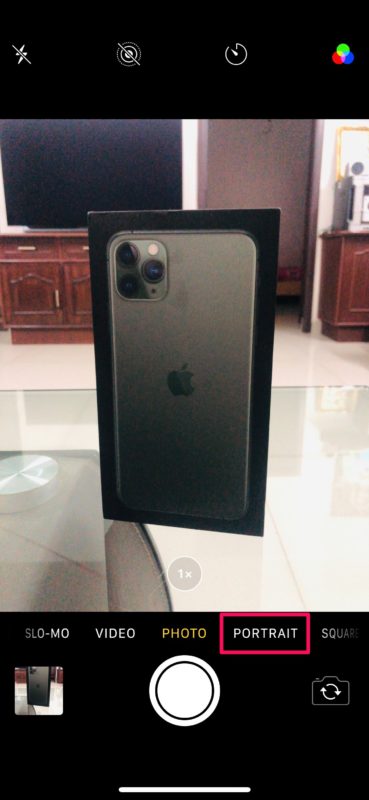
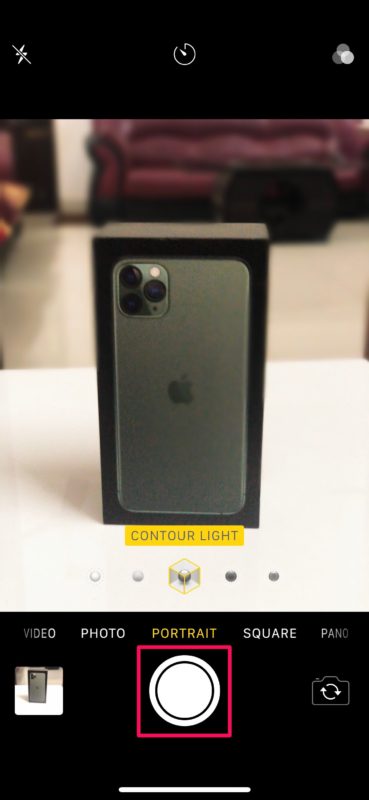
- Tap on “Portrait” which is located right next to the highlighted Photo section, as shown in the screenshot below.

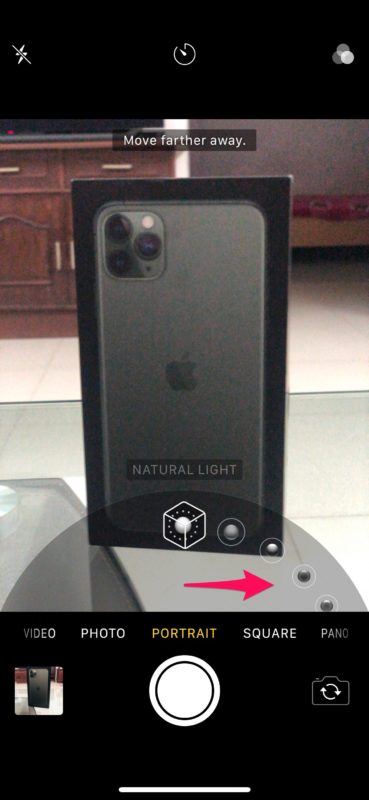
- Now, you’re in the dedicated Portrait Lighting section of the camera app. Here, you’ll be able to scroll through all the five studio-like effects and select the one you prefer. First, we have the “Natural Light” mode which is nothing but the standard Portrait mode that adds a shallow depth of field, also known as the so-called “bokeh” effect.

- Next up, we have “Studio Light”. In Layman’s terms, this mode bumps up the exposure, thereby making the image noticeably brighter than “Natural Light”.

- Moving on, we have the “Contour Light” which is an effect that casts shadows on to the subject and even defines its edges for a slightly sharper bokeh.

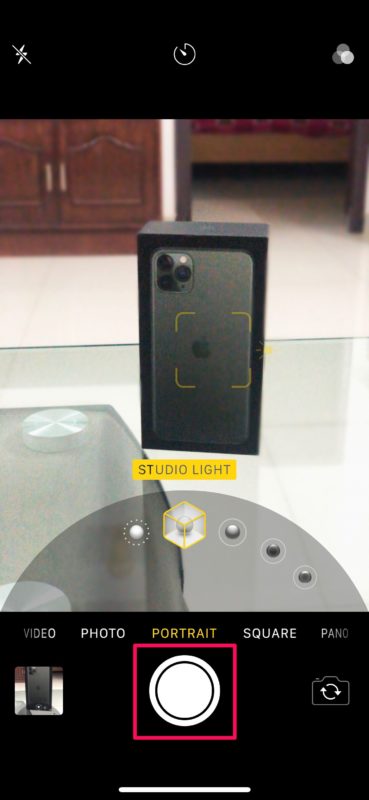
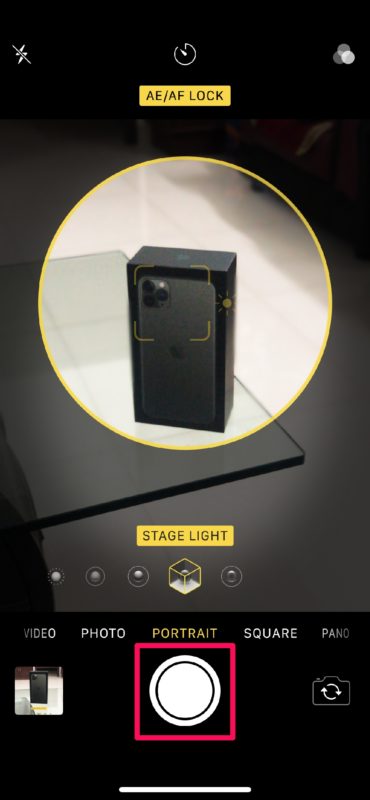
- Lastly, we have “Stage Light” and “Stage Light Mono”, a unique effect that analyzes the depth in the picture and cuts out the background while maintaining the lighting on the subject for a studio-like portrait feel. You simply need to make sure that the subject is placed within the circle before pressing the “Capture” button.

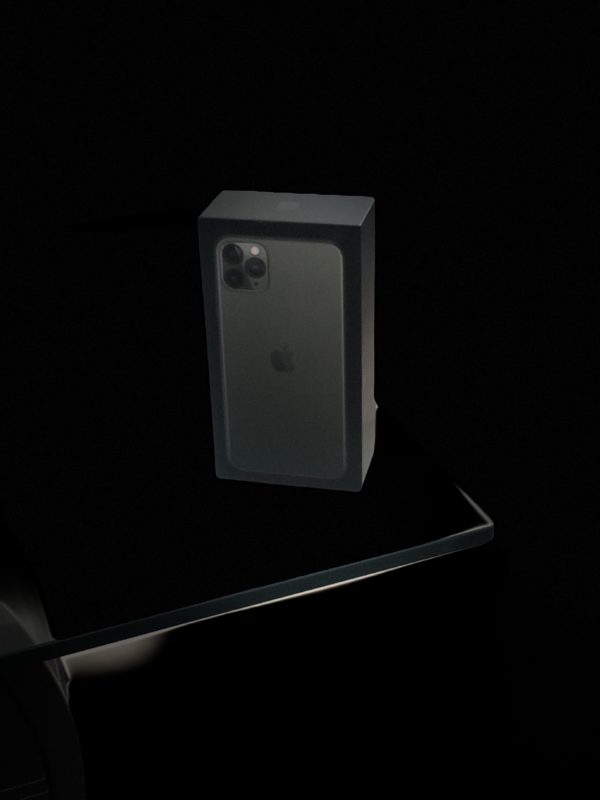
- As you can see here, it’s not always perfect. Sometimes this mode is either a hit or miss, but it usually works best when you’re taking the picture of someone’s face. “Stage Light Mono” is pretty much the same as Stage Light, except that the result is in black & white or monochrome.

And now you know how to get started with Portrait Lighting on your new iPhone.
The Camera UI gives subtle cues to help you get a good portrait shot, for example, you’ll be asked to move farther away from the subject if you’re pretty close and the selected Portrait Lighting effect will be highlighted in yellow whenever you’re clear to take a picture.
If the iPhone you own has a dual or triple camera setup, this mode will utilize the 2x telephoto lens to grab the portrait photo. This telephoto lens is usually inferior in comparison to the standard wide lens when it comes to overall quality and noise levels, so if you’re trying to take a portrait photo indoors or in low-light conditions, you’ll be quick to notice the noise in your results.
That being said, it’s worth noting that if you’re using an iPhone XR or iPhone 11 (or better) which lacks a dedicated telephoto lens, the Portrait Lighting mode only works on people. Additionally, with the exception of the iPhone 8 Plus, all recent iPhones are also capable of using the front-facing camera for taking Portrait selfies.
Not satisfied with the lighting mode you used? Don’t fret, as you can always edit and switch between the lighting effects anytime within the Photos app. If you’re using an iPhone XS or later, you’ll also be able to adjust the background blur using the Depth Control slider located right below the lighting effects.
It has been over two years since the feature was made available to the public, and Apple has continuously kept tweaking and improving Portrait Lighting with each major software update, so we could expect further improvements to the feature as time goes on.
Did you manage to capture some stunning Portrait mode photos on your new iPhone? How consistent were your results and how often do you think Portrait Lighting is going to come in handy? Do let us know your thoughts and opinions in the comments section down below.


A portrait of a dumb box is a dumb subject for portrait mode. This use does not reveal how the portrait mode affects human features which is the nexus of ‘portrait mode’.
Hey James, you are welcome to submit some portrait photos of yourself or a subject and we’ll use those as examples!
It won’t work unless a face is detected, [“no person detected “ will appear on the screen]
why in the world post this “how to” using a iPhone box as subject, without knowing that?
OK, if you want to take a portrait of someones face with your iPhone camera then do so. You can also take pictures of other things if you want to with portrait mode, that is your decision and your camera to take photos with. The article demonstrates how to use Portrait Lighting mode, what is the complaint here?
“…adds a shallow depth of field, also known as the so-called “bokeh” effect.”
Shallow depth of field or blurred background is not bokeh.
Bokeh refers to the way in which a particular lens renders out-of-focus highlights.