How to Delete Your Tinder Account on iPhone

With over 60 million users across the world, Tinder is arguably one of the most popular apps to find someone to date or make new friends to hang out with. But unlike most other social networking platforms, Tinder is not necessarily the kind of app that everyone would want to keep using in the long run, and you might reach a time where you want to delete your entire Tinder account and profile.
Most people start using Tinder when they’re interested in dating or finding friends. But, what happens when you are no longer interested or you’ve found someone special? Simply removing the app from your iPhone is not going to stop your Tinder profile from showing up on other people’s devices. This is exactly why some users may want to delete their accounts and make sure that they are no longer discoverable.
Depending on your preferences, you can either permanently delete your account, or keep it in a deactivated state where you’re no longer matched with anyone. Here, we’ll be guiding you through the necessary steps to wipe your Tinder account and profile, right from your iPhone.
How to Delete Tinder Account & Profile from iPhone
Deleting your Tinder account is similar to deleting any other social networking account if you’ve done it before. So, without further ado, let’s see what you need to do:
- Open the Tinder app on your iPhone. This will take you to the home screen where you’ll be able to see potential matches. Tap on the user icon at the top-right corner of the screen as shown below.

- Now, you’ll be shown your own profile. Tap on “Settings” to access your Tinder settings.
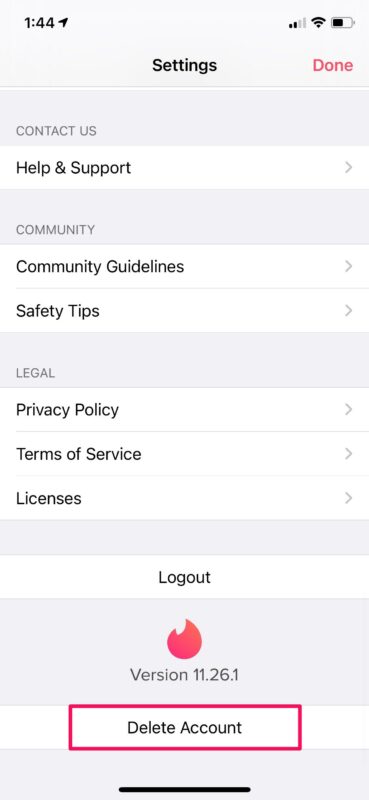
- Here, scroll down to the very bottom and tap on “Delete Account” to get started.
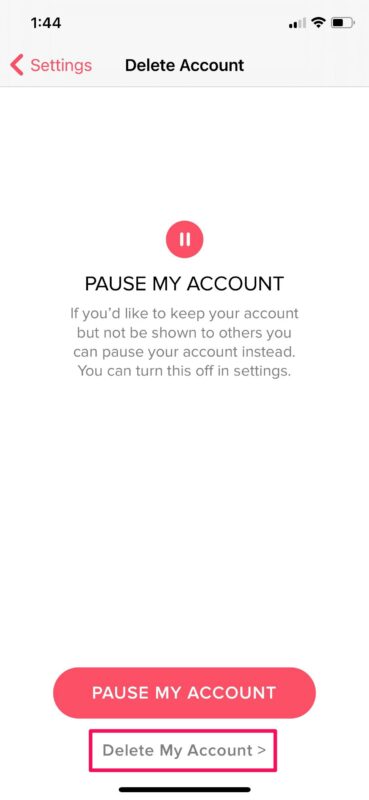
- Next, you’ll be prompted to pause your Tinder account instead of permanently deleting it. If you just don’t want to be shown to others, you can choose this. Else, tap on “Delete My Account”.
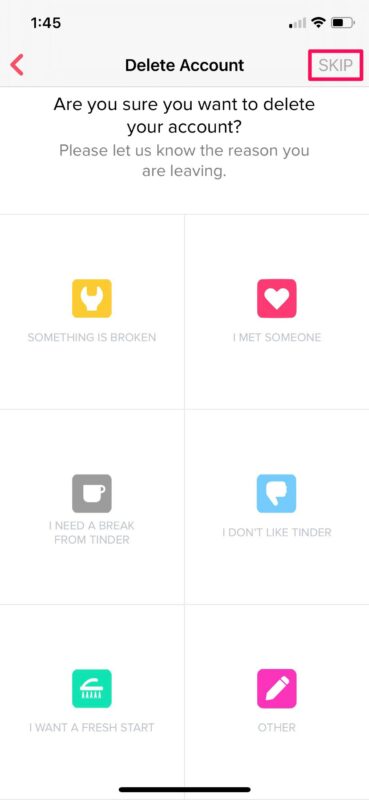
- Now, you’ll be asked to select the reason why you’re deleting your account. You can “Skip” it if you’re not interested in giving any reason.
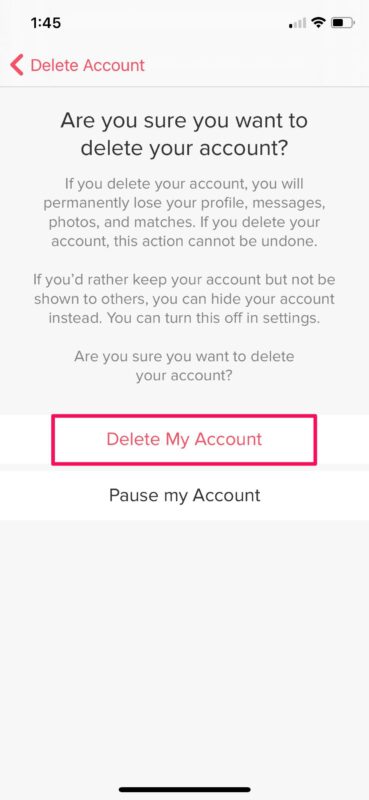
- This is the last step where you’ll be prompted to confirm your action. Select “Delete My Account” to permanently remove your account.


There you go. You no longer have to worry about your account since it’s gone for good.
Keep in mind that when you choose to delete your Tinder account, you will lose all your existing matches, messages, and other data permanently and they will not be recoverable. If you ever decide to come back, you’ll need to start from scratch with account setup and finding matches.
On the other hand, pausing your account will temporarily disable discovery for your profile, meaning no one will be able to find you on the platform as long as it’s turned off. You can re-enable discovery at any time by going to Settings -> Profile -> Show me on Tinder. Pausing your account will still allow your existing matches to communicate with you. This may be an upside or downside for some users.
If you’ve been paying for a Tinder Plus, Tinder Gold, or Tinder Platinum subscription, don’t forget to cancel your active subscription once you delete your account to make sure you don’t get accidentally charged during your next billing cycle.
Hopefully, you were able to quit using Tinder just like you wanted. What’s your reason for deactivating your Tinder account? Did you pause your account or permanently delete it? If you’re removing your account as part of a broader push to rid yourself of social media, don’t forget you can also delete your Facebook account, delete a Snapchat account, and delete your Instagram account too.
Feel free to share your personal experiences and let us know your thoughts on removing Tinder in the comments.
