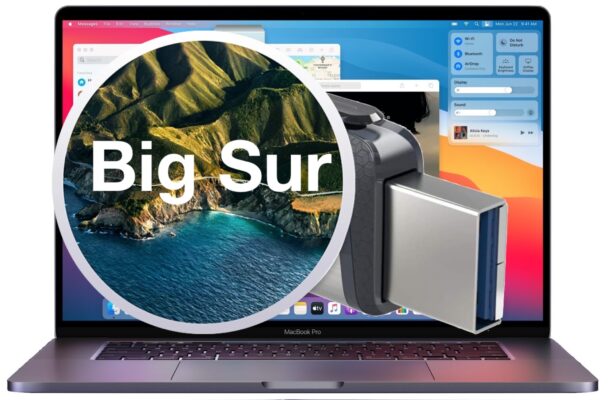
How to Create a macOS Big Sur Bootable Installer Drive

Some Mac users find it helpful to create a bootable installer drive for macOS Big Sur. Typically this is done with a USB flash key or thumb drive, and it can be used to boot up a Mac, erase, format, and of course install macOS Big Sur onto any compatible hardware.
There are many useful reasons to have a bootable installer USB drive for macOS Big Sur, whether to perform updates, installs, clean installs, install onto multiple machines, have as a troubleshooting tool, and so much more. Whatever the reason you want one, let’s check out the process of making a bootable installer drive for macOS Big Sur.
Before getting started, you will need the following:
- The “Install macOS Big Sur.app” installer application in the /Applications/ folder (downloaded (you can re-download it if you need to from Big Sur)
- A USB thumb drive (16GB minimum) – this will be formatted to become the macOS Big Sur installer
- MacOS Big Sur compatible Mac to download and create the installer, and to install onto
Be aware this requires using the command line. If you’re not familiar with the command line, be sure to backup the Mac first, and to follow the instructions exactly. If you’re not comfortable with the command line, you can also use a tool like MDS to download installers and create boot disks with.
How to Create a Bootable macOS Big Sur Install Drive
Use exact syntax at the command line, as failure to do so can result in erasing the wrong volume. Backup your Mac and proceed at your own risk.
- Download macOS Big Sur if you haven’t done so already
- Connect the USB thumb drive to the Mac, name the drive something obvious like “BigSurUSB”
- Open “Terminal” by hitting Command + Spacebar and typing ‘Terminal’ and hitting the return key, or open Terminal through the Utilities older
- Enter the exact command at the Terminal, replacing “BigSurUSB” with the name of your USB thumb drive if you changed it:
- Confirm the syntax is correct, then hit return and authenticate with an admin password to begin the process of making the USB boot drive
sudo /Applications/Install\ macOS\ Big\ Sur.app/Contents/Resources/createinstallmedia --volume /Volumes/BigSurUSB --nointeraction
Building the USB bootable installer can take a while, so let it complete, you’ll see a little indicator in the command line to let you know when it has finished and reached 100% to finish at completion.
That’s it, you’ve made the bootable USB drive for Big Sur. You can use it like any other boot drive, and install or update MacOS with it as needed.
Booting an Intel Mac with the macOS Big Sur USB Install Drive
Booting is easy:
- Connect the installer drive to the target Mac
- Restart the Mac if it’s already started up, otherwise boot it up as usual, then hold down the OPTION key on boot and select the MacOS Big Sur installer from the boot menu
Booting Apple Silicon Mac with the MacOS Big Sur Install Drive
Booting an ARM Mac with an install drive is slightly different:
- Connect the installer drive to the target Mac
- Turn on the Mac by pressing the power button, and continue holdin the power button until you see the boot options menu
- Choose the macOS Big Sur installer volume to boot from
Whether you boot an ARM Mac or Intel Mac, using the actual macOS Installer and boot disk is the same afterwards.
Mac won’t boot from the bootable install drive? This might be why
Some newer Intel Macs with a security chip that may need to enable the ability to use a boot drive:
- Reboot the Mac, then hold Command + R to go into Recovery Mode
- Pull down the Utilities menu and select “Startup Security Utility”
- Select “Allow booting from external media”
Did you create and use a bootable macOS Big Sur installer drive? How’d it go? Did you use a different approach? Share your experiences in the comments.


The correct command is:
sudo /Applications/Install\ macOS\ Big\ Sur.app/Contents/Resources/createinstallmedia –volume /Volumes/BigSurUSB
without the –nointeraction flag
Thanks Stan. Can you say why the flag command should be left off?
Very good note!
I’ve tried formatting to APFS and had errors!
Also I’m running MacOS 12.0 now.
I see the setup is taking much longer under it.
Still showing 0%…
And it’s been just over 12 minutes since I’ve started
When you format the USB drive, make very sure you do NOT format it as APFS as it won’t work. It MUST be formatted as Mac OS Extended with a GUID partition map.
Found a tool on GitHub to download the MacOS Installer components too, might be useful
https://github.com/corpnewt/gibMacOS