How to Record a Podcast on Mac with QuickTime
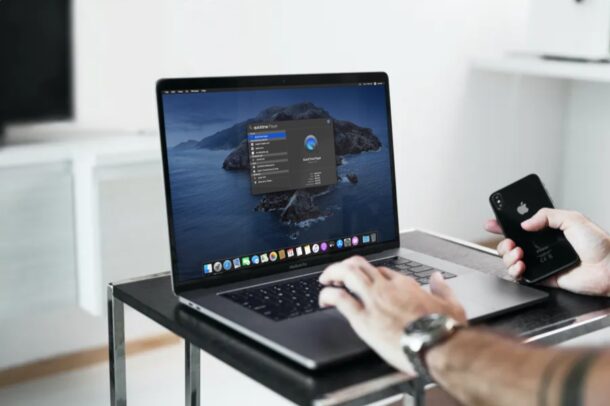
Are you looking for a quick way to record external audio on your Mac for podcasts? Or maybe, you just want to record voice or audio clips for one? There are certainly multiple ways to record a podcast on a Mac, but capturing audio clips with QuickTime is certainly one of the easiest.
If you’re looking to record a podcast, there’s a good chance that you’ve already listened to various podcasts that are available online. You might be wondering how complicated the process could be, but it’s really not that hard to record, edit, and create one. However, this does somewhat depend on the software that you use for recording the podcast. While a more advanced approach would be to use GarageBand for recording podcasts, you can also use the bundled Voice Memos app, or even the QuickTime Player app to record sound, and use that for a podcast if you’re so inclined, and that’s what we’ll be covering here.
How to Record a Podcast on Mac with QuickTime
Before you go ahead with the procedure, make sure you have a working microphone connected to your Mac, if one is needed. Mac laptops and iMac both have internal microphones, but an external microphone will offer better audio quality.
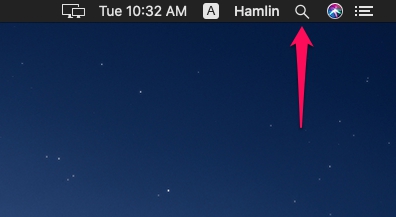
- Click on the “magnifying glass” icon located at the top-right corner of your desktop to access Spotlight search. Alternatively, you can open Spotlight by pressing Command + Space bar.

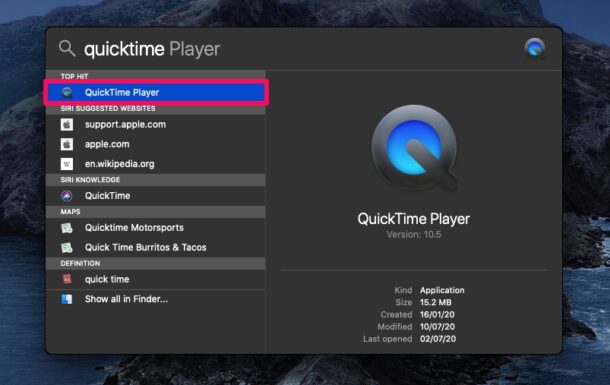
- Next, type “QuickTime” in the search field and open the software from the search results.

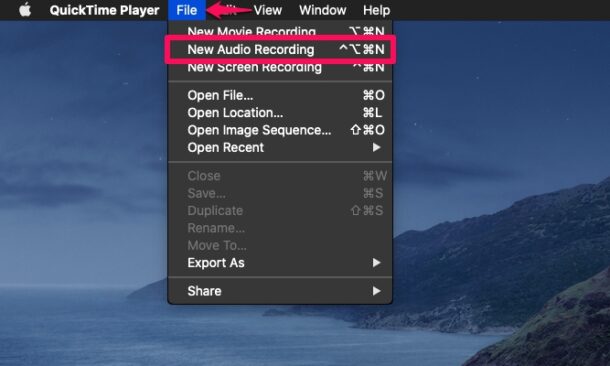
- Now, click on “File” in the menu bar and choose “New Audio Recording” from the dropdown menu, as shown here.

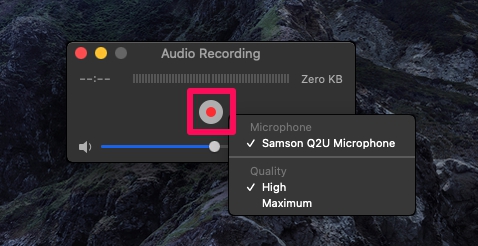
- This will open a recording window on your desktop. Click on the record icon to start recording your voice. You can set the quality of the recorded audio by clicking on the chevron icon right next to it.

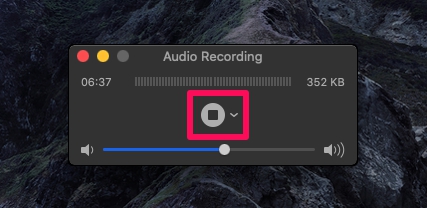
- You can click on the stop icon to end the recording, as indicated in the screenshot below.

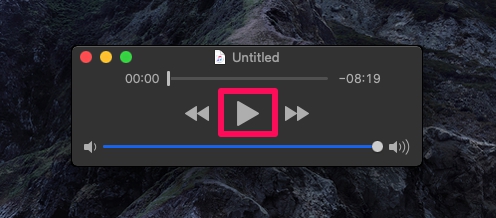
- Now, you’ll be able to listen to the recorded clip using the playback controls on the screen.

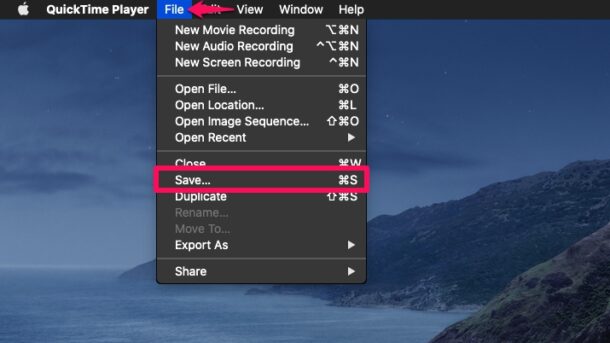
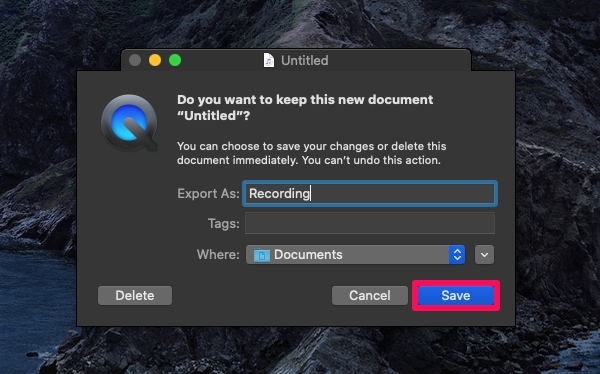
- To save the recorded clip, click on “File” in the menu bar and choose “Save”.

- This will open another window on your screen. Give a name for the recorded clip and choose the file location. Click “Save” to confirm your changes.

This is basically just saving an audio clip, but you can use these audio clips as podcasts if you’d like to, particularly if you just want a single lengthy audio recording of a long conversation, as many modern podcasts are.
You could repeat the steps above to record as many clips as you want and combine them together using an app like GarageBand or any other third-party audio editing software. Editing your podcasts is a completely different process and we’ll be covering that in a separate article if you’re interested. With GarageBand, you can add a radio-style jingle and other extra audio effects to your podcasts too. With QuickTime, you’re just recording the audio or whatever sound is being picked up by the microphone, and there aren’t a ton of editing options available. Recording with Voice Memos would offer a similar solution too, for what it’s worth.
Using QuickTime for recording your podcasts might just be the way to go, especially if you’re new to this or you just want a basic tool to record your voice. It’s simple and doesn’t overwhelm you with a set of advanced features. That being said, advanced users can install GarageBand on their Macs and use one software for both recording and editing podcasts.
If you want your podcast to sound high quality, you’ll need to connect a studio-quality USB microphone, usually either a dynamic or condenser-type for recording your voice.
What do you think about recording clips or an entire podcast using the Quicktime app? Have any experience or advice on podcasting? Let us know your thoughts in the comments.


Please show us how to edit and put together multiple audio files in Garage Band. This would really be helpful.