How to Change iTunes Media Location on Windows PC

Do you want to change the location where your iTunes media files are stored on your Windows computer? A lot of Windows users like to have control over the location where all their files are stored. Thankfully, Apple does give you the option to change this easily, if needed.
By default, all the movies, music, TV shows, podcasts, and other media-related files that show up in your iTunes library are stored within your user folder in a sub-folder with the directory Music\iTunes\iTunes Media. This means that you’ll need to open multiple folders just to access all your media which may not be ideal for several users. Some people like to quickly access the files from the desktop while others may wish to store them in their documents folder.
It doesn’t matter where you want to store them, since you can change this location to anywhere you want. Here, we’ll be taking a look at exactly how to change iTunes media location on your PC.
How to Change iTunes Media Location on a Windows PC
It doesn’t matter whether you downloaded iTunes from Apple’s website or you installed it from the Microsoft Store. The following steps are applicable to both these clients, so let’s get started:
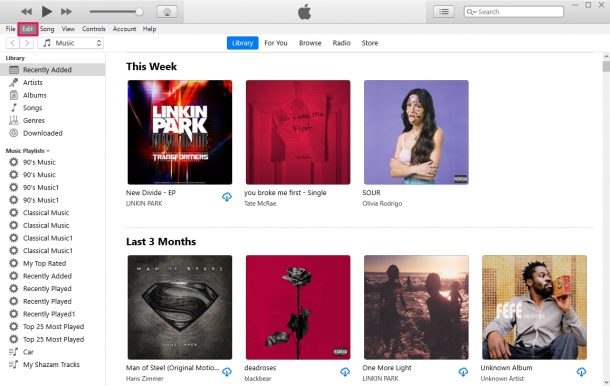
- First, launch iTunes on your computer and then click on “Edit” from the menu bar which is located just below the playback controls.

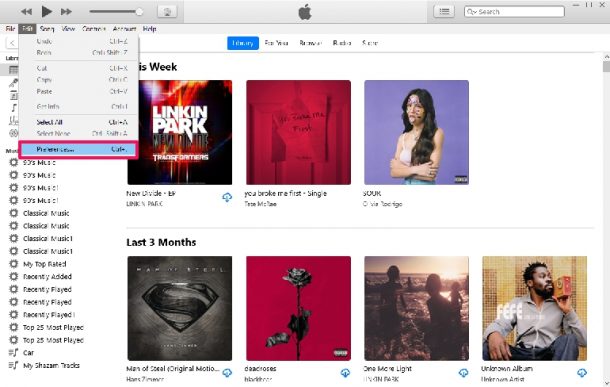
- Next, click on “Preferences” from the dropdown menu to continue.
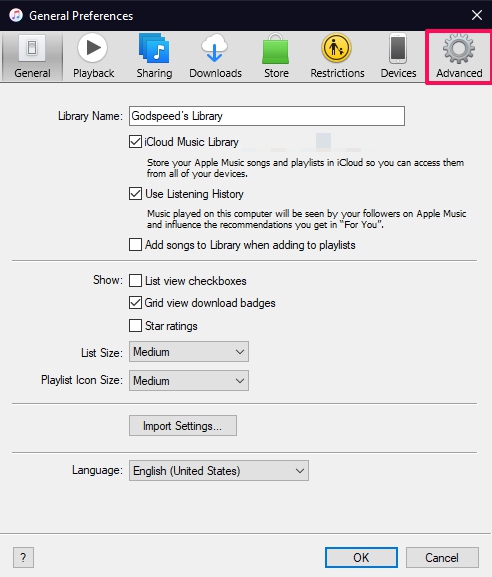
- This will launch a dedicated settings panel within iTunes. Here, click on “Advanced” from the row of options at the top.
- Here, you’ll be able to see your current directory for storing iTunes media at the top. Click on “Change” to proceed.
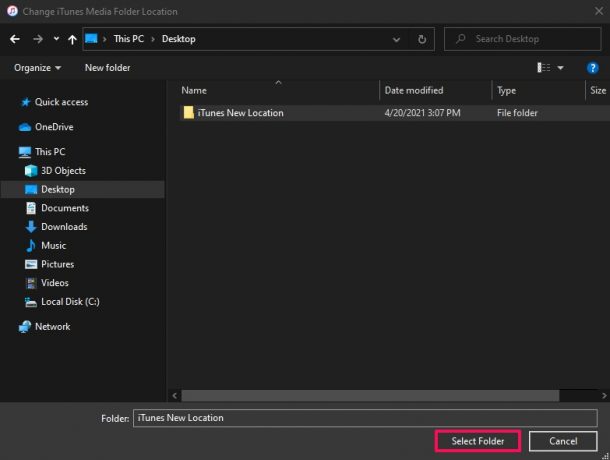
- The Windows File Explorer will now launch on your computer. You can use this to browse and select the folder where you want your iTunes files to be stored. Just click on “Select Folder” to make the changes.
- Now, click on “OK” in the preferences panel to save all your changes.

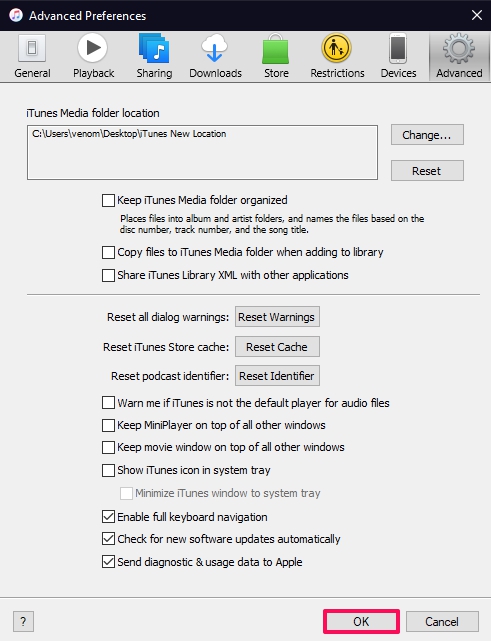
That’s it. Keep in mind that if you close the panel instead of clicking OK, the changes you made won’t be saved.
One important thing to note here is that the above procedure will have no impact on where your iTunes backup files are stored on your computer. Only your media files are affected. Unfortunately, there’s no option in iTunes that allows you to change the location of your backups.
Having said that, it’s still possible to change the iTunes backup location by creating a symbolic link in Windows using Command Prompt. If you’re interested, let us know in the comments and we’ll make sure to cover the detailed guide.
If you ever change your mind and revert the changes you’ve made to the iTunes media location, you can click on the Reset option from the Advanced Preferences panel in iTunes. This will set the default directory as the place for storing your media files.
Obviously this is focused on Windows here, since iTunes for Mac was done away with in modern versions and replaced with the Music app. But you can still change the music library folder in Music app for Mac too. And of course if you’re using an older Mac version with iTunes, you can also change the media folder in the same way, or you can move the iTunes library folder even to an external drive if you want to.
Hopefully, you were able to change the default media location for iTunes on your computer without any issues. What are your thoughts on this optional setting? Do you wish you had known about it sooner? Let us know your personal experiences and make sure to leave your valuable feedback in the comments section down below.
