How to Cancel Scheduled Emails in Gmail for iPhone & iPad
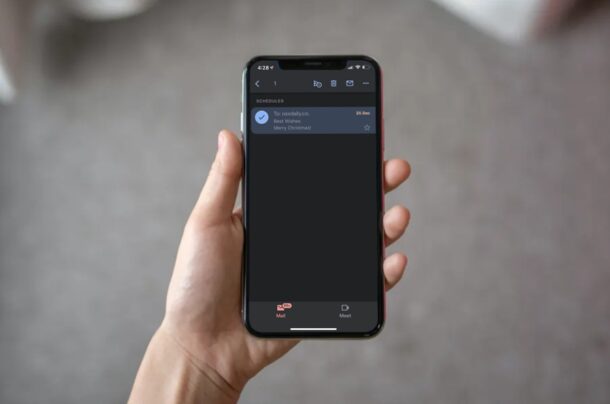
Do you use Gmail to schedule emails from your iPhone or iPad? Sometimes, you may change your mind regarding the email you scheduled, and in that situation you would want to stop it from sending automatically on the set date. Luckily, it’s really not that hard to cancel the scheduled email with the Gmail app on iOS and iPadOS.
Although the Mail app that comes pre-installed on iOS and iPadOS devices are preferred by most users to keep themselves updated on their work and personal emails, it doesn’t offer advanced features like email scheduling or being able to send confidential messages. Hence, some users who seek these features resort to third-party email clients, and Gmail is without a doubt the most popular one.
If you’ve scheduled emails recently using the Gmail app and you’re trying to figure out how to stop them from sending, we got you covered.
How to Stop Scheduled Emails in Gmail for iPhone & iPad
Before you go ahead with the following procedure, make sure you’ve installed the latest version of the Gmail app from the App Store. Once you’ve done that, simply follow the steps below to cancel a scheduled email.
- Launch the Gmail app on your iPhone or iPad and sign in with your Google account if you haven’t already.

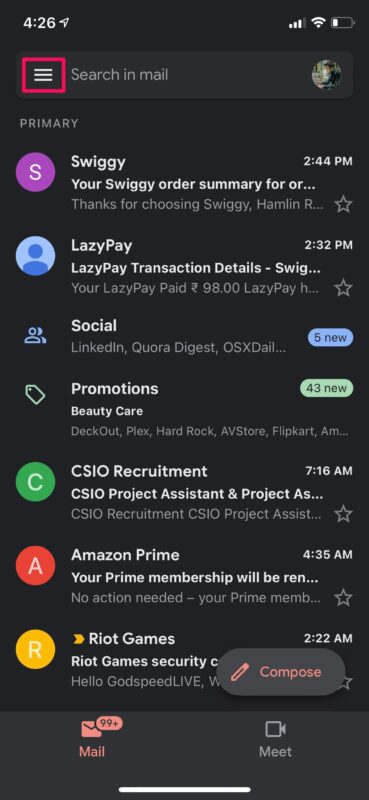
- This will take you to your Gmail inbox. Tap on the triple-line icon located next to the search bar at the top, as shown in the screenshot below.

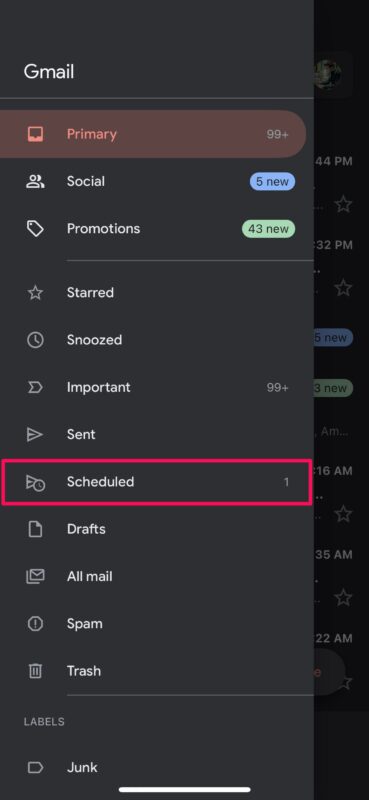
- This will launch the Gmail menu. Here, tap on “Scheduled” located just above Drafts to view all the emails you have scheduled.

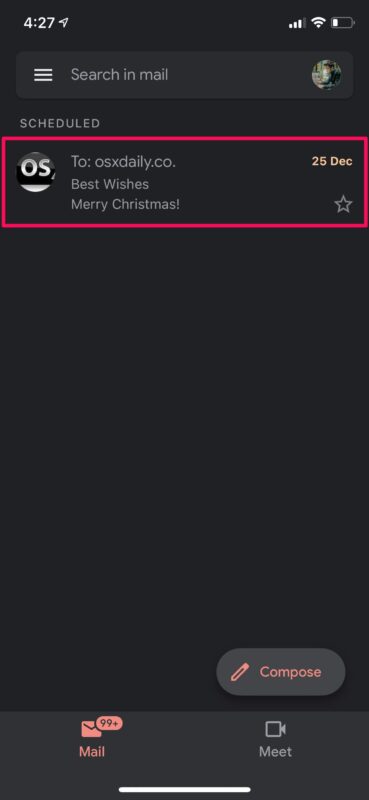
- Now, simply long-press on the email that you want to cancel.

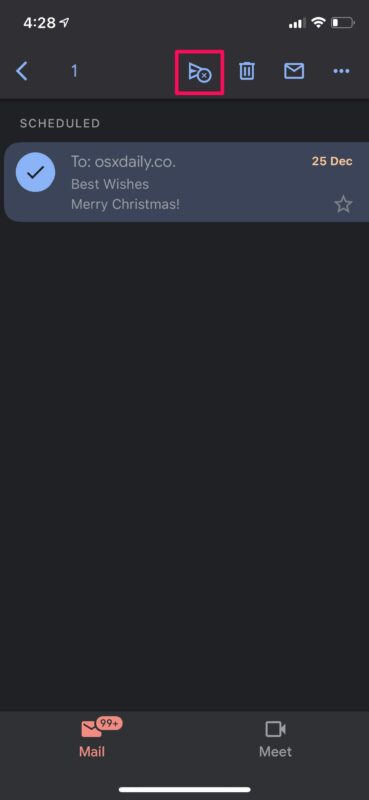
- This will select the email and give you access to more options. Now, tap on the icon with an “x” located to the left of the delete option as shown below.

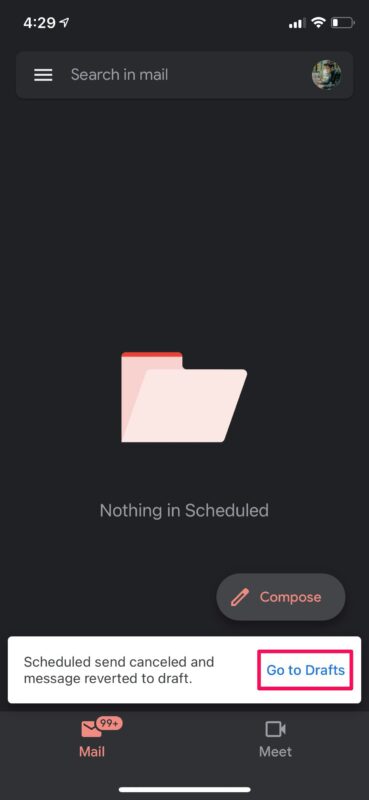
- The scheduled email will now be canceled and moved to Drafts. For a very short time, you’ll have the option to quickly go to Drafts. You can permanently remove it from there if you want to.

You’ve managed to successfully cancel a scheduled email in Gmail. You can always schedule a new email with Gmail if you need to.
Instead of using the cancel option, you can unschedule an email by tapping on the delete option right next to it too. Doing this will move the email to Trash instead of Drafts.
Note that all emails stored in the Trash will automatically be removed after 30 days.
Usually, right as you schedule a new email in the Gmail app, you’ll get a pop-up to undo your action for a few seconds. This may be helpful if you accidentally scheduled an email to the wrong address or made a mistake in the message.
If you use the stock Mail app instead of Gmail, there’s no similar feature that allows you to schedule emails, at the moment anyway. However, if you’re not interested in trying out Gmail or you use a different email service provider, you can try out other third-party email apps available on the App Store like Spark that you can use for email scheduling.
On the other hand, if you own a Mac, then there’s a workaround that you can use to schedule emails from the native Mail app. For this, you’ll be making use of the built-in Automator app to create a custom workflow and then add it as a custom event in the default Calendar app. You can learn more about this slightly complicated procedure if you’re interested.
Were you successful in canceling your scheduled Gmails? What do you think of Gmail compared to the native Mail app? Let us know your thoughts and experiences in the comments.

