How to Set the Finder Default Folder in MacOS
Finder is the native file manager on macOS which is running pretty much all the time once you log in to your system. It allows users to organize and locate all the files that are stored on their Macs. By default, launching the Finder window shows you all the recent files, but this can be changed if necessary.
Not everyone wants to see the most recent files upon clicking the Finder icon that’s located on the Dock. People have their own preferences and some may want to open a specific folder or directory to quickly access a specific set of files. For those who need it, Apple gives the option to change the default folder that Finder opens into. This setting can be accessed from Finder preferences.
If you’re fairly new to the macOS ecosystem, you may have trouble figuring this out by yourself, but we’re here to help. In this article, we’ll show you how easy it is to set or change the Finder default folder in macOS.
How to Set the Default Folder in Finder on Mac
This isn’t a new setting and therefore, the following steps are applicable for all recent versions of macOS. Let’s take a look at what you need to do:
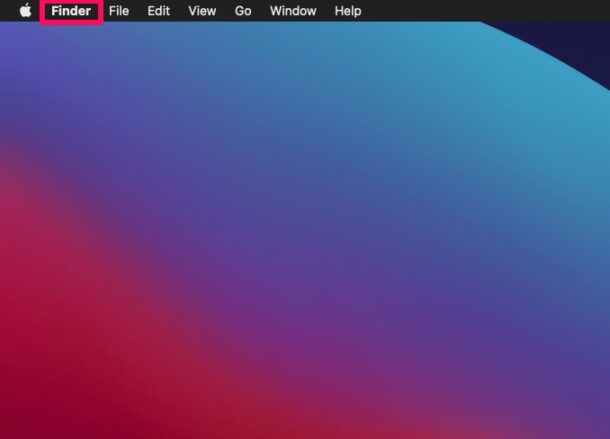
- Click on the Finder option from the menu bar as shown below. If you don’t see it, chances are, another app window is active on your desktop.

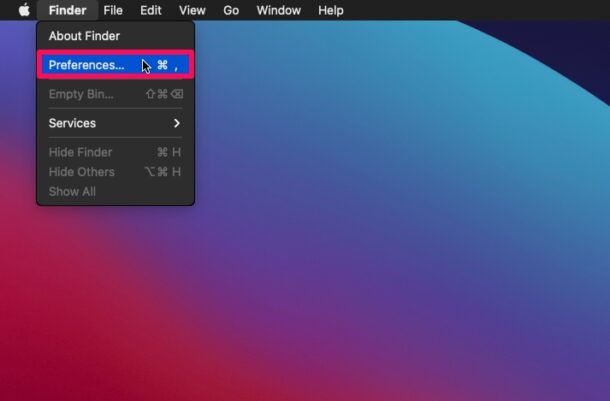
- Next, choose “Settings” / “Preferences” from the dropdown menu to continue.
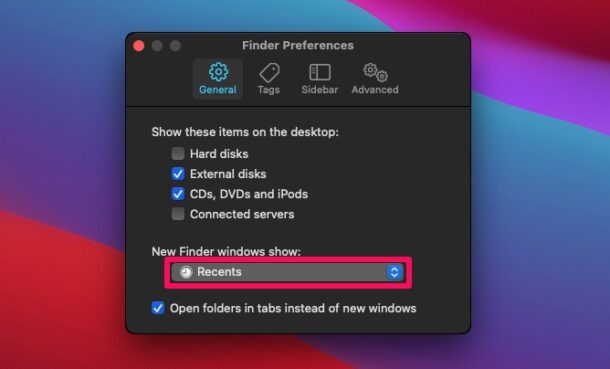
- This will launch a tiny new window on your Mac. Here, you’ll find the setting “New Finder windows show”. This is set to “Recents” by default as mentioned earlier. Click on it.
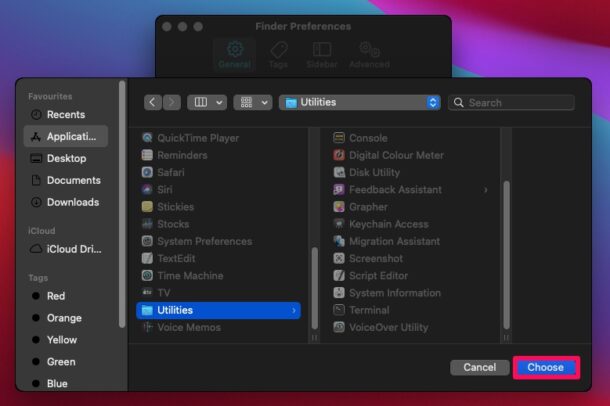
- You’ll be suggested a few folders and storage locations. Click on “Other” if you want to use a folder that didn’t show up in this list.
- Now, simply browse, locate, and select the exact folder that you want to use. Click on “Choose” to set it as the default folder.

That’s it. From now on, Finder will open the folder you selected instead of Recents.
Some users may prefer using Documents as the default Finder folder so that they can quickly access their work-related PDFs, spreadsheets, and other important files. Others may want to use the Home folder which houses all your desktop files, downloads, pictures, videos, music, and more.
There’s one important thing we’d like to point out. If you have an external storage drive connected to your Mac, whether it’s an SD card, USB thumb drive, or external hard drive, the Finder app may launch the root of that connected drive even if your Finder preferences are set to a different folder. Unfortunately, this cannot be changed.
This is one of the first things that long-time macOS users who’re aware of this setting would change while they’re setting up a new Mac. It gives them finer control over the files they can access as quickly as possible. Finder preferences also give you control over what items show up on your Mac’s desktop. You can learn more about other Finder tricks that you can take advantage of right here.
Hopefully, you were able to set the most used folder on your Mac as the default Finder folder. Which folder did you choose as the default using Finder preferences? Do you have any specific Finder-related tips to share? Feel free to share your ideas and valuable opinions in the comments section down below.

Thank you – I wasn’t aware of this aspect of the Finder and I’ve been using Macs for over 30 years. I’ve now discovered that my “New Finder Window show:” has always been set to “iCloud” and I’ve never used it. I’ve now reset it to “Recents” and I’m sure it will be hugely useful in future.
Yes