How to Take a Screenshot on Mac
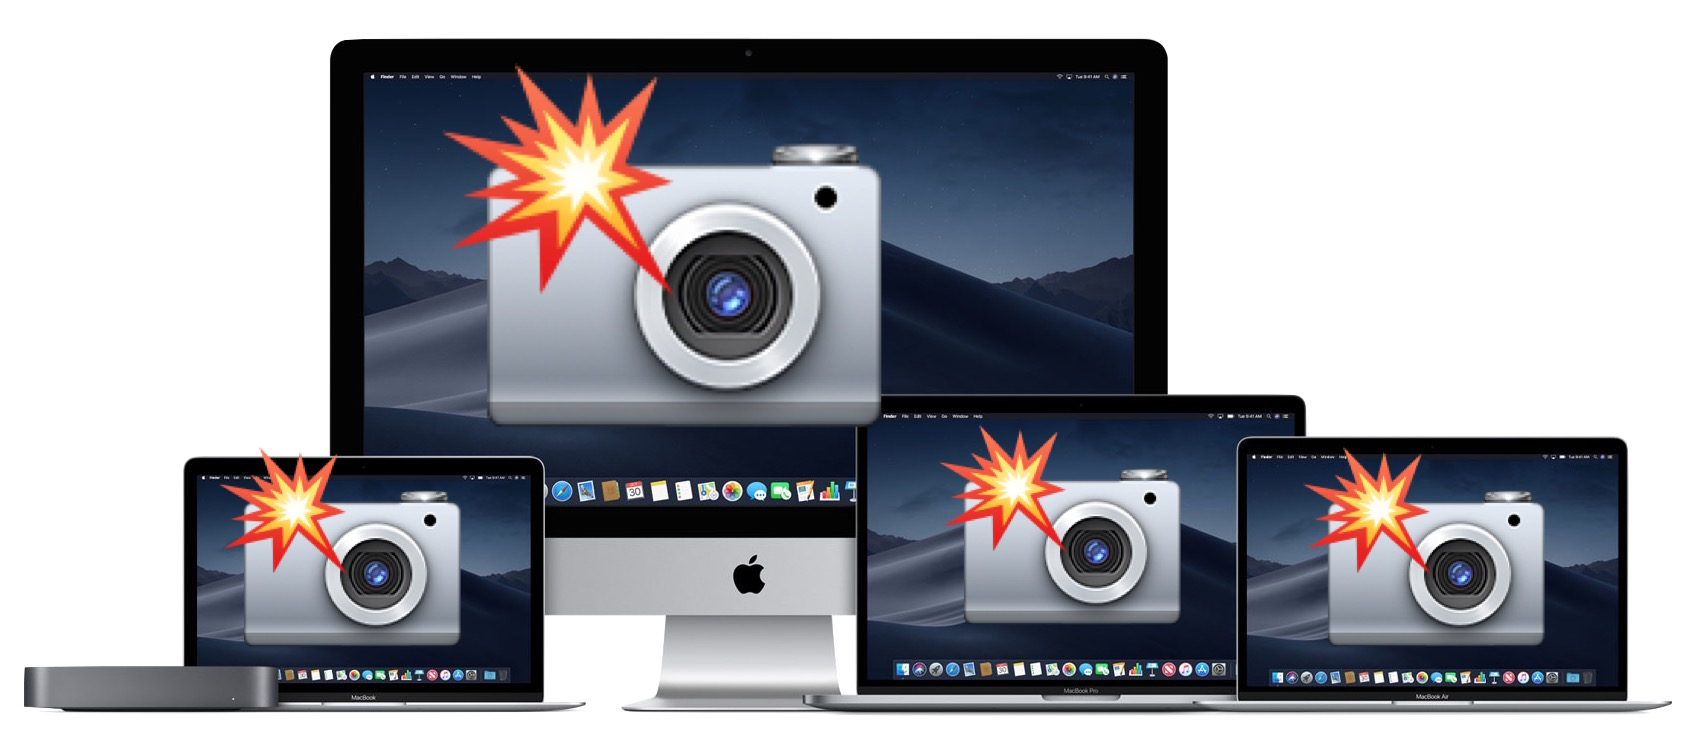
Do you need to take a screenshot of the Mac screen? Snapping screenshots on the Mac is very easy, achieved through the usage of keyboard shortcuts. Basically this means that you will press a combination of keystrokes on the Mac keyboard to capture the screenshot.
Mac OS has powerful screenshot tools that go beyond the simple print screen methods that some computer users are accustomed to from the Windows world. Read on to learn at least seven different methods to take a screenshot on any Mac computer. We’ll also have a short screenshot FAQ section about adjusting screenshot file types, screenshot saved file location, and capturing screen recordings too.
How to Take a Screen Shot on Mac: 7 Ways to Snap Screenshots
You can use any of the following keyboard shortcuts to capture and take screenshots directly in Mac OS, you can snap screenshots of the desktop, Finder, or any running and open applications. Whatever is on the screen of the Mac will be captured as an image file. If you have audio turned up on the Mac, you will hear an audible snapshot sound effect when the screenshot has bene successfully taken. The keyboard shortcuts to take screenshots on Mac are the same with all versions of Mac OS, including macOS Sonoma, macOS Big Sur, MacOS Monterey, MacOS Catalina, MacOS Mojave, High Sierra, macOS Sierra, OS X El Capitan, Yosemite, Mac OS X Mavericks, Mountain Lion, Lion, Snow Leopard, and basically any other version of Mac OS or Mac OS X that you’ll possibly come across.
- Command + Shift + 3 takes a screenshot of the entire Mac screen. This is the most commonly used screen shot method for most Mac users
- Command + Shift + 4 brings up a selection box so you can draw a region of the screen to take a screenshot of
- Command + Shift + 4, then hit Spacebar, then click on a window to take a screenshot of a the selected window only
- Command + Shift + 5 for MacOS Mojave or later: enters a Screen Shot tool in MacOS to take various types of screen captures and recordings as desired
- Command + Control + Shift + 3 take a screenshot of the entire screen and saves it directly to the clipboard for using with Paste rather than to a file – this is basically the Mac equivalent to Print Screen for the Windows world
- Command + Control + Shift + 4 brings up the selection box to draw a region of the screen to take a screenshot of, and then saves that screenshot to the clipboard for pasting elsewhere
- Command + Control + Shift + 4, then hit the Spacebar, then click a window takes the screenshot of the selected window and and saves that to the clipboard for pasting
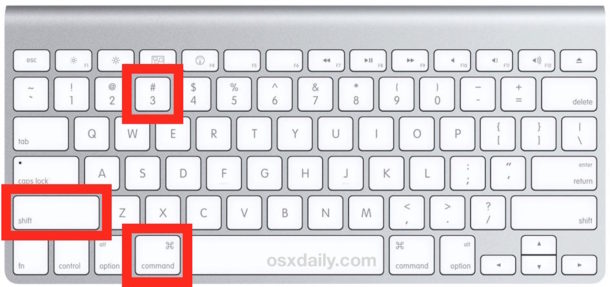
The screenshot methods where you use the Control key in addition to the other key sequences requires the use of the paste function, which means you can paste the screenshot captured into any existing document, or into a new file from Preview or any other app. Using Paste is typically achieved with Command + V or the ‘Edit’ menu > Paste, these approaches will use the copy and paste functions on the Mac.
For Mac users who have switched to the Mac from the Windows world, the Command + Control + Shift + 3 approach can be thought of as the Mac equivalent to Print Screen in that it copies the screen capture directly to the clipboard of the computer.
Where do screenshots save on a Mac?
By default the screenshot file will save on the desktop of the Mac.
The Mac screenshot location can be changed by using a defaults command as covered here.
If you use one of the screenshot keyboard shortcuts that copies the screenshot to the clipboard, the screenshot will save to the clipboard to be pasted elsewhere. The screenshot will remain in the Mac clipboard until it is overwritten by something else copied to the clipboard.
How can I change image format of screenshots on Mac?
By default the screenshot image file type on Mac will be PNG.
If you want to learn how to change the screenshot image file type on a Mac you can do so with these instructions. You can choose from various image file types for the screenshot including JPEG, TIFF, PNG, PDF, or GIF.
Can you change the name of screenshot files generated?
Yes, follow these instructions to change the screen shot file name as needed.
Can I take screenshots from the command line?
Yes, it is possible to initiate screenshots from the command line on a Mac. Read more about the screencapture command line tool here.
Can you record videos of the Mac screen?
Yes you can record a video of the Mac screen using the built-in Screen Recorder function as discussed here.
What do screenshots on a Mac look like?
Whatever is on the screen of the Mac will be captured in the screenshot. Thus screenshots look like whatever was on the display when the screenshot was initiated. That can be Mac desktop, open apps, windows, games, or anything else on the screen.
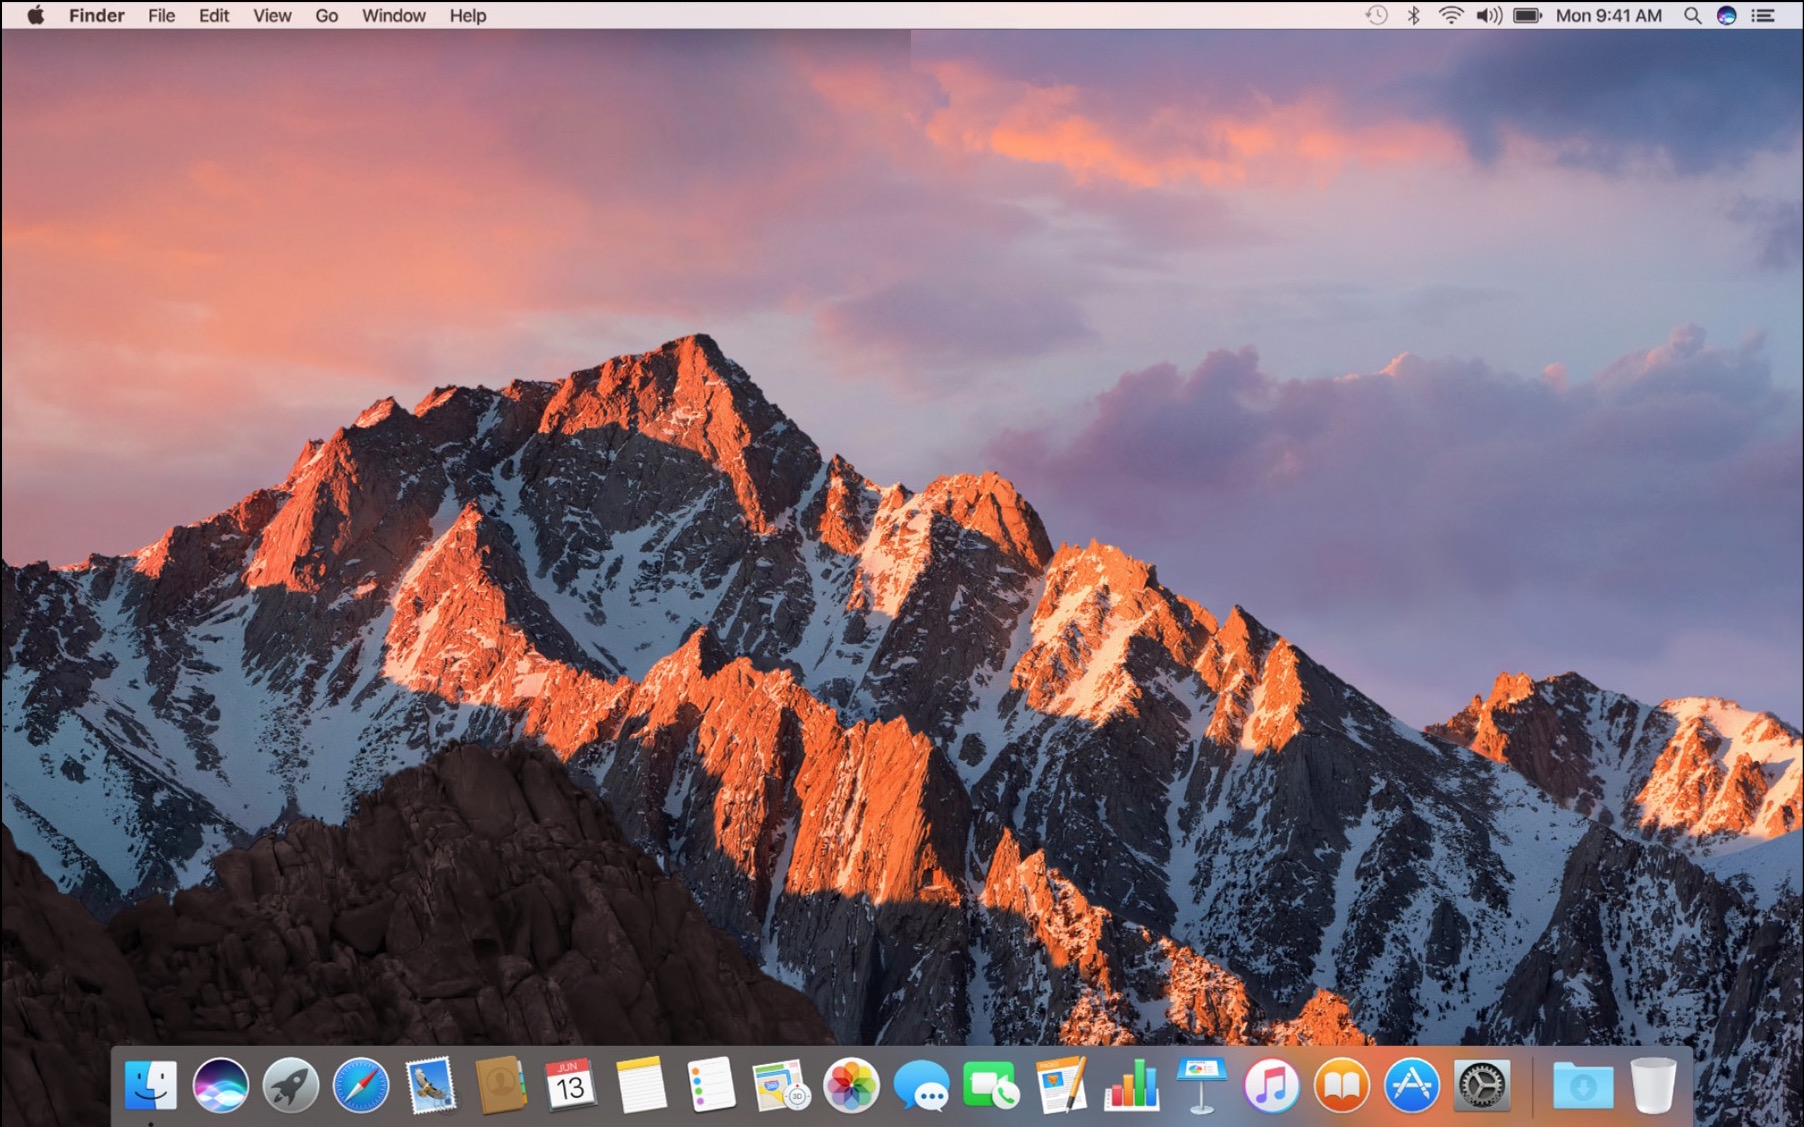
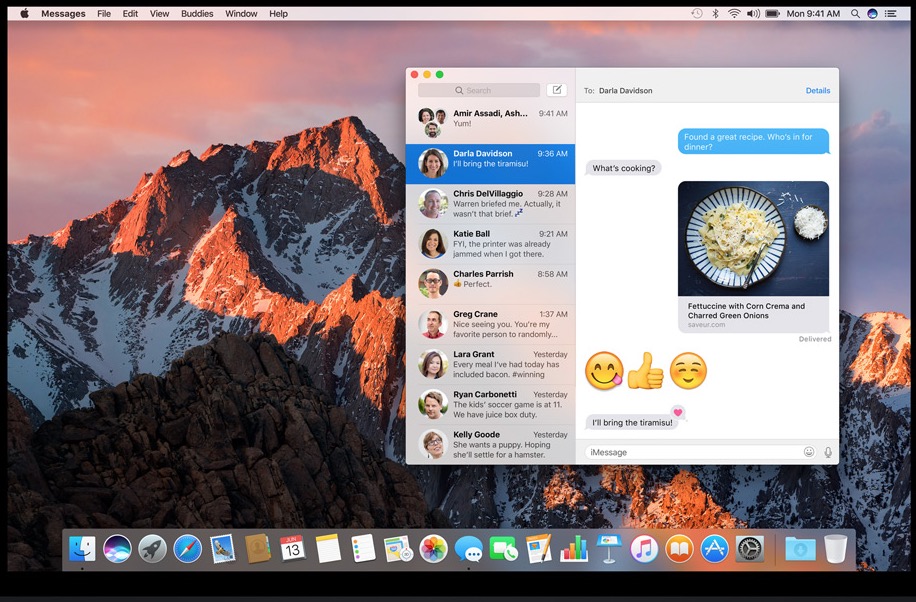
Here are some example screenshots from Macs, taken with the keyboard shortcuts to capture screenshots discussed above.
A sample screenshot of a Mac desktop:
An example screenshot of an application open on a Mac:
An example screenshot showing a game running on Mac:

An example of a screenshot showing an application running a virtual machine on a Mac:
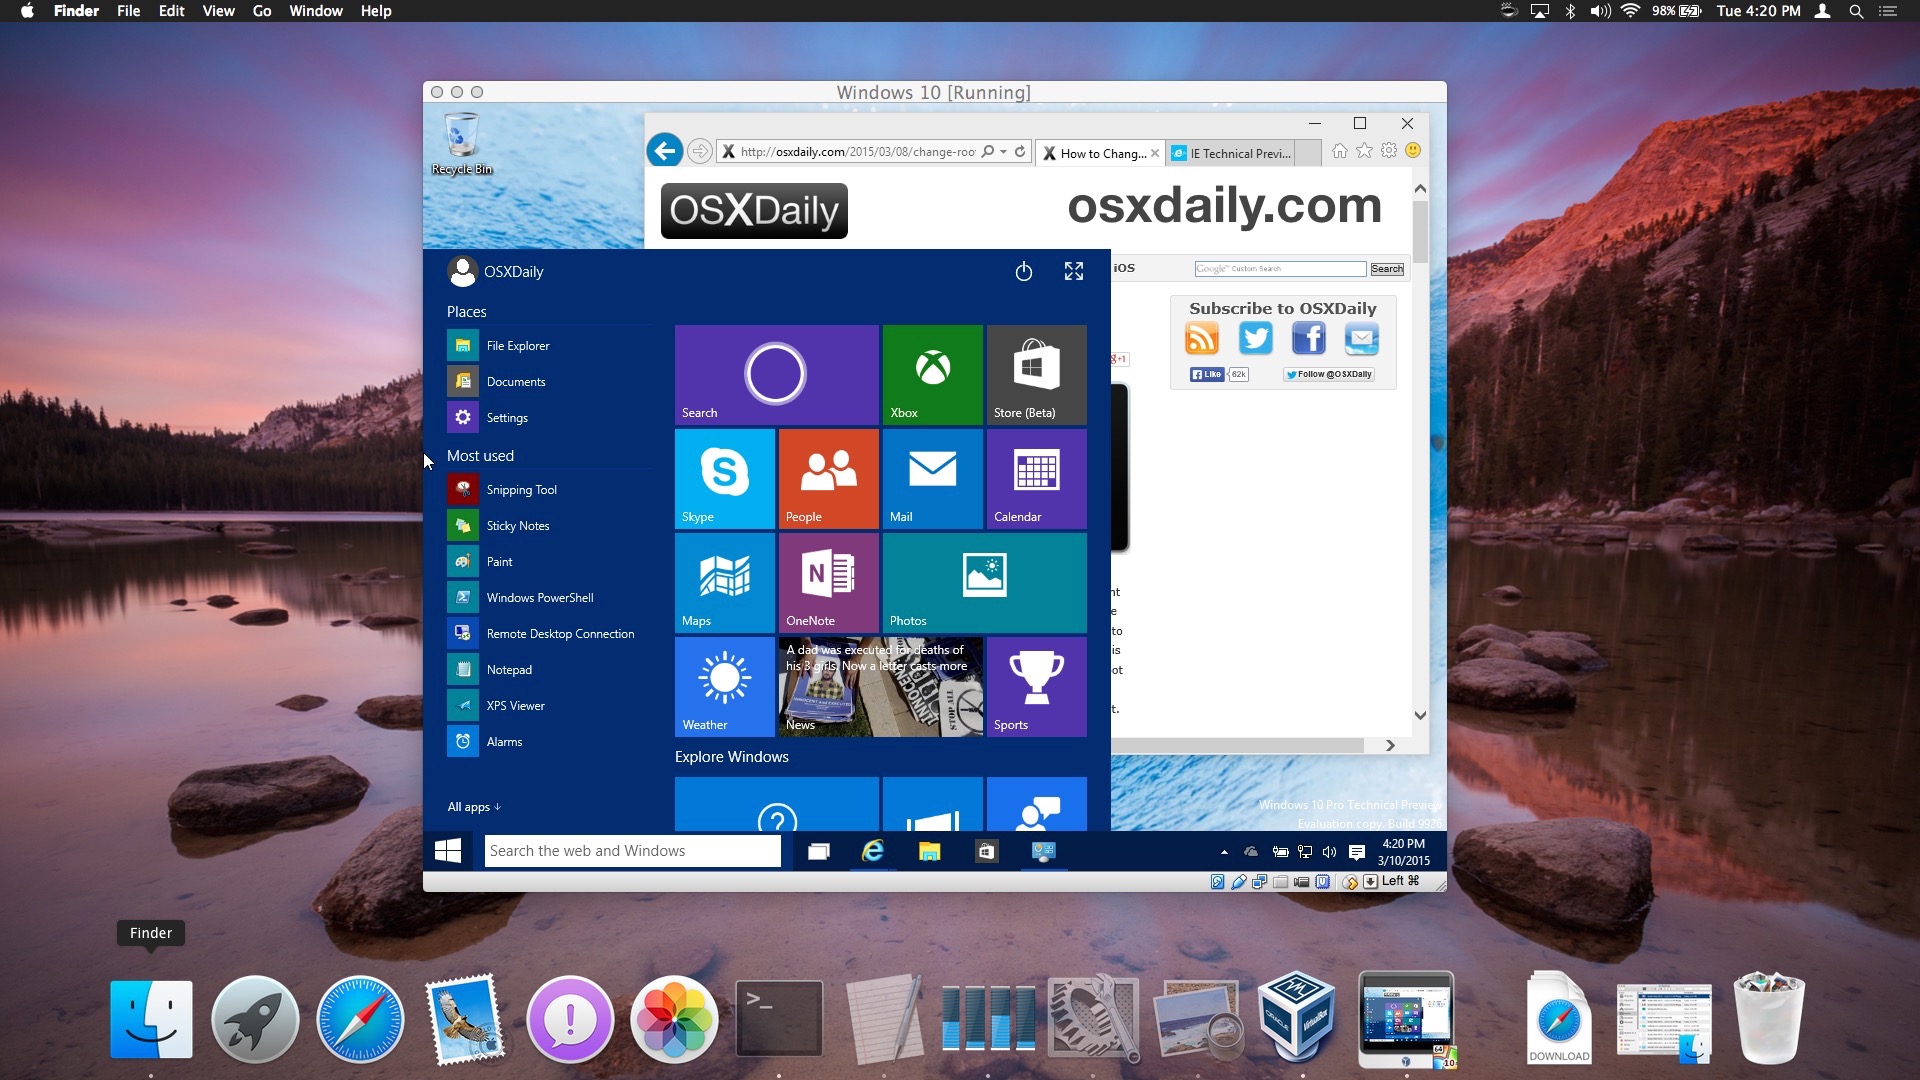
As you can see, whatever is on the screen will be captured in the screenshot.
What about taking screenshots of iPhone or iPad?
You can also take screenshots of any iPhone or iPad, though how it is achieved differs per iOS device. You can learn how to take a screenshot on iPhone X, XS Max, XS, XR and other newer modern iPhone models without a Home button which is similar to taking screenshots of iPad Pro, though that is different from taking a screenshot on iPhone models with a Home button like the 8 Plus, 8, 7 Plus, 7, SE, etc and iPad models with a Home button.
iOS users can also record the screen as video with these instructions if desired too.

