How to Reduce Motion on iPhone & iPad

Some iPhone and iPad users may find the onscreen animations that zoom and slide around to be a bit too much, distracting, or even nauseating, and therefore some people wish to disable those animations.
Turning off most interface animations on iPhone and iPad is possible with a feature called Reduce Motion, which will dramatically reduce the zooming, sliding, and panning that is visible on the device screens and when using apps.
How to Use Reduce Motion on iOS and iPadOS to Disable Animations
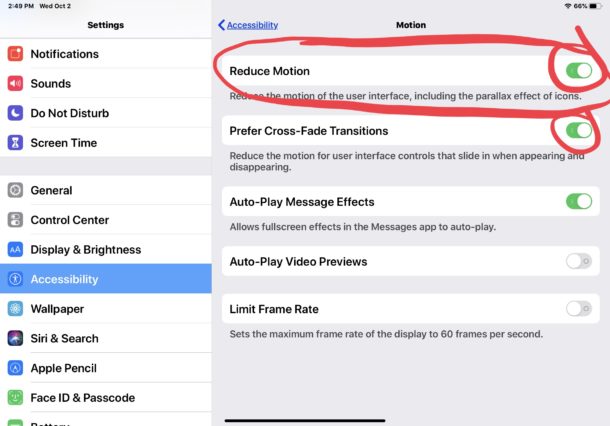
The location of Accessibility options has changed in the latest versions of iOS and iPadOS, here is where you can find the Reduce Motion setting in modern releases (iOS 13, iPadOS 13, iOS 14, iPadOS 14, and later):
- Open the “Settings” app
- Go to “Accessibility”
- Go to “Motion”
- Toggle the switch for “Reduce Motion” to the ON position
- Next, toggle the switch for “Prefer Cross-Fade Transitions” to the ON position
- Exit out of Settings as usual

Perhaps the most immediate notable effect of turning on Reduce Motion is that rather than having zooming in and out animations for opening and closing apps, you’ll have a fading transition animation instead without any motion.
There are many reasons to turn on Reduce Motion for iPhone and iPad, whether you find the animations to be distracting or for some users who are prone to motion sickness they can find relief by turning the feature on.
Additionally, some users may even turn the feature on for performance reasons, as sometimes it can feel faster to have the fading transitions rather than the sliding and zooming animations, though that can sometimes be just personal preference and observation.
Like all settings on iPhone and iPad, you can reverse this change at any time and re-enable all motions and animations again. Do this by going back to the Settings app > Accessibility > Motion > and toggling Reduce Motion to the OFF position.
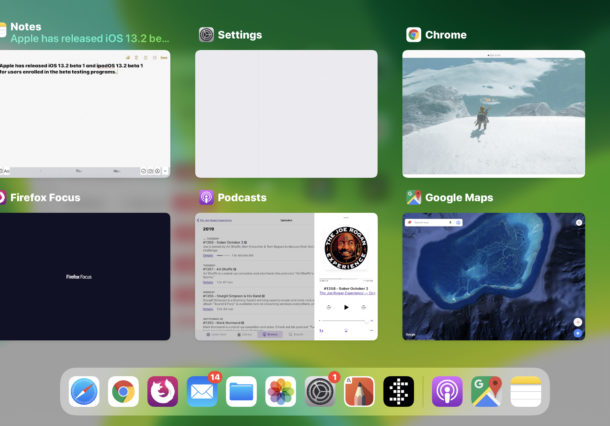
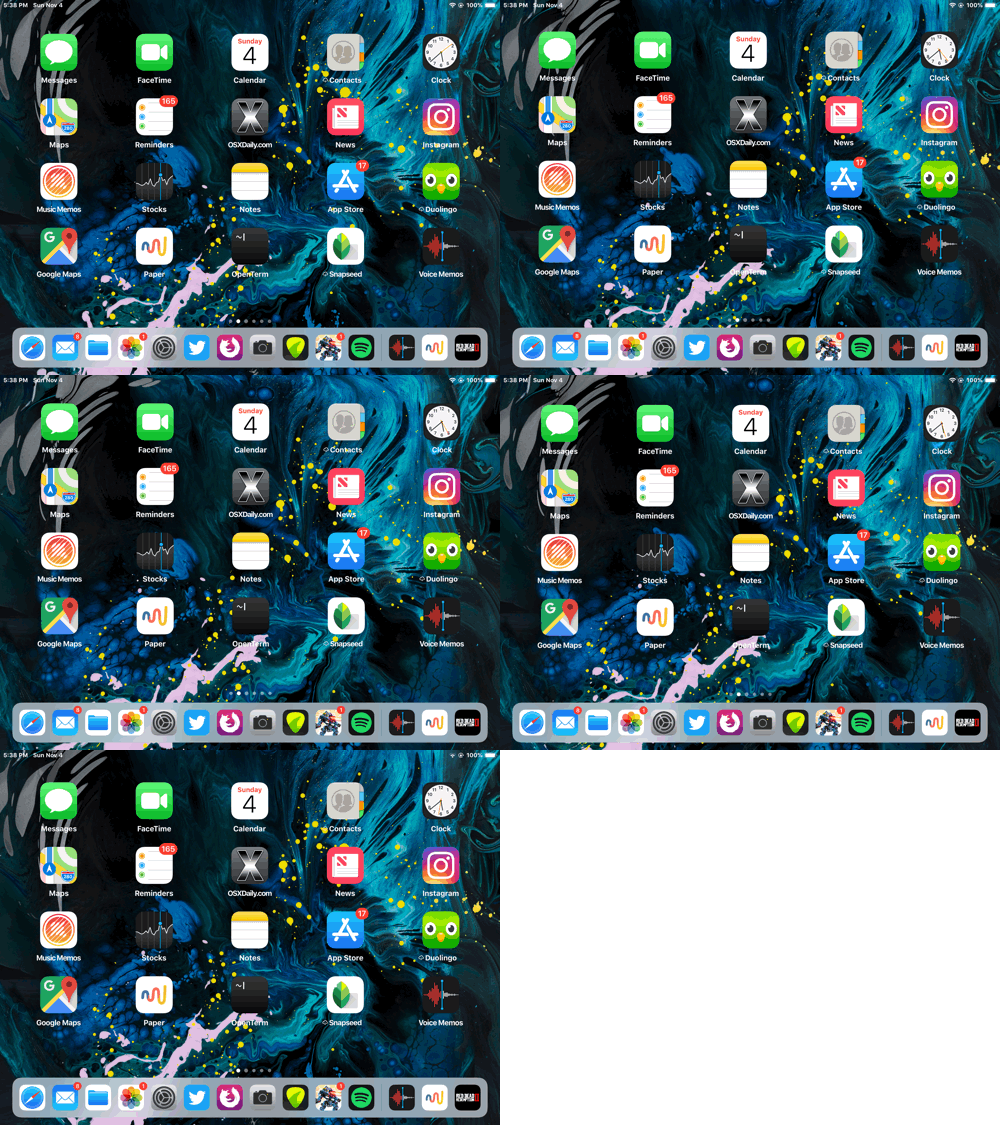
The default for iOS and iPadOS is to have Reduce Motion off, so you’ll see the full animations with opening and closing apps, accessing the multi task screen, parallax icons (shown below), and all the other interface animations if you leave the feature off.

You can also stop the wallpaper moving parallax effect separately if that interests you.
Note that while this applies to iPadOS 13 and iOS 13 and later, you can still use Reduce Motion on earlier iPhone and iPad devices with earlier iOS versions, but the setting is stored in a different location (as are all Accessibility options in earlier iOS releases) within Settings > General > Accessibility. The end effect is the same on those devices, replacing the animations with transition effects instead.
It’s also worth pointing out that computer users can disable animations with Reduce Motion on Mac, so if you have a Mac and want a similar adjustment made that’s easy to do accomplish as well. And if you wear an Apple Watch, you can use Reduce Motion on Apple Watch too.


The reduce Motion and cross fade settings did just this on ios 12.4. It does not have any effect on ios 13.5. Makes my phone nearly unusable.
Good info for people with epilepsy.
This is horrible. Did a 1st grader design this? What was the purpose, use more GB? Use up the battery faster? Will def not update and will think of dropping Apple if this is their future.
You can disable motion if you do not like it, as the article shows. It is not new however, the heavy motion effects have been in place since iOS 7 it is just that disabling it has moved in iOS 13 when they shifted where the Accessibility settings are.
I wish there were some in-between mode of fast animations but none of the motion stuff that causes motion sickness, like panning and parallax. Zooming in and out is fine if it’s fast enough, like on the Mac too.
For iPad in particular if you turn this off, then accessing the multitasking thing is a little stark.
Also there are still animations in Mail, Settings, lots of sliding around. Hmm… ok.