How to Take a Screenshot on iPad
Want to take a screenshot on an iPad? It’s easier than you might think, though if you’ve never taken a screenshot on the iPad, iPad Pro, iPad Mini, or iPad Air before, then you might be understandably unsure how the process works. Fear not though, screenshots are simple.
We’ll cover the process of taking screenshots on all iPad models, including modern and older iPad Pro, iPad Air, iPad Mini, and iPad.
How to Take Screenshots on iPad Pro, iPad Air, iPad Mini Without Home Button
Taking a screenshot on any iPad model with Face ID and without Home button is easy:
- Press the Volume Up button and Power / Lock button at the same time to take a screenshot
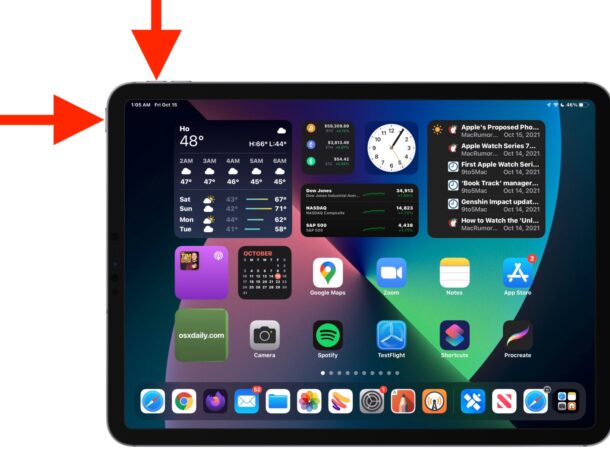
Just a quick press of the Volume Up and Power/Lock button is sufficient to take the screenshot on any iPad Pro, iPad Mini, or iPad Air model without Home buttons.
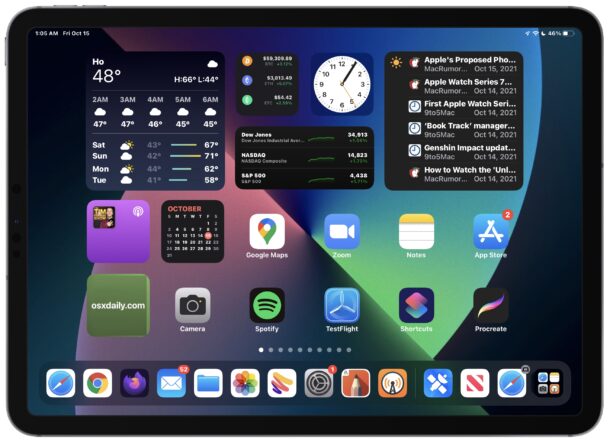
You’ll hear a quick shutter sound, and then see a little thumbnail of the screenshot show up in the corner of the screen.
Screenshots will show up in the Photos “Screenshots” album, and in the Camera Roll of the device.
How to Take Screenshots on iPad with Home Button
All iPad models with a Home button, including base iPad, and older iPad Pro, older iPad Mini, older iPad Air, take a screenshot as follows:
- Press the Home button and Power / Lock button at the same time

Again, the shutter sound will play, and the screenshot will appear in the Photos album.
This is for taking still screenshots, but you can also capture video recordings of the screen on iPad (or iPhone) using a different approach if you’d like to have a video screencast instead.
