A handful of iPhone users have discovered their Camera app icon has gone missing after updating iOS to the latest version. Why the Camera mysteriously disappears after updating iOS isn’t always clear, but it’s typically an easy fix using one of the methods outlined below.
One of the new feature additions in newer Mac OS releases is the ability to quickly locate a mouse cursor on screen by shaking the mouse or trackpad cursor around, which causes the cursor to enlarge briefly, making it very easy to find on single or multiple display setups.
This is a useful feature particularly if you find yourself losing the cursor from time to time, but some users may not appreciate the cursor growing anytime the mouse or trackpad is shaken around or moved quickly. Thus, some Mac users may wish to disable the shake to find cursor feature in Mac OS X.
Some Mac users who have been trying to use Split View in Mac OS X have discovered the feature isn’t working for them, and they are not able to place two full screen apps side-by-side into Split View.
The inability to use Split View is typically because the user has upgraded Mac OS X from a prior release of system software, and a particular setting has carried forward which is preventing Split View from working. But not to worry, this is a very easy fix.
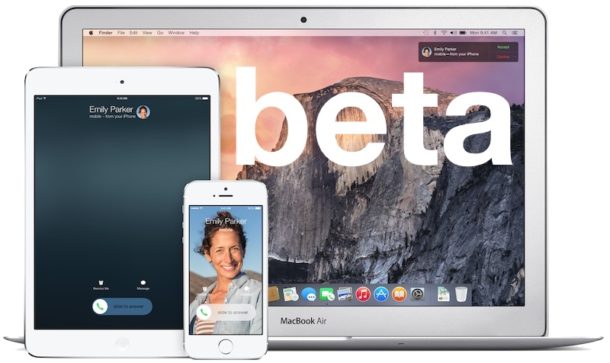
Apple has released the third beta version of OS X 10.11.1 El Capitan for Mac users participating in the El Capitan Public Beta and Developer Beta testing programs. The new build arrives as 15B30a and continues to focus on bug fixes and improvements to OS X El Capitan.
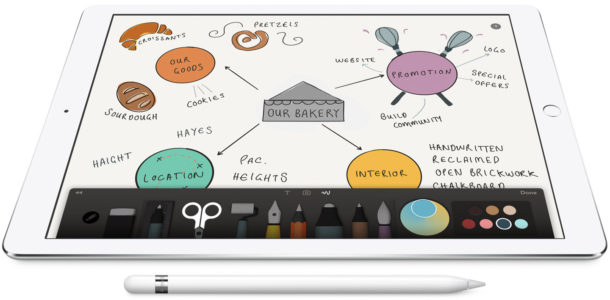
The Notes app in iOS now allows you to draw, sketch, and color, using your finger or a stylus on the touchscreen. This is a really fun feature that is quite well done, and you’ll find the Notes drawing ability is particularly great on the larger screened iPhone and iPad models, but it works well on the smaller screen iPod touch and iPhones as well.
To have access to the Notes drawing tools, you’ll need iOS 9 or later installed on the device, and beyond that it’s just a matter of knowing where to look and how to use the feature.
Some iPhone 6s and iPhone 6s Plus users have noticed their devices touch screen becomes unresponsive. The unresponsive frozen touchscreen seems to happen at random, and also commonly when the device is freshly unlocked from the locked screen, either with a pass code or through Touch ID. The unresponsive touch issue is not subtle, as any onscreen element does not respond to any touch, tap, or other screen interactions, and typically lasts for 5 to 10 seconds until the display becomes responsive again.
While the cause of the unresponsive screen issue is uncertain, there are a few possible remedies if you experience an touch screen problems on iPhone 6s and iPhone 6s Plus. We’ll walk through the troubleshooting methods from easiest to most involved.
Apple has released iOS 9.1 beta 4 to users participating in the developer beta and public beta programs. The new build arrives as 13B5136 and continues to focus on bug fixes, feature enhancements, along with the addition of new emoji icons.
iCloud Drive is a wonderfully useful feature that allows files to not only be stored in iCloud, but also be easily accessible to retrieve or edit from any other Mac or iOS device using the same Apple ID. While iOS has long been able to save files to iCloud, the latest versions of iOS now allow for iCloud Drive to appear as an icon on the Home Screen of devices, thereby enabling a user accessible file system of sorts on the iPhone, iPad, and iPod touch.
Apple has enabled a new default security oriented featured called System Integrity Protection, often called rootless or SIP, in Mac OS from versions 10.11 onward. The SIP / rootless feature is aimed at preventing Mac OS X compromise by malicious code, whether intentionally or accidentally, and essentially what SIP does is lock down specific system level locations in the file system while simultaneously preventing certain processes from attaching to system-level processes.
While the System Integrity Protection security feature is effective and the vast majority of Mac users should leave rootless enabled, some advanced Mac users may find rootless to be overly protective. Thus, if you’re in the group of advanced Mac users who do not want SIP rootless enabled on their Mac OS X installation, we’ll show you how to turn this security feature off.
Live Photos are a notable camera feature of the new iPhone, which basically allow a typically still photo to transform into a short movie clip instead, with live action from a second before and after the picture was taken with the iPhone Camera. This is definitely an interesting feature of the new iPhone Cameras and it’s particularly well suited for taking pictures of people and animals, but not all users are interested in using the Live Photos ability. Additionally, since each Live Photo is basically a tiny movie clip, they take up more storage space than usual on the iPhone.
But not everyone likes Live Photos, and some iPhone users may find it annoying to frustrating to discover so many of their pictures are basically little photo movies.
If you’d like to disable Live Photos ability on the iPhone, or turn it back on again, you’ll find it’s very easy to toggle the live action photography feature directly from the Camera app.
This weeks featured Mac setup is shared with us by Jeff H., a desktop publisher and web author who makes great use of large screens. Let’s get to it and learn a bit more:
Spotlight search has long been one of the greatest features on the Mac (and iOS for that matter), and now with the latest versions of MacOS (or Mac OS X) the near instant search engine that spans Apple platforms has some new capabilities that make it even more powerful and worthwhile. From being able to find vaguely referenced recent documents, to seeing the weather anywhere, to getting sports scores and game schedules, you’ll be sure to find Spotlight is more useful than ever before thanks to natural language search and recognition.
We’ll show you five specific new types of search tricks that are possible in Mac OS X 10.11 or later.
Not all Mac users want to update to OS X El Capitan, and if you’re in the group who wants to stay put with OS X Mavericks, Yosemite*, Mountain Lion, or even Snow Leopard on their Mac, that’s perfectly OK*, you probably have a reason to stay with the earlier Mac OS X releases. But, if you’re on a prior release of OS X, anytime you open the Mac App Store and the Updates section, you’ll be presented with a large splash screen to install OS X El Capitan.
Obviously if you want to stay put and not update OS X, you don’t want a giant banner with a new version in your face, but fortunately you can hide the big splash OS X El Captain ‘free upgrade’ screen with a few simple steps:
Some Mac users may like to perform what is known as a clean install with OS X El Capitan. Basically, a clean install involves erasing the Mac drive and starting fresh with a new installation of OS X 10.11, and users who opt for clean installs usually rely on their own personal backups to restore their personal file and data.
While most Mac users are well served by running the normal update process to OS X El Capitan after it has been downloaded from the Mac App Store, this guide is for users who want to start fresh.
Split View is a new feature in Mac OS X which allows you to take two apps into full screen together, placing them split side-by-side. For example, you could take a Safari window into full screen mode and then split the fullscreen with another app, like Pages. Split View sizes the windows automatically for any screen size, so you don’t have to drag them to accommodate the display, and it’s quite easy to use once you learn how to access and use the split screen feature on the Mac.
Apple has released Safari 9 for Mac users running OS X Yosemite and OS X Mavericks. The release adds some of the newer features borrowed from the El Capitan version of the web browser to Safari running on prior releases of Mac OS.
Perhaps the most notable feature added in Safari 9 is the ability to mute audio coming out of other tabs open in the Safari web browser, but there are a few other nice additions, as well as improvements to security.
Many Mac users like to make a bootable installer drive for installing OS X El Capitan, whether for performing a clean install, or for making it easier to install OS X 10.11 onto multiple Macs. We will walk through creating a bootable install flash drive from OS X El Capitan with the final public version.
Apple has released OS X El Capitan as a free update to all Mac users. The new version of system software is officially versioned as OS X 10.11, and the final build number is 15A284. Users can start the download now from the App Store using the direct link below.
OS X El Capitan brings performance updates and improvements to the Mac operating system, a including a new system font, split screen view, adjustments to the Mission Control window manager, improvements to Spotlight search, and various enhancements to bundled Mac apps including Mail, Safari, Notes, Maps, Photos, and Safari. The OS X El Capitan update should offer particularly worthwhile refinements to Mac users currently running OS X Yosemite.