You know what’s really annoying? When you go to certain websites, copy some text from them, and go to paste elsewhere and it gives you something like this:
Basically, it’s an “iPhone without a screen,” is how Engadget hears it. Oh — and it will cost only $99, supposedly.
Read more: http://techcrunch.com/2010/05/28/new-apple-tv/#ixzz0pH6qJPa4
You wanted to just paste the top single sentence, but some company thought it would be a brilliant idea to include some link spam into your clipboard buffer as well. The company responsible for this is called Tynt (affectionately called Taint around the web), and they are generating a lot of bad press for themselves with this annoying ‘technology’ if you could even call it that.
Stopping the copy/paste link spam
There’s a few ways to stop the Tynt garbage from appearing in your copy and pasted web text, the first involves editing your /etc/hosts file. You may recall that you can edit your /etc/hosts file to block access to websites on your Mac, well that is exactly what we’re going to do, block Tynt’s Javascript from working.
- Using your favorite text editor, edit /etc/hosts (you will need admin privileges)
- Add a new line to the file and type this exactly:
127.0.0.1 tcr.tynt.com
- Save /etc/hosts
For changes to take effect, you need to flush your Mac DNS, so launch the Terminal and type the following:
dscacheutil -flushcache
Done, now your web browsing experience should be significantly improved as you don’t have to deal with the Tynt garbage filling up your clipboard anytime you copy and paste text from websites that use it. I came across this method on DaringFireball, who has an excellent summary of Tynt and its general annoying and hostile nature.
Block Tynt copy/paste spam with browser extensions
If mucking around in system files is not your thing, you can also block Tynt clipboard spam by installing extensions into your web browser of choice:
If you install one of these browser extensions, you won’t need to use the above method of editing your hosts file. Oh and yes, these techniques work on either a Mac or a PC (Windows or Linux for that matter).
Copy/paste spam problem solved!
![]()

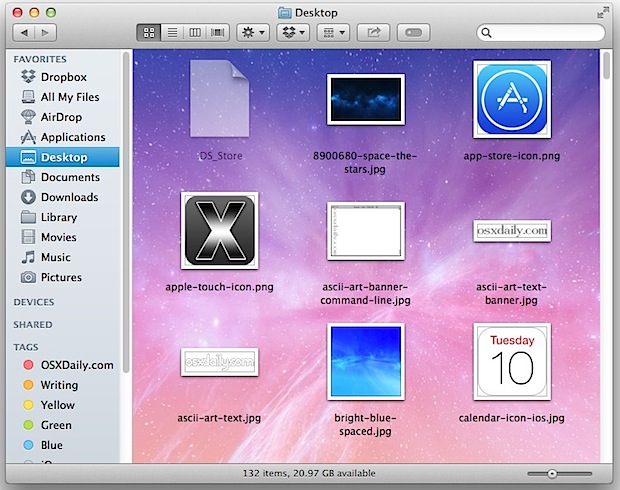
 DeskLickr is a fun little app that sits in your menubar and pulls images from Flickr to set them as your desktop picture. Basically you just specify how often you want your wallpaper changed, and a couple search tags, and DeskLickr does it’s job quietly in the background. This is great for anyone who gets tired of having the same background picture constantly.




 If you don’t mind the degradation that come with reducing an audio files bit rate, you can potentially save quite a bit of disk space on an iPhone/iPod/iPad by selecting an option the next time you sync the device in iTunes. Here’s what you’re looking to do:



 Backing up an iPhone is important because it allows you to recover all of your personal data, apps, and stuff, if you ever need to restore the iPhone, upgrade it, or replace it with a new phone, all of which is done by restoring
