Install Mac OS X 10.5.8 or 10.6 on a Dell Mini 10v – Hackintosh
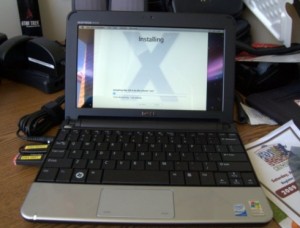 The Hackintosh community is rather controversial but increasingly popular, and some of the most appealing Hackintosh machines are those based around Netbooks, tiny lightweight laptops that fill a niche Apple has yet to dabble in. The Dell Mini 9 has long been the cream of the Hackintosh Netbook crop, but it looks like the Dell Mini 10v is giving it a run for it’s money, the internals are largely the same but it has a 10″ screen. (Note that the Dell Mini 10 and 10v are completely different units with different hardware, the 10v is Hackintosh compatible, the 10 is not). It’s worth noting that installing Mac OS X on something other than Apple hardware is against the Apple OS X EULA, so the legitimacy of the entire Hackintosh movement is dubious at best, but morals aside…
If you want to run Mac OS X 10.6.2 on a Dell Mini 10v and want to pay around $200 USD, check out our guide for a cheap hackintosh netbook
Installation is pretty simple, check out these how-to guides on MyDellMini.com, which guarantees a fool proof, no hassle, everything working Mac OS X 10.5.8 or even Mac OS X 10.6.2 installation on the Dell Mini 10v:
MyDellMini: Fool proof no hassle Mini 10v Hackintosh guide
It’ll be interesting to see how Mac OS X 10.6 Snow Leopard runs on these Hackintosh machines… time will soon tell!
Updated 2/25/2010: You can now easily install Snow Leopard 10.6 on the Dell Mini 10v, we have linked the easiest guide on MyDellMini forums for your convenience.

 The Mac world is really heating up with anticipation for the upcoming Snow Leopard release, due this Friday.
 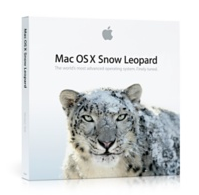 The best thing about a sour economy are the price wars that benefit consumers, and in this case
  I have an external drive partitioned in various ways, one of the partitions is formatted to FAT32 and I don’t need access to all the time. So how do I keep that from showing up needlessly when I plug the drive in? Using the command line to create an /etc/fstab entry and a bash script, you can do precisely this, thanks to a tip I found on
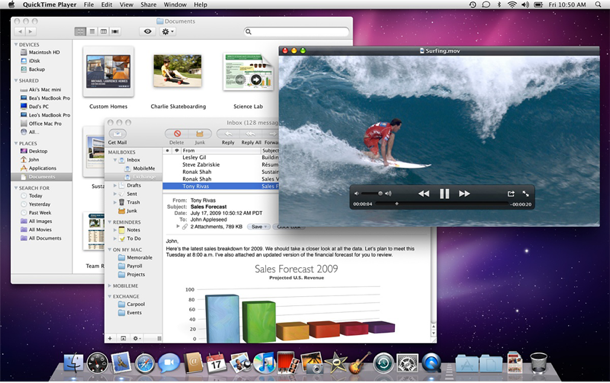
 Apple’s QuickTime is the go-to Mac OS X app for video playback, but there’s more to QuickTime Player than meets the eye. You can rewind and fast-forward movies, increase the audio level beyond the slider limit, and even scrub frame by frame through the movie like you can in Final Cut Pro! Check out these 15 useful and largely hidden keyboard shortcuts for QuickTime Player, they are sure to improve your QuickTime movie viewing experience… and you’ll probably learn something new!
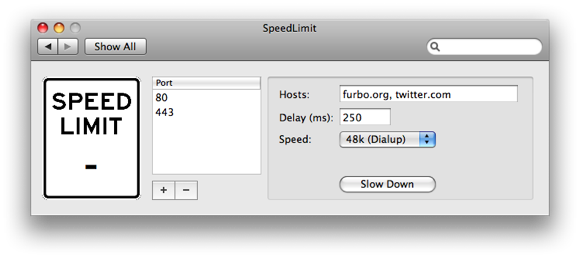
 Microsoft officially stopped developing Internet Explorer for Mac’s a few years ago, but you can still download and run Internet Explorer on your Mac using either an older version of the software or a few different tools. We’ll cover how to run Internet Explorer under Mac OS X using a tool called WineBottler, which allows you to run windows apps like IE6, IE7, or even IE8 on your Mac. Now I don’t know anyone that wants to run Internet Explorer 6 for personal use, but if you’re doing any kind of development work for the web, you likely are required to check for IE6 compatibility. Many Mac users install Windows in VMWare or Parallels to get the ability to check their work in IE, but that’s not needed thanks to WineBottler. WineBottler is dependent on Wine to be able to run Internet Explorer 6, IE7, or even IE8 on your Mac and it’s included in the WineBottler download package.
 If you’re like me you tend to have 10,000 windows open at once on your Mac while you work and multitask, thanks to Expose this is not a particular problem in Mac OS X. But, there comes a time when you don’t want to use Expose to either clear the screen or select a specific window, you just want to move some of the background clutter around, to access the Desktop or something of that sort. Easily done! Hold the Command key and select a Window titlebar in the background to move it around elsewhere and clear up space, now you can access that JPG on your desktop easily without having to hide all windows!

 The Mac Rumor mill is churning out all sorts of juicy tidbits on Apple’s latest operating system update, known as Snow Leopard.
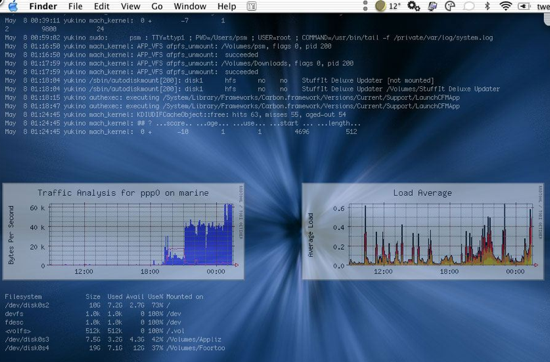
  GeekTool is a fun system preference utility for Mac that allows you to really customize your desktop. You can dump log files, system status messages, graphs, CPU usage, and all sorts of things right onto your desktop background. Basically if you can run it in the Terminal, you can have it appear on your desktop. Check out the screenshot below, and if you’re a customization geek absolutely download GeekTool yourself. Be sure to read the excellent walkthrough on MacLife linked below that shows how to setup GeekTool to really make your mac desktop customized too. If you want weather information displayed on your desktop, LifeHacker has you covered, so read on.
 It seems like people either love or hate Spotlight, if you love it then ignore this tip, but if you hate Spotlight and want to turn Spotlight off in 10.5 here’s your new favorite post. You can completely disable Spotlight in OS X 10.5 by moving a few system files (or you could delete them but that is strongly not recommended for various reasons). Here are the files you should move, be sure to place them in another location for backup in case you want to enable Spotlight again.