Fix dasd Using 100% CPU on MacOS 27
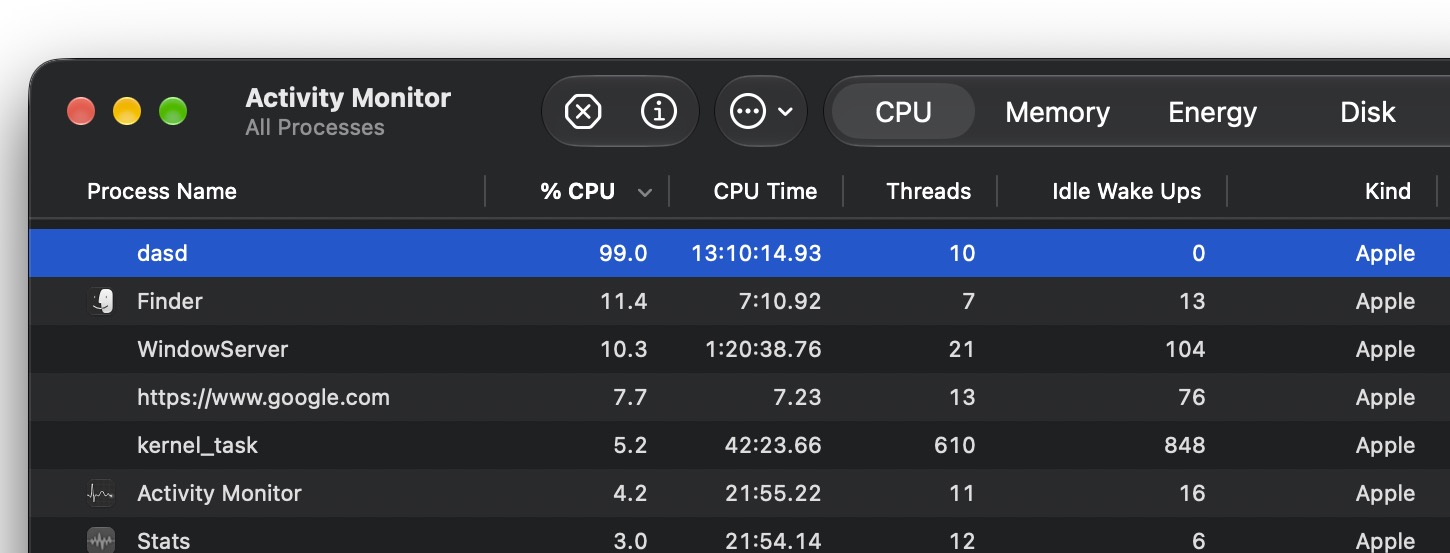
I ran into a peculiar issue recently where the ‘dasd’ process had been consuming 100% CPU for several days straight. Since dasd is a system process, my initial assumption was that there must be some important background task that was going on. But, after a few days of no change and dasd constantly hovering between 90-100% CPU usage, contributing to significant battery drain and resource misallocation, I decided to dive into troubleshooting dasd consuming large amount of processor specifically in MacOS 27 Golden Gate.
With the help of some tinkering around in Console and Terminal, an agent, and ChatGPT, I discovered the problem with dasd going haywire may be related to an issue with telemetry and the PowerLog background processing database in MacOS. And, as it turns out, clearing this particular database and then restarting the Mac can resolve the problem.
Be forewarned, these steps involve using the Terminal to delete a system file that is actively being written to, so something could always go wrong. Backup your Mac before beginning.