How to SSH on Mac with the Native SSH Client
Did you know the Mac has a native SSH client built directly into the command line? This ssh client allows for secured connections and remote logins into other machines. Unlike Windows, you won’t need a third party app to utilize SSH for connections into remote computers and devices, because ssh is built directly into Mac OS and Mac OS X – perfect!
Let’s walk through how to make an SSH connection into another computer using the native ssh client in Mac OS.
Some quick background for the unfamiliar; SSH stands for Secure SHell, and it permits making encrypted connections into other computers over a network or the broader internet. You can use the SSH client in Mac OS to connect to any other machine with an SSH server running, whether it’s on another Mac with Mac OS X, linux, unix, or Windows computer does not matter, as long as it has an SSH server running it and you have credentials, it can be connected to securely.
Using ssh is considered somewhat advanced and typically useful for remote systems administration, shell activity, server management, and other command line activity. If you have two computers on your own network you can setup an SSH server on a Mac via System Preferences quite easily, or if you’re savvy with Terminal you can enable SSH through the command line too, and try this out for yourself.*
How to Use the SSH Client on Mac
Assuming you have the remote server IP and the remote username handy, here’s all you need to do to connect via SSH in Mac OS and Mac OS X:
- Launch the Terminal application, Terminal is found in /Applications/Utilities/ directory but you can also launch it from Spotlight by hitting Command+Spacebar and typing “Terminal” and then return
- At the command prompt, enter the following ssh syntax:
- Hit the Return key to execute the command
- Optional: You may need to verify the authenticity of the host, if everything checks out type “yes” to accept a fingerprint key and connect to the SSH server, or type ‘no’ to reject it and disconnect
- Login to the remote server by entering the password for the user account you are logging into

ssh username@ip.address
Replace “username” with the appropriate user account of the remote machine, and “ip.address” with the IP address of the remote machine. For example:
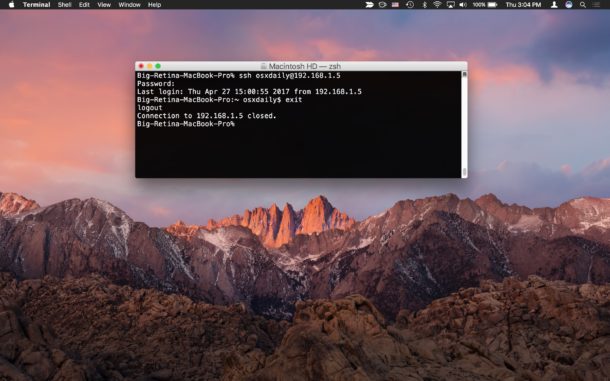
ssh osxdaily@192.168.1.5
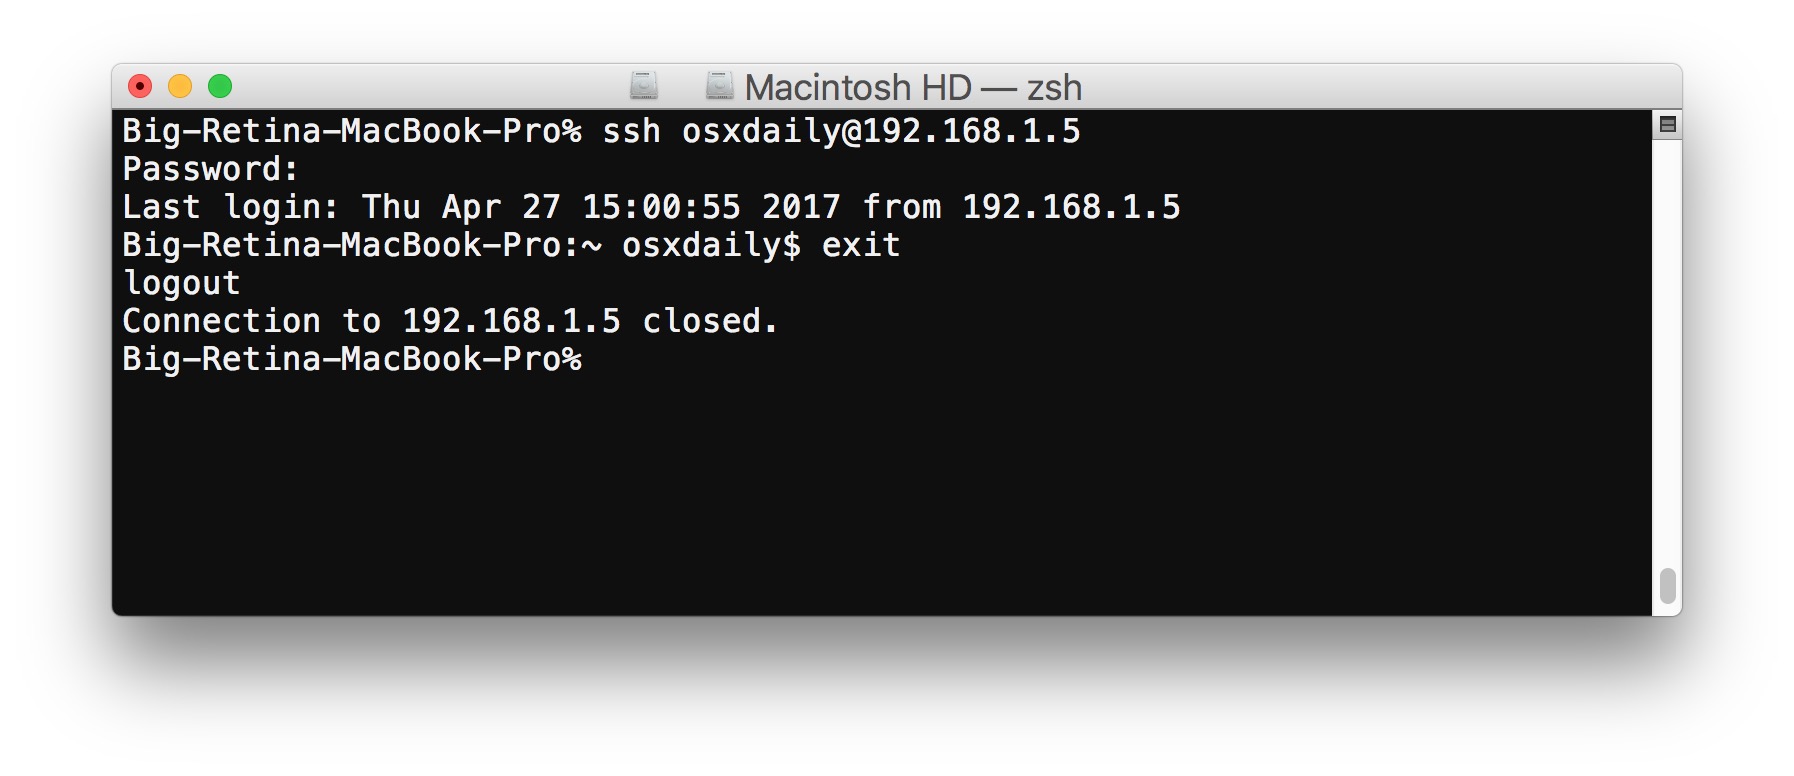
That’s it, now you’re logged in to the remote machine via SSH.
At this point you have access to any command line functionality on the remote computer, assuming you have privileges to perform the task or execute the command. What you do once you’re connected with SSH is up to you, but as state earlier it’s intended for advanced uses like systems administration, server management, network operations, and other higher level tasks that are generally less relevant to the average computer user.
When you’re finished you can type “exit” to disconnect from the remote machine, or just close the Terminal app to close the ssh client and connection.
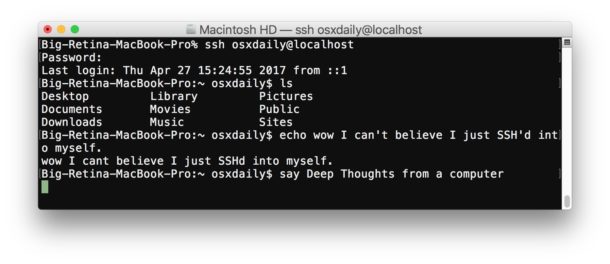
* Side note: you can also SSH into your own Mac this way if you juts want to try this out, but there is little point to that since launching Terminal in and of itself grants you direct shell access to the computer to begin with. But, it does offer a means of experimenting with SSH connections if you have never done so before, just use your username @ localhost or 127.0.0.1 for the IP.
By the way if you want to allow someone else to remotely SSH into YOUR Mac, you’d need to setup the native SSH server on your Mac (easy as described here) and then you’d want to add a new user account to the Mac for that person, never share your own login and password with anyone else. Keep in mind if you give someone SSH access to your Mac with an admin account, you are giving them full access to your computer, all files, apps, activity, logs, and everything else, representing complete and total remote access to the computer. The command line has a huge number of commands available and is more powerful than the familiar graphical interface (GUI) we all know and love, so you probably do not want to allow for this randomly. Anything you can do at the command line can be done through ssh, assuming appropriate user privileges – this is why it’s so widely used for systems administration and by advanced users, and much less relevant to neophytes and the less technically inclined. If you want to give someone remote access for troubleshooting purposes and you’re a novice, a better approach is to use screen sharing instead.
Want to see more SSH tips (here)? Do have any fancy SSH tricks you want to share? Do you know of a better SSH client than OpenSSH that is built into Mac OS? Let us know in the comments!

This post totally ignores the fact that Big Sur has changed the way the ssh client works (basically f•ed it up). On many linux servers you cannot connect to using SSH unless you solve this client side in Big Sur on your Mac, by editing the /etc/ssh/ssh_config file and removing or commenting out the line “SendEnv LANG LC_*” so the last part reads:
Host *
# SendEnv LANG LC_*
Can you elaborate on this SSH issue you have with Big Sur?
Thank you! This was immensely helpful!
I think it is quite complicated for the new user if anybody has no experiences working on the Command Line/ Terminal. After you hit
“ssh username@server name (Your IP Address)”
Then it will ask for password (Hosting space you have registered)
This step is just a pathway to connect your mobile phone/computer into server.
With anybody who is using Mac OS X including me, the best source code to go after is something like
“brew install …. (your SSH application)”
Then it will ask you to set up your own server like this
{
“server”:”xxx.xxx.xxx.xxx”,
“server_port”:xxxx,
“local_port”:xxxx,
“password”:”xxxxxxxxxx”,
“timeout”:600,
“method”:”Name of server”
}
I have successfully set up this both in mobile phone and in my own computer but I still find it complicated. Luckily, my friend also helped me to give an advise.
What is that black Finder window? Very nice.
As an IT professional that stays within the nix environments. I use this feature all the time when connecting to Linux servers. Linux and Unix were meant to be used headless its how they were originally designed to function. I think it’s great that you have brought the native SSH client in MacOS to light as it shows how versatile MacOS is and how it can be used in a professional environment. Wether your using SSH to connect to a Raspberry Pi or programming a Cisco Router. It doesn’t matter it works just the same.
Mac advertises SSH availability using mDNS (Bonjour). You can see the list in Terminal, if you choose Shell > New Remote Connection.
Let’s be honest, Screen Sharing is inevitable, sooner or later. OS X simply can’t be run headless in a satisfactory manner the way Linux can; that’s why my main Mac Mini server now runs Linux instead.
I use a gui client that saves username and password. As a sysadmin I need to connect to a lot of remote systems and all have unique and long passwords or (strongly recommended) public key authentication.
The GUI also provides other easy to use tools.
I understand it’s possible to save credentials in the Mac SSH client but it’s a faff and the additional tools offered by clients such as the excellent BitwiseSSH are sorely missed.
Ditto on the pub key authentication, though that takes some doing to setup, but it is more secure.
I populate my ~/.ssh/config file with info on commonly used hosts (I manage a slew of Linux\Unix machines at work). The format is:
Host [hostname] (ex. alpha)
HostName [FQDN or IP] (ex. alpha.mydomain.com or 192.168.1.10)
User [username] (ex. root)
Also, I work with duplicated servers that share a hostname, I disable host key checking by adding the following to the ~/.ssh/config:
StrictHostKeyChecking no
UserKnownHostsFile=/dev/null
This is not generally recommended, but my work environment is isolated and dup servers cause host checking to fail and I would need to remove or edit the known_hosts every time servers interchange.
I created some applescripts to login for me, they store\retrieve passwords from keychain on my Mac, and send a variety of commands to gain access to certain shells that some servers use to manage the services, often the login routine involves 5-7 steps so the scripts handle all of that for me.
So … to run SSH, you use the ssh command? What a shocker.
Great contribution Fnord, now you understand ssh more. How many people thought there was an app for ssh rather than command like Fnord?
Does your IP address need to be static to do this?
No, you can connect to any IP (dynamic or static) as long as you have the IP address, domain, and a login.
I never use IP address for anything. Using IP address is a bad idea because it changes.
The Mac sets up mDNS by default with local domain.
So “Joe’s Mac” becomes “joes-mac.local”. Also if you use the same username that’s redundant.
You simply…
ssh joes-mac.local
Done!
Thanks for your insights
In Windows I used PuTTY for SSH.
Linux uses OpenSSH, exactly like Mac today uses. Perfect and no hassle to transition between.
Also Windows now has the Bash shell in Windows 10 which can install OpenSSH too. Finally the cross-platform options are becoming available to us.
I’ve always parsed PuTTY as Pu-TTY.