How to Use AirDrop on iPhone & iPad
Do you want to quickly share photos, videos and other files from your iPhone to another iPhone, iPod touch, or iPad? Thanks to AirDrop, file sharing between nearby Apple devices is not only seamless, but it’s also a simple and fast process.
AirDrop is a handy feature that has been around for years now. It makes use of Bluetooth to establish a connection between two iOS devices and then utilizes peer-to-peer Wi-Fi network for transferring the data. As a result, file transfer via AirDrop is a lot faster and power-efficient than a conventional Bluetooth connection.
Never used AirDrop before? You might me interested in giving it a try. Well, you’ve certainly come to the right place then. In this article, we’ll be discussing exactly how you can use AirDrop on both the iPhone and iPad to transfer files faster than ever before.
How to Use AirDrop on iPhone & iPad
Before you go ahead with the procedure, you need to make sure that you have both Wi-Fi and Bluetooth enabled on your iOS or iPadOS device. Additionally, on the receiver’s iPhone or iPad, AirDrop receiving must be turned on, or else the device won’t be discoverable. If it’s disabled, simply follow the steps below to turn it back on and initiate a file transfer.
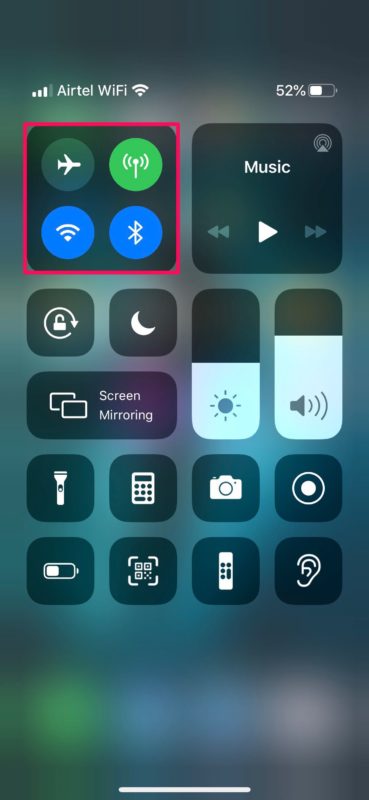
- Head over to the Control Center on your iPhone or iPad. If you’re using an iPad, iPhone X or newer device, you can access the Control Center by swiping down from the top-right edge of the screen. However, if you’re using an older iPhone simply swipe up from the bottom of your screen. Now, long press on the networking card located at the top, as shown below.

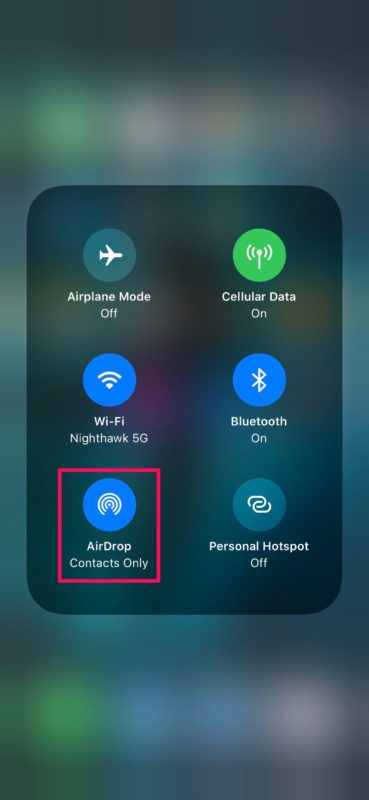
- Now, you’ll notice the AirDrop setting. If it’s turned off or if you want to change it, simply tap on it.
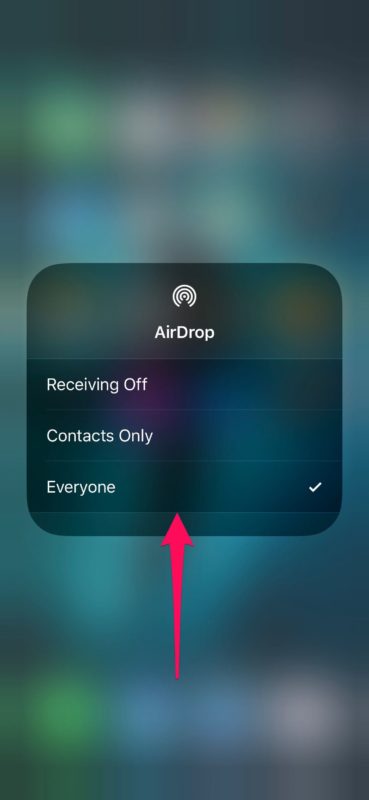
- If the sender is in your Contacts, you can choose “Contacts Only”. If not, select “Everyone”. Be warned though, as this could result in AirDrop invitations from random people.
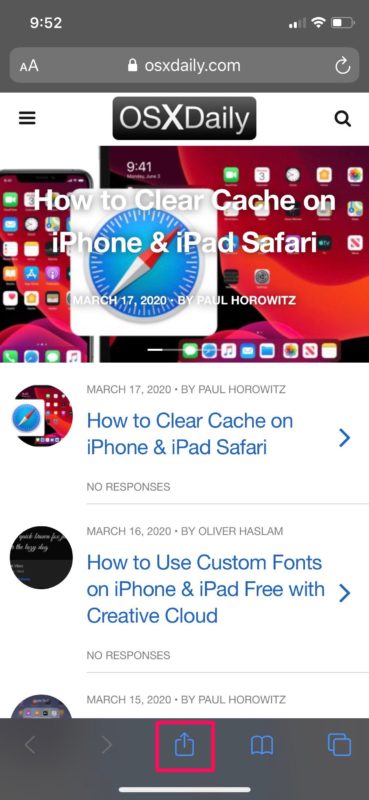
- Now, open the picture, video or any other file that you want to transfer over AirDrop. In this instance, we’ll be sharing a website with AirDrop. Simply look for the “Share” icon and tap on it.
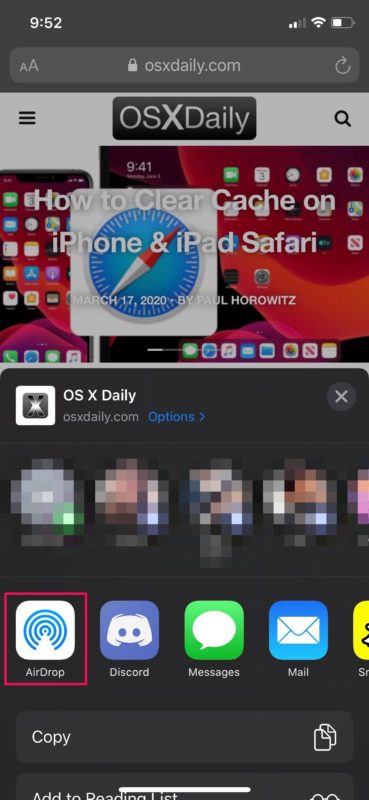
- This brings up the iOS Share Sheet on your screen. Tap on the “AirDrop” icon which is the first option in the row of apps you can use for sharing.
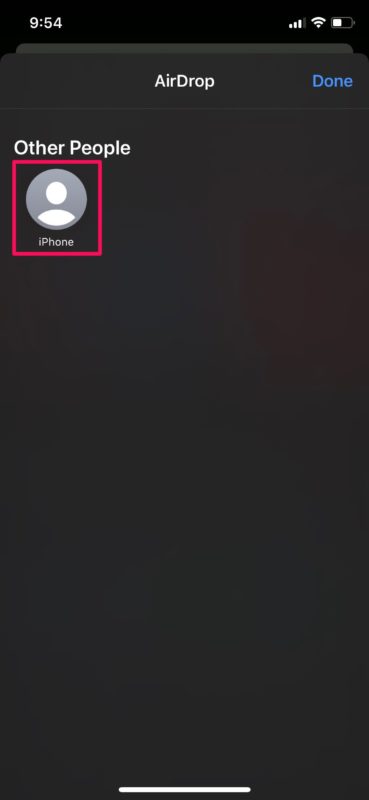
- Wait for a couple of seconds till your device is done looking for nearby Apple devices with AirDrop turned on. Choose the iPhone or iPad that you want to send the file to.
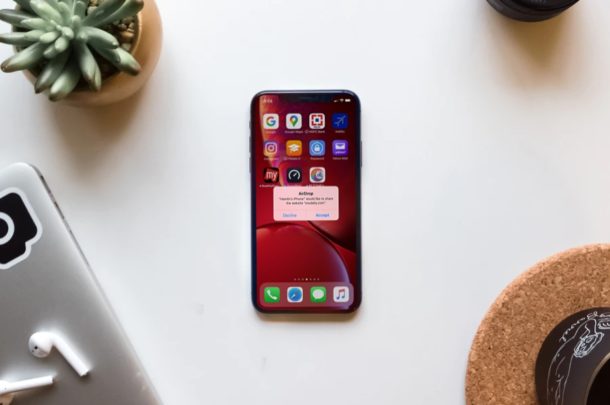
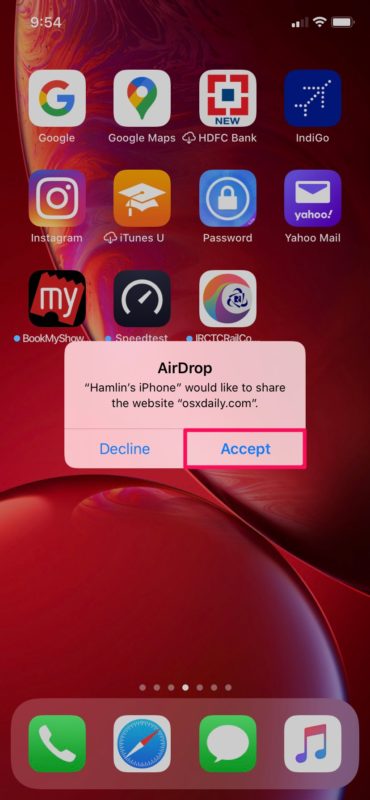
- Now, the receiver will get a pop-up on their iOS device. Tap “Accept” to initiate the data transfer via AirDrop.
That’s pretty much all there is to it.
Once the transfer is complete, the iOS device will automatically open the file for you to view. In this instance, the iPhone automatically opens the website in Safari.
As you can see here, the procedure works seamlessly and data transfer is really fast, thanks to the usage of Wi-Fi.
It’s worth noting here that there is no size limit on sending data over AirDrop, which is one of its best features. Therefore, sending huge files to other iOS devices shouldn’t be an issue at all, though it may take a while to transfer particularly large files like a high definition video or something of that sort.
It doesn’t really matter what type of file you’re trying to transfer. As long as you see the share icon that lets you access the iOS Share Sheet, you should be able to use AirDrop without any issues.
That being said, if you’re having issues while trying to use AirDrop, you may need to engage in troubleshooting. For example, if one of your contacts isn’t showing up while trying to send a file, request them to switch their AirDrop receiving setting to “Everyone” temporarily.
Do you use a Mac? If so, you’ll be pleased to know that you can transfer files from your Mac to iOS device and vice versa in a similar way within a matter of seconds. There are many helpful uses of this, an example being you can seamlessly send a 4K video footage that you filmed on your iPhone to your Mac using AirDrop and start editing it using Final Cut Pro right away.
Did you successfully manage to transfer photos, videos, websites and other files between iOS devices using AirDrop? What do you think of this seamless functionality that’s available across Apple devices? Let us know your opinions in the comments section down below.

I’ve noticed both devices must use wifi. I have an iMac with wired ethernet to the same home network as my ipad but to get airdrop to work I must temporarily turn on wifi on the iMac. Strange.