How to Markup, Draw, & Write on Images on Mac from Finder with Quick Look
Looking for a way to quickly annotate images and screenshots on your Mac, right from the Finder? Sure you could use Preview, or a third party app, but thanks to Markup it’s also a feature that is available natively in macOS Finder. Markup is also pretty easy to access and has all the basic tools that are required for annotation.
Markup may be a familiar feature if you’re an iPhone or iPad user, serving as a quick way to add text or draw sketches on your screenshots immediately after taking them. Fortunately, Apple has made this feature available on Mac as well, so there’s no need to install third-party software unless you’re looking for some advanced annotating tools.
Let’s take a look at how the markup feature within Quick Look works on a Mac, so that you can markup, draw on, or put text on images right away.
How to Markup Images on Mac with Quick Look
You can make use of the following steps as long as your Mac is running macOS Mojave or later. Accessing the Markup tool on macOS is actually pretty straightforward. Let’s check out what you need to do:
- Click on “Finder” on your Mac from the Dock. Use Finder to browse and locate the image file that you want to annotate.

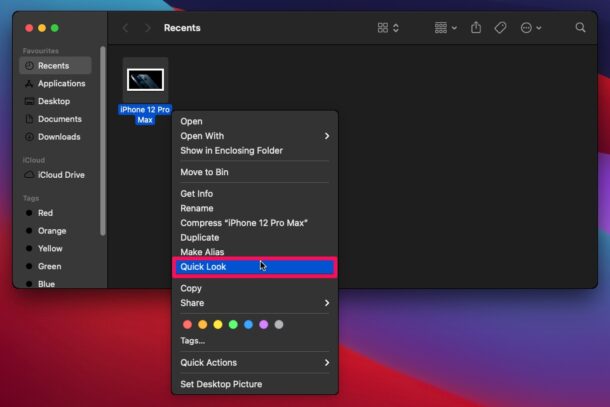
- Hit the Spacebar to open Quick Look, or Control-click / Right-click on the file to access the context menu and select “Quick Look” which is located right above the Copy action.
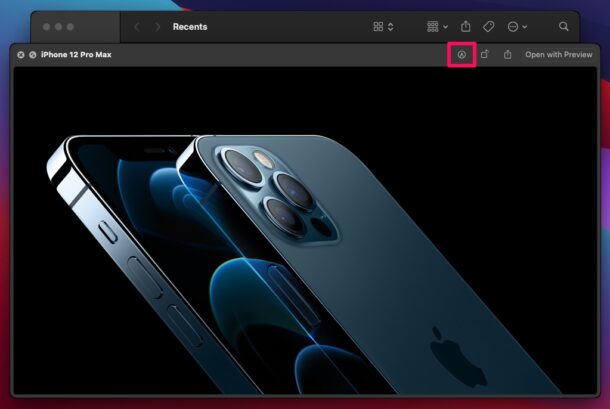
- This will open a new window on your Mac with a preview of the image. Here, click on the Markup tool icon located at the top-right corner of the window, as shown in the screenshot below.
- This will launch the Markup tool. The Sketch tool is selected by default and it’s highlighted in blue as you can see here. You can use this tool to sketch a shape using a single stroke.
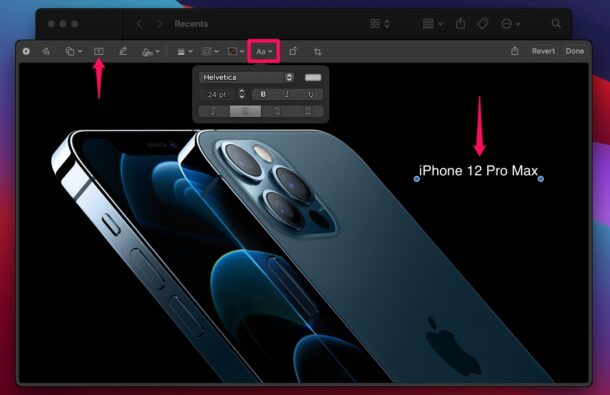
- There’s also a Text tool that you can select and add text to the image. You can further format the text using your favorite font, increase or decrease the font size, and even change the text color by using the “Aa” option as indicated below.
- Right next to the Sketch tool, there’s the Shape tool that you can utilize to add standard recognizable shapes to an image like what we’ve shown here. If you make a mistake while marking up, you can click on the “Revert” option to undo the changes. When you’re finished annotating, click on “Done” to save your changes.

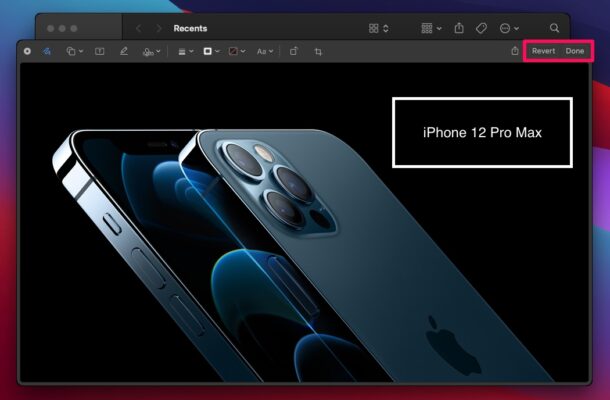
Doing this will overwrite the original image file with the annotated image, but this can be reverted later on from the same menu if required.
These basic tools should be good enough for the vast majority of people who’re looking to annotate images. Apart from image files, you can use these exact steps to markup PDF documents too.
Some people may be looking to sign PDF documents using the Markup tool on macOS. You’ll be pleased to know that there’s a signature tool that you can use to sign PDF documents quickly. However, you’ll need to use a trackpad or the Mac’s built-in camera to create signatures. If you have neither of those, you can use your iPhone or iPad to get this done. Also, if you use iCloud Drive, signatures are synced across all your supported Apple devices.
Besides this method where you used Quick Look, the Markup tool can also be accessed from the Quick Actions menu that shows up in the context menu.
We’re focusing on Quick Look and Finder access here, but the Markup feature is available in various Apple apps such as Notes, Mail, TextEdit, and Photos as well.
And as mentioned before, iPhone and iPad users can use markup too.
Hopefully, you were able to quickly get a hang of the Markup tool that’s integrated into macOS. Which markup tool do you use the most for annotating images? Do you use this feature to sign PDF documents too? Feel free to share your experiences and drop your valuable feedback and opinions in the comments section down below.

Why control-click/right-click? The space bar will enter Quick Look, umm, quick.
You can use Spacebar or right-click > Quick Look, I personally use Space Bar for Quick Look since it is very fast.
Thanks Bill, the article has been updated to reflect both options.