How to Share Calendars from Mac

Do you want to share your work schedule and upcoming meetings with a colleague? Or perhaps, you want to plan on events together? This can be done easily by sharing your calendar from your Mac.
Apart from making it easy to keep track of your work or personal schedule, the stock Calendar app in macOS can also be used to share your calendar schedule and events with other users. This particular feature is made possible with the help of Apple iCloud and it works seamlessly for the most part. Shared calendars can be accessed even without an Apple device, by making use of iCloud’s web client.
How to Share Calendars from a Mac
Before you get started, we’d like to point that you can only share calendars that are stored on iCloud. If you’re looking to share a calendar that’s locally stored on your Mac, you’ll need to first move it to iCloud and then follow these steps:
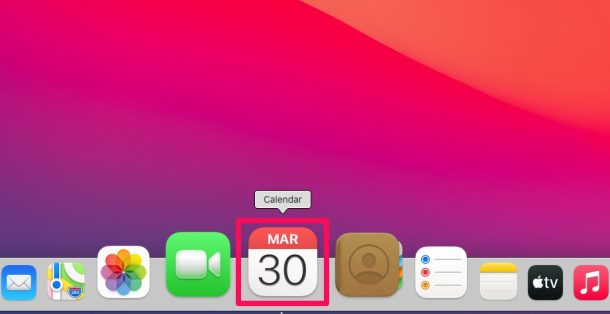
- First of all, launch the built-in Calendar app on macOS from the Dock, Applications folder, or Spotlight.

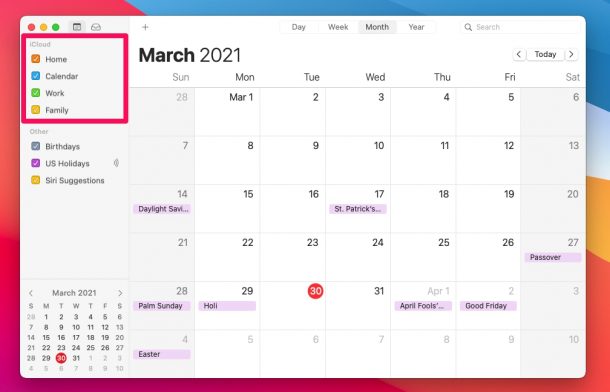
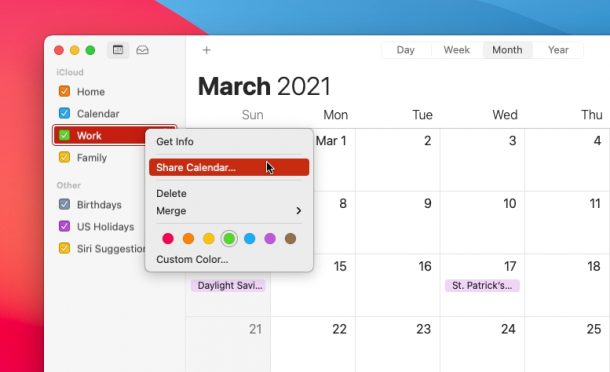
- Once the Calendar app opens, you’ll see the list of calendars that are stored in iCloud on the left pane. Right-click or Control-click on any of the calendars here to access the context menu.
- Next, choose the “Share Calendar” option from the context menu.
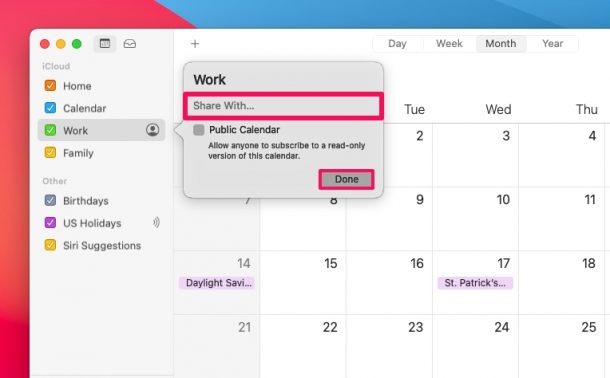
- Now, you’ll see the sharing options. Select the “Share With” field and type the email address of the person that you want to share the calendar with. Note that the user needs to have an Apple account associated with this email address to access your calendar. Click on “Done” to send the invite.
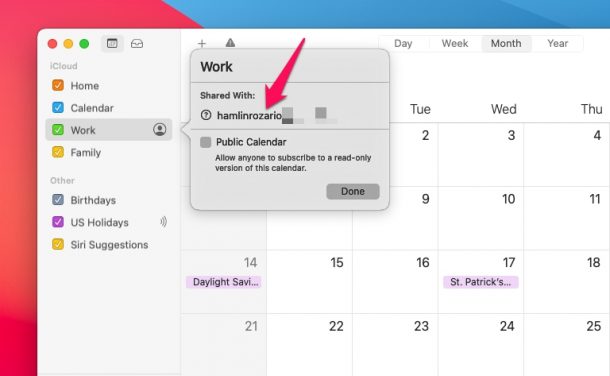
- Now, when you right-click or control-click on the shared calendar, you’ll be able to see the users you’re sharing it with.
There you go. Now you’ve learned how easy it is to share calendars from your Mac.
If you want to update the list of people who have access to your shared calendar, you can just right-click on their names from the context menu to remove access or change the permissions between View Only and View & Edit.
Apart from just sharing your calendar with one or two of your contacts, you also have the option to make the calendar public from the same menu. This allows you to share your calendar with a large group of people. Upon enabling the Public Calendar option, anyone can subscribe to a read-only version of the calendar. You’ll also get access to a web link for your calendar that you can share with anyone.
Even though the recipient doesn’t need to own an iPhone, iPad, or Mac to view your shared calendar, they’ll need an Apple account to log in to iCloud.com and access your calendar and the events stored in it. Likewise, you can use the built-in Calendar app on iOS and iPadOS devices to share your calendars too.
Hopefully, you were able to quickly learn how the Calendar app’s sharing feature works. How often do you share your calendars with your colleagues? Do you think you’ll use this feature often on your Mac? Share your experiences and thoughts in the comments.
