How to Use a Virtual Webcam on a Mac
Ever wanted to enhance the webcam on your Mac? For example, tweak the brightness, contrast, saturation, or even flip the camera horizontally? These things can be done using third-party software called virtual cameras.
The built-in FaceTime cameras on most Macs record at 720p, which is not particularly good for today’s standards. While you cannot magically increase the resolution using software, what you can do is improve how it looks for others. Fine-tuning the lighting of your webcam can go a long way in improving the visuals and make it appear as if you’re using a much better camera when in reality, you’re not.
Are you keen on learning what you need to do to achieve this? Well, we’d love to help you learn about using a virtual webcam on a Mac, using a free app called ManyCam.
How to Configure Virtual Webcam on a Mac
We’ll be making use of a third-party application called ManyCam that you can download for free. The software works on both Intel and Apple Silicon Macs, so you don’t have to worry about any compatibility issues. Now, without further ado, let’s take a look at the procedure.
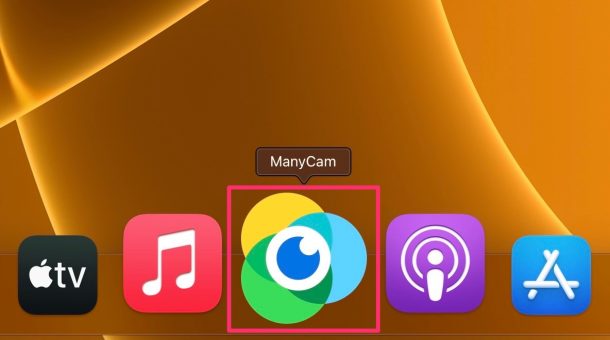
- Install ManyCam on your Mac and launch the application to get started.

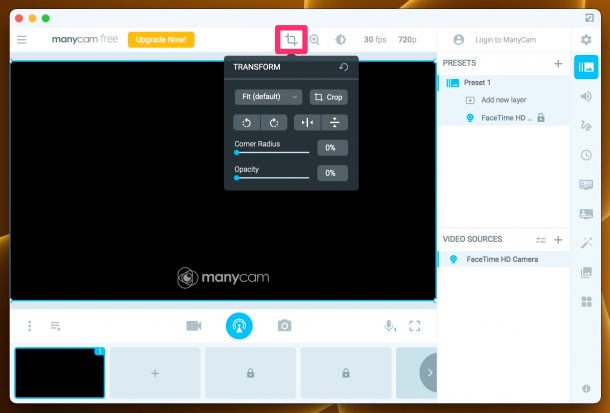
- ManyCam will automatically start using the default FaceTime HD Camera on your Mac. You may be overwhelmed at the start, but you just need to bother with two tools. Click on the crop icon to access the Transform options. Here, you’ll be able to rotate, flip your webcam horizontally or vertically.
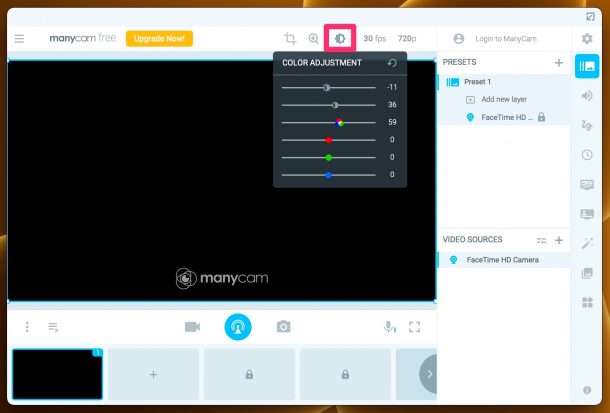
- Next, let’s take a look at the lighting options. Click on the brightness icon as indicated below. You’ll have access to the color adjustment options. Use the slider to adjust the contrast, brightness, and saturation according to your liking.
That’s pretty much all you needed to learn about the configuration part. Easier than you thought, isn’t it?
Using Virtual Webcam Instead of FaceTime HD Camera Across Mac Apps
As you probably know already, all the apps on your Mac use the FaceTime HD Camera by default. This remains unchanged even after you install ManyCam. You’ll need to change the camera setting for each apps individually, but Apple’s stock apps like FaceTime and Safari don’t allow you to change it. Therefore, you’ll need to use a third-party browser like Google Chrome if you want to use your virtual webcam. Here’s what you need to do:
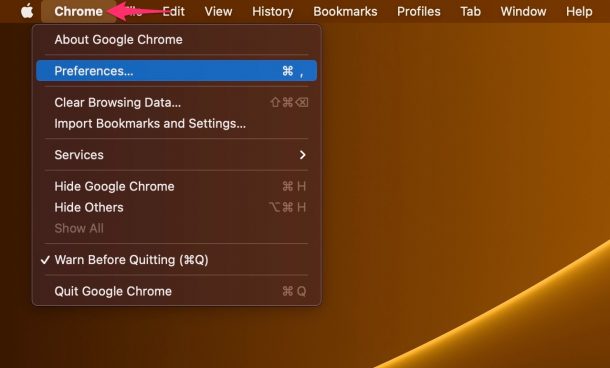
- Launch Google Chrome on your Mac and head over to Chrome -> Preferences from the menu bar to access the browser settings.
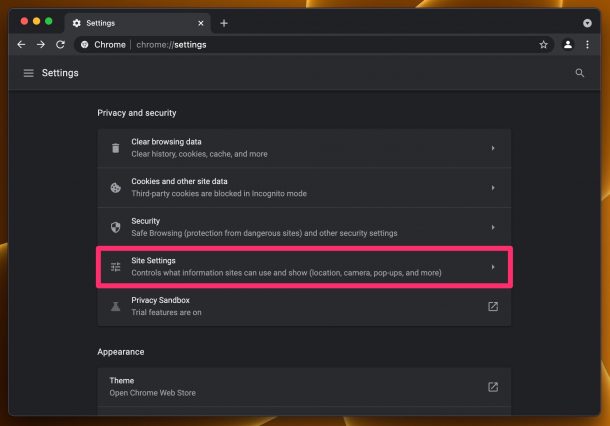
- In this menu, scroll down down and click on “Site Settings” located under the Privacy and Security section to continue.
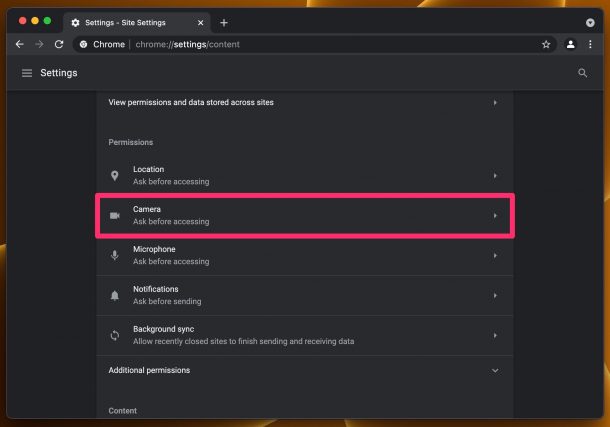
- Next, scroll down again and select “Camera” to continue to the next step.
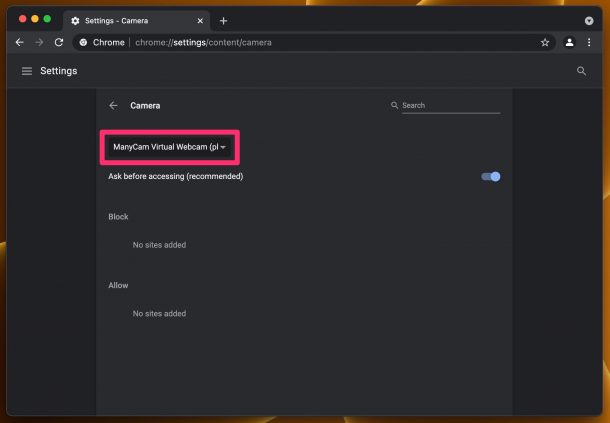
- Here, you’ll find that the FaceTime HD Camera is used as default. Click on it and select ManyCam Virtual Webcam from the dropdown menu.
You’re all set now. Chrome will now use your virtual webcam will all the enhancements applied instead of the stock camera.
You’ll need to perform similar steps to change the default camera on other supported third-party apps as well. Since the web browser is where most users are bound to use their webcams the most, we covered the steps for Chrome here.
One important thing to keep in mind is that the ManyCam app must be running on your Mac for you to be able to utilize the virtual webcam. If it’s not open, you’ll see a “Start ManyCam” image in your webcam feed. The free version of ManyCam adds a watermark to your feed, but this can be removed by upgrading to the paid version.
If you’re not willing to pay for ManyCam just to remove the watermark, you can use other similar virtual camera applications too. OBS Studio is a great option that’s completely free, although it’s mostly targeted towards streamers. Or, you can use the popular Snap Camera app to bring your favorite Snapchat lenses and filters to your Mac.
Hopefully, you’re able to improve how your webcam looks during video calls using virtual webcam software. What are your first impressions on ManyCam? Are you planning to upgrade to the paid version to get the watermark removed or are you switching to a completely free alternative? Do share your personal experiences, opinions, and sound off in the comments section down below.

Remember that macOS Ventura includes this feature with iPhones so you can use your iPhone as a virtual web cam instead too. Probably the only new worthwhile feature in Ventura.
The price of ManyCam starts at 40$ a year which is beyond silly.
Most users would be better of simply buying a better webcam.
A much more user-friendly app, that is also free and works with every camera you can hook up to your Mac or PC (!) is the “Webcam Settings” app, it allows for much more customization than the one described here and doesn’t need an additional app to be running at all times. Get it here: https://apps.apple.com/us/app/webcam-settings/id533696630?mt=12