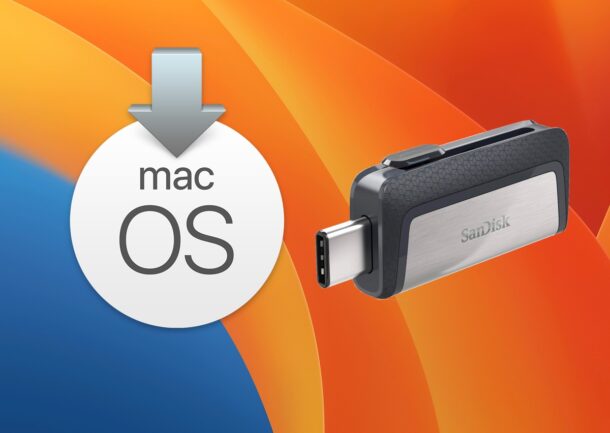
How to Make a macOS Ventura Beta USB Installer

Many advanced Mac users may wish to build a bootable macOS Ventura beta USB install drive, which makes it easy to install macOS Ventura beta onto multiple Macs, different volumes/partitions, and also can serve as a secondary boot recovery drive.
As usual with making a bootable MacOS installer, creating one for macOS Ventura beta requires the use of the Terminal application.
Prerequisites for making a macOS Ventura beta boot installer
You will also need the full macOS Ventura beta installer application. If you went to previously went to download and install Ventura beta and found it showing up as a typical software update rather than the installer application itself in the /Applications folder, make sure you get the full installer first.
Of course you will also need a Mac compatible with macOS Ventura to be able to install macOS 13 onto the computer.
Finally, you’ll also need a 16GB or larger USB flash drive or similar that you don’t mind erasing, which becomes the macOS Ventura bootable installer drive.
How to Make a MacOS Ventura USB Bootable Install Drive
Assuming you already have the macOS Ventura installer application downloaded and within your /Applications folder, here’s how you can make a boot install disk from it:
- Open the Terminal application on the Mac
- Connect the USB drive you wish to turn into an installer, rename it something like “VenturaUSB”, and then use the following command, depending on which version of the beta you are working with:
- Hit return, enter the admin password as usual, and let the Ventura installer be created, the Terminal will report back when the process has completed
macOS Ventura Final:
sudo /Applications/Install\ macOS\ Ventura.app/Contents/Resources/createinstallmedia --volume /Volumes/VenturaUSB --nointeraction
macOS Ventura Public Beta:
sudo /Applications/Install\ macOS\ Ventura\ beta.app/Contents/Resources/createinstallmedia --volume /Volumes/VenturaUSB --nointeraction
macOS Ventura Developer Beta 2 and newer:
sudo /Applications/Install\ macOS\ Ventura\ beta.app/Contents/Resources/createinstallmedia --volume /Volumes/VenturaUSB --nointeraction
macOS Ventura Developer Beta 1:
sudo /Applications/Install\ macOS\ 13\ beta.app/Contents/Resources/createinstallmedia --volume /Volumes/VenturaUSB --nointeraction
Once finished creating, you can use the macOS Ventura USB installer drive to update an existing Mac to Ventura, to perform clean installs of Ventura beta, or whatever else you’re looking to use it for.
Booting from the MacOS Ventura Installer
How to boot from the macOS Ventura beta installer depends on if the Mac is based on Apple Silicon architecture (M1 series, M2 series) or an Intel Mac.
For Apple Silicon (M1, M2, etc):
- Connect the USB drive to the Mac, then either turn off the Mac or reboot it
- Press and hold the Power button until you see the Startup Options screen
- Choose the macOS Ventura beta installer as your boot volume
For Intel Mac:
- Connect the USB drive to the Mac, then either turn off the Mac or reboot it
- Press and hold the Option key until you see the boot volumes available to select from
- Choose the macOS Ventura boot install drive to boot from
Once you’re booted onto the macOS Ventura beta installer, the process to install macOS Ventura or perform other actions is the same regardless of system architecture.
Enjoy your macOS Ventura 13 beta boot install disk! What do you plan on using this for? Do you perform clean installs of beta system software? Do you use it to upgrade other Macs to the beta? Share your experiences, thoughts, and whatever else in the comments below.

