Fix a Repeating “Trust This Computer” Alert on iPhone & iPad
When you connect an iPhone or iPad to a Mac or Windows PC, you will see a request on the device to “Trust this computer?” with an option to ‘Trust’ or “Don’t Trust’. This is a security feature that is part of iOS and iPadOS to ensure that you approve of a device connection to a trusted computer, since that computer could access your device and its stored data.
The “Trust This Computer?” alert message is supposed to only appear on a computer that the iPhone or iPad has not connected to before, and once trusted, it should not appear anymore. But that’s not always how things work, and sometimes you will be confronted with a constant and repeating “Trust This Computer?” request anytime you connect an iPhone or iPad to a Mac or PC, even if simply to charge the device.
This article is going to investigate the repeating “Trust This Computer?” alert request, and offer some solutions on how to stop it from appearing constantly.
Fix the “Trust This Computer?” Alert on iPhone or iPad
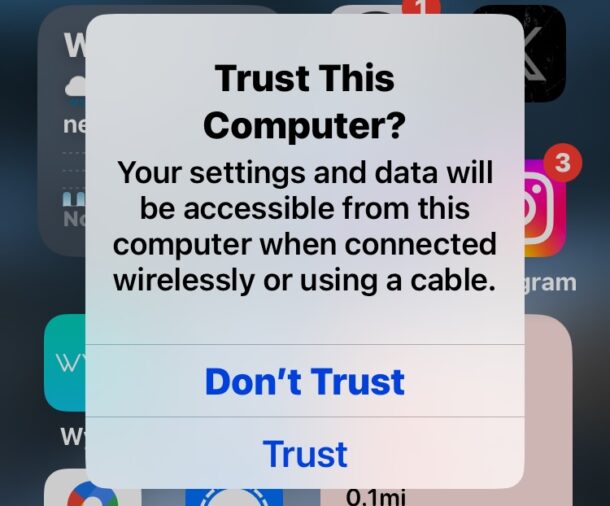
When connecting iPhone or iPad to a Mac or Windows PC, the full trust dialog will display saying the following:
“Trust This Computer? Your settings and data will be accessible from this computer when connected wirelessly or using a cable.”
If you do trust the computer you are connecting the iPhone or iPad to, go ahead and select “Trust”.
If you don’t trust the computer, of course choose “Don’t Trust” instead.
If things work as intended, you will not see the “Trust This Computer” request again for that particular device when it connects to the Mac or PC.
Sometimes this alert continues to appear however, every time you connect the device to a computer, even if it’s a trusted computer and you have chosen “Trust” many times over.
How to Fix a Repeating “Trust This Computer” Alert on iPhone or iPad
If you are constantly seeing the “Trust This Computer” alert message on the iPhone or iPad every time it connects to a computer, there may be several reasons for this, as well as several different solutions.
1: Try a Different USB Cable or USB Port
Sometimes simply changing the USB cable, or connecting to a different USB port, will resolve the constant “Trust This Computer” alert.
2: Restart the iPhone and Mac/PC
A simple reboot of the device and computer may also resolve the repeating “Trust This Computer” alert from appearing on the iPhone or iPad.
3: Disable Personal Hotspot on iPhone or iPad
While Personal Hotspot may not seem like it has anything to do with trusting a computer, if you have iPhone Wi-Fi Personal Hotspot enabled on the iPhone (or cellular iPad), you may see the Trust This Computer alert message popup every time the device is connected to the Mac or PC.
Simply disabling Personal Hotspot on the iPhone may prevent the ‘Trust This Computer’ alert from appearing again.
This appears to be an intentional security feature so that untrusted computers are not able to use the cellular connection, if they’re simply aiming to be charged, or similar.
4: Allow USB Accessories & Connections
If you have the USB Accessories feature disabled on iPhone or iPad in settings, you may not be able to use USB connections with the iPhone or iPad as expected.
Go to Settings > Face ID & Passcode > and make sure “USB Accessories” is toggled on and enabled.
This settings toggle can also make sure that a charge passes through if you’re experiencing issues where an iPhone won’t charge the battery.
5: Install Available Software Updates
If your Mac, iPhone, iPad, or Windows PC has any available software updates to their system software like iOS, macOS, or ipadOS, or for iTunes or Apple Devices on a PC, or similar, be sure you install those software updates.
Keeping your system software up to date ensures compatibility, and also can provide bug fixes and resolutions to many issues if they are identified by Apple.
6: Reset the Trusted Computers List and Start Over
Sometimes, the computer and/or iPhone does not seem to remember that you have chosen to “Trust” the computer, even if trusted many times. In this case, you can reset the trusted computers, but it’s important to note that will also reset other location and privacy settings on the iPhone.
Go to Settings > General > Reset > Reset Location & Privacy to initiate resetting the list of trusted computers. Again, you will also lose privacy and location settings and will need to configure those again separately.
After this has been reset, connect the iPhone or iPad to the Mac or PC again, choose to “Trust” the computer, and the repeating alert should go away.
The outlined steps and tricks should resolve the repeating “Trust This Computer” alert message, but if it does not fix the issue, your next step would be to contact official Apple Support who can provide further assistance.
Did this resolve your repetitive trust alert on your device and computer? Which trick worked for you? Let us know your own experiences in the comments below.

On my Macbook Pro circa 2016, there is no settings option
The setting toggles you’re looking for is on the iPhone or iPad
“Go to Settings > Face ID & Passcode > and make sure “USB Accessories” is toggled on and enabled.” – I don’t have this option in settings on my iPhone.
What a load of baloney, there is no where saying “allow usb accessories in Face ID/connections in settings on iPhone.
Every iPhone has this setting.
Go to Settings, then to “Face ID & Passcode”, and scroll down to “Allow Access When Locked” and toggle the switch for “Accessories” or “USB Accessories”, sometimes it is labeled differently.
Every iPhone? Nonsense! Clive Pember is correct. Not every iPhone even has Face ID.