Make a MacOS Monterey Beta Bootable USB Install Drive

Advanced Mac users may wish to create a bootable installer drive for macOS Monterey 12 beta. The typical advantages to creating a bootable install drive is that you can obviously boot a Mac from it, which enables the ability to erase and format a Mac, as well as install macOS Monterey beta onto the Mac. This is useful for clean installs, installing onto multiple Macs, troubleshooting, and more.
This tutorial will walk through the steps to create a bootable macOS Monterey beta boot drive for both the developer beta and public beta.
Be sure you have the following before getting started:
- MacOS Monterey compatible Mac for downloading and installing the macOS 12 beta onto
- The “Install macOS Monterey Beta.app” or “Install macOS 12 Beta.app” installer application in the /Applications/ folder (the default download destination for both public beta and dev beta)
- USB thumb drive (16GB minimum) to become the installer drive
- An active internet connection
- Comfort with the command line
You can also download full installers and make boot disks with a tool like MDS, though we’re focusing on the traditional Terminal method here rather than using a third party tool.
How to Create a Bootable macOS Monterey Beta Install Drive
Be sure to use precise syntax at the command line, as typos and errors can result in the commands not working as expected, or even formatting the wrong disk. Backing up the Mac first is a good idea.
- Download macOS Monterey Beta to the Mac, the “Install macOS Monterey Beta.app” application should be in the /Applications folder
- Connect the USB thumb drive to the Mac
- Rename the USB drive to an obvious name, like “MontereyBetaUSB”
- Open “Terminal” on the Mac by hitting Command + Spacebar and typing ‘Terminal’ and hitting the return key (or open Terminal via Launchpad or your method of choice)
- Enter the following command at the Terminal, replacing “MontereyBetaUSB” with the name of the USB thumb drive:
- Hit return and authenticate with the admin password to start the process of building the bootable installer USB drive
For macOS Monterey Final:
sudo /Applications/Install\ macOS\ Monterey.app/Contents/Resources/createinstallmedia --volume /Volumes/MontereyUSB --nointeraction
For macOS Monterey Developer Beta:
sudo /Applications/Install\ macOS\ 12\ Beta.app/Contents/Resources/createinstallmedia --volume /Volumes/MontereyBetaUSB --nointeraction
For macOS Monterey Public Beta:
sudo /Applications/Install\ macOS\ Monterey\ beta.app/Contents/Resources/createinstallmedia --volume /Volumes/MontereyBetaUSB --nointeraction
This process may take a little bit, but the command line updates as progress continues, and eventually it will reach 100% to indicate the USB installer drive has successfully been created.
Now that you have a bootable installer drive for macOS Monterey beta, your an use it to boot any compatible Mac, or to update and install macOS Monterey 12 beta onto a compatible Mac.
How to Boot an Intel Mac with the macOS Monterey Beta USB Install Drive
For Intel Macs, here’s how to boot from a boot disk:
- Connect the USB boot drive to the Intel Mac
- Restart the Mac and immediately hold down the OPTION key on boot
- Choose macOS Monterey 12 Beta installer from the boot menu
How to Boot Apple Silicon / M1 Mac with the MacOS Monterey Beta USB Installer Drive
For ARM / M1 Macs, booting from a boot disk is as follows:
- Attach the USB boot drive to the ARM Mac
- With the USB boot drive attached, turn on the Mac by pressing the power button and continue holding the power button until you see a boot options menu
- Select the macOS Monterey beta boot drive from the options
Running the actual installer is the same regardless of whether the Mac is an ARM M1 or Intel machine.
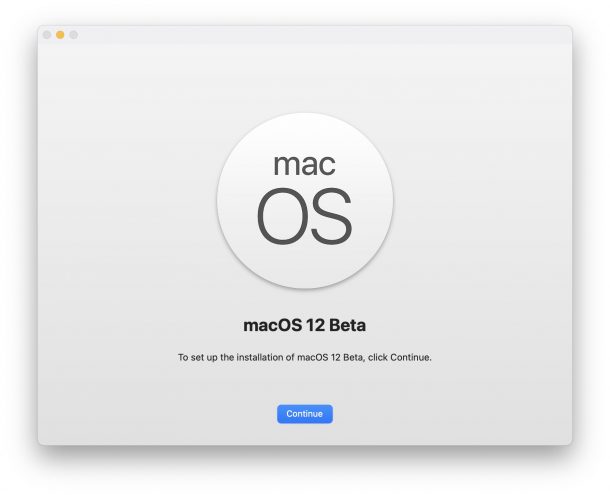
Choosing the ‘Install macOS 12 Beta” option will load directly into the installer where you can choose the destination Mac to install macOS Monterey beta onto.

Did you create a bootable macOS Monterey beta installer drive? Do you prefer boot drives to using the installer from the Applications folder? Share your thoughts, experiences, suggestions, and tips in the comments.


Thank you for the guidance, really appreciate it.
I just wonder if installing monterey from a bootable usb drive will erase everything or is it just upgrading?
Thanks for this good help. Interesting that this wouldn’t work until I downloaded the latest installer, even though the name of the installer I downloaded has the same file name as the installer I downloaded a few days ago when I updated my computer to Monterey. I’m glad this happened because now I know I have the latest version.
One more suggestion. If you are on a PC and plan to create a bootable macos usb install, dmg editor is a pretty nice consideration.