How to Create a New Partition in macOS
Want to create a new partition on a Mac hard disk? Then read on!
As both internal and external storage solutions continue to grow in capacity, the time might come where you want an easy way to split them into multiple partitions. Any partition you create will appear as a different drive on your Mac, both on the Desktop and in Finder. While it’s the same physical device as other partitions on the same drive, macOS and your apps will treat it as a separate one.
Partitioning can be really useful if you need to keep data away from other files. Perhaps it’s your backup data that you don’t want anyone to touch or a place for all of your media to live. Or maybe you want to dual boot multiple operating systems from the same drive. Whatever the reason for creating a new partition, macOS makes it easy thanks to the Disk Utility app. It’s free and comes pre-installed on all Macs. You might not know it, but you already have it.
Creating a new partition might sound daunting, but it’s super easy. You just need to know the app to use – Disk Utility – and which buttons to press.
How to Add a New Disk Partition in MacOS
Make sure any drive you want to partition is connected to your Mac and then follow these steps to create a shiny new partition of your very own.
It’s a good idea to backup your Mac before modifying disk partitions to guard against any unintentional data loss.
- Open the Disk Utility app. It’s in the Utilities folder within your Applications folder on the Mac.
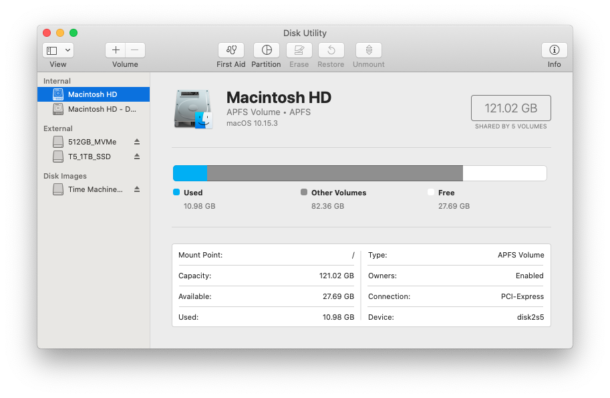
- Both external and internal volumes are available and are listed beneath their respective headings. Click the volume you want to partition.
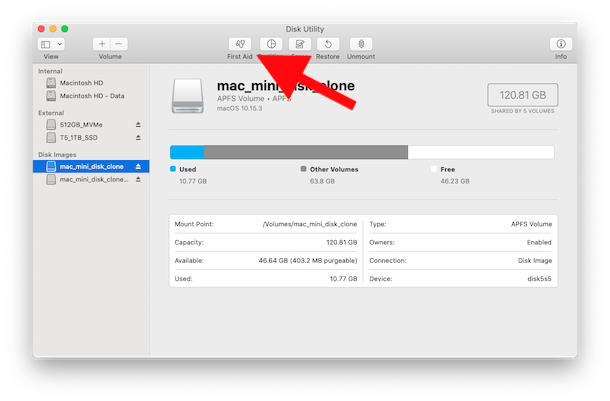
- Click the “Partition” icon and then click “Partition”.

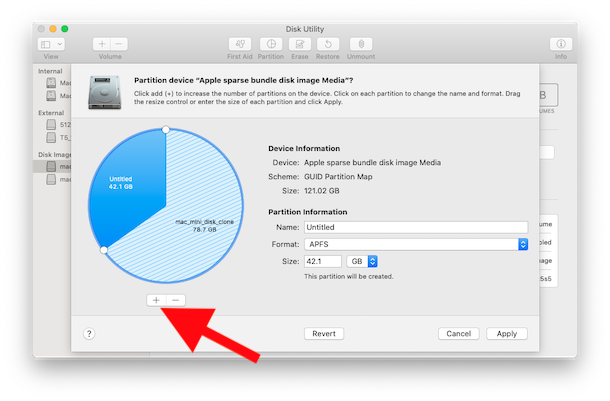
- Click the “+” button. If it’s unavailable, the volume you selected cannot be partitioned – likely because it is protected or full
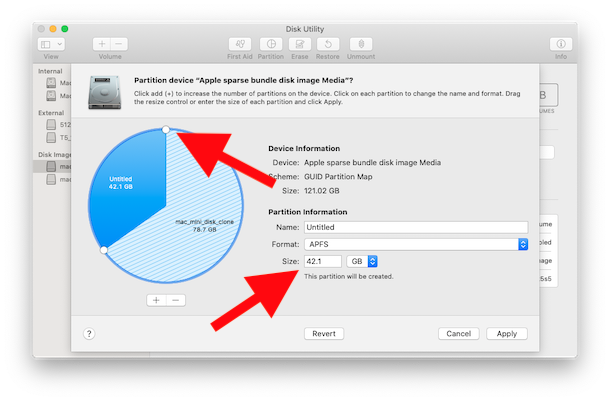
- Enter a name for your new partition. The maximum length for the volume name is 11 characters if you’re creating an MS-DOS (FAT) or ExFAT volume.
- Select a format for your new partition. If you are unsure which to choose, select APFS.
- Enter the size that you want your new partition to be. You can also use the image to the left and resize the partition by dragging it.
- Finally, click “Apply”. The partition will be created. Click “Done” when it is complete.
![]()
Once you have created a new volume it will appear on your Desktop and in Finder.
Open the partition to add or copy files, create files, save data, or anything else you might do with any other physical drive.
Aside from making partitions, the Disk Utility app can be useful for all kinds of things. Whether you’re formatting a drive to be compatible with Mac or Windows (or even for compatibility with both Mac and PC), creating a new partition to install another version of macOS or just want a place to see every disk and volume connected to your Mac, Disk Utility can really come in handy when you need it.
You can also delete a partition if you decide you no longer need it, too. But remember that this will delete all data on that partition. Make sure you have sufficient backups before doing so.
Were you able to create a partition on the Mac with Disk Utility? Do you use another method to achieve the same results? Let us know your experience in the comments.

With newer versions of OS X, consider creating a new volume on the drive, rather than a new partition. Does more or less the same thing, and the use of disk space is more efficient.