How to Block a Senders Email Address on iPhone & iPad
Do you want to block a senders email address so that you don’t see their mails in your inbox anymore? Well, if you use the stock Mail app to access and organize your emails on iPhone or iPad, you’ll be pleased to know that this is a fairly simple and straightforward procedure.
The Mail app that comes pre-installed on all iOS devices is widely preferred by iPhone users to keep themselves updated on their emails, whether it’s for work or personal use. This is primarily due to the fact that you can use multiple accounts from different email service providers with the stock Mail app. If you’re getting spam emails, advertisements and other annoying mails from scammers, you might want to block the sender to make sure emails received from them are automatically moved to the spam folder.
Read on to learn how you can block a sender’s email address on both the iPhone and iPad.
How to Block a Senders Email Address on iPhone & iPad
Before you block a sender within the Mail app, you need to make sure the blocking feature is enabled and then choose what option you’d prefer if you receive an email from a blocked sender. Therefore, simply follow the steps below to set this up and block a sender’s email address within the Mail app.
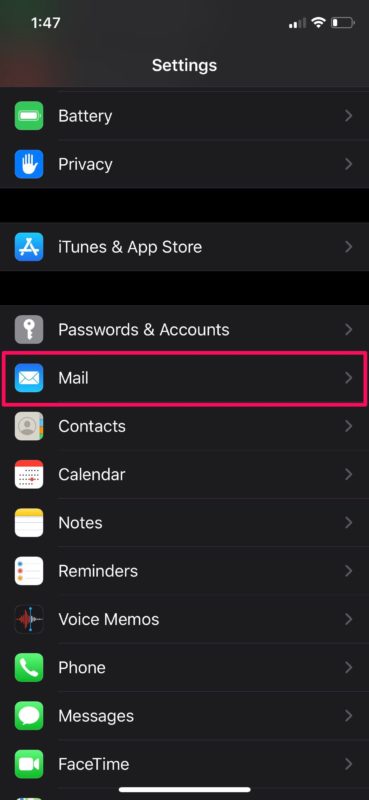
- Open “Settings” from the home screen of your iPhone or iPad. Scroll down and tap on “Mail”.

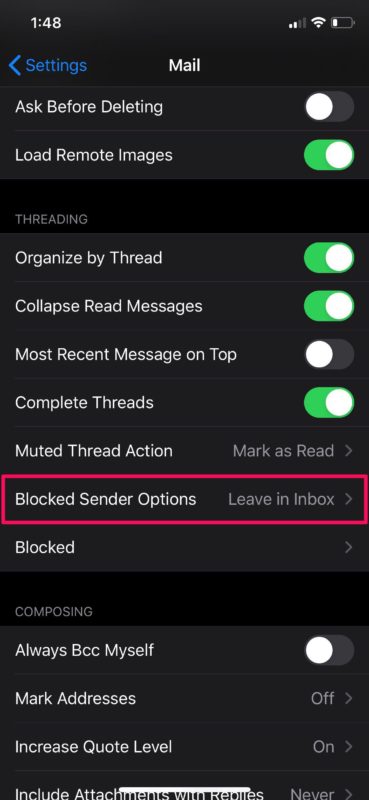
- Now, scroll down and tap “Blocked Sender Options” as shown in the screenshot below.
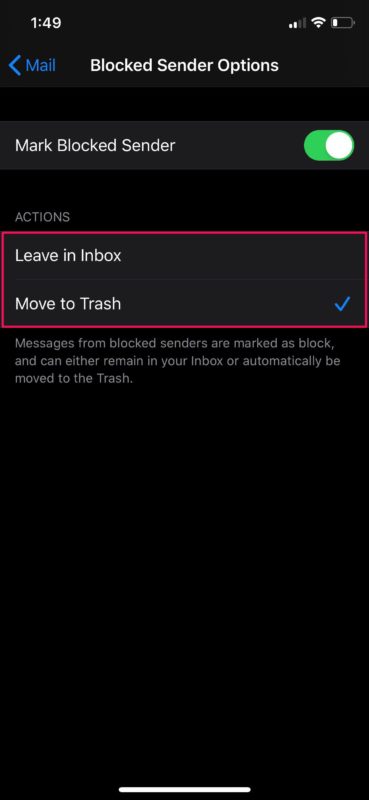
- Here, make sure the toggle for Mark Blocked Sender is enabled. You can either choose to automatically move emails from the blocked sender to the trash folder within Mail or just leave it in your inbox. Since most people would prefer moving these mails to the trash, we’ve chosen “Move to Trash”.
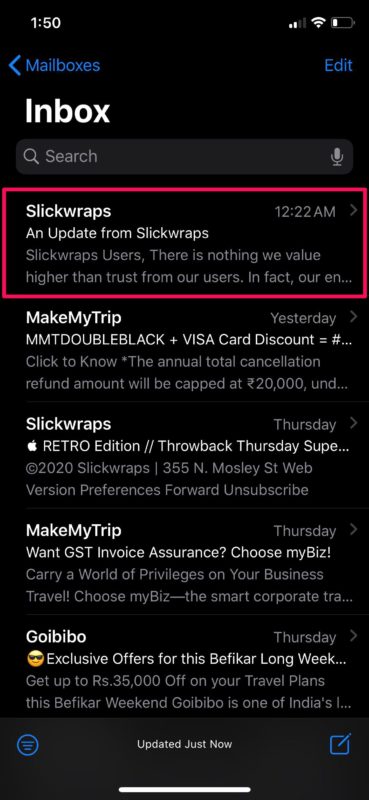
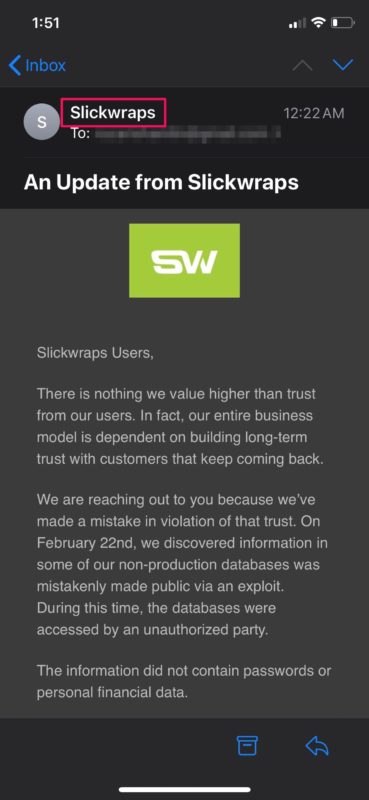
- Now, open the stock Mail app and head over to the Inbox. Select any email that you’ve received from the sender you want to block.
- Here, tap the Sender’s name as shown below. This will expand the details. Once again, tap on the Sender’s name.
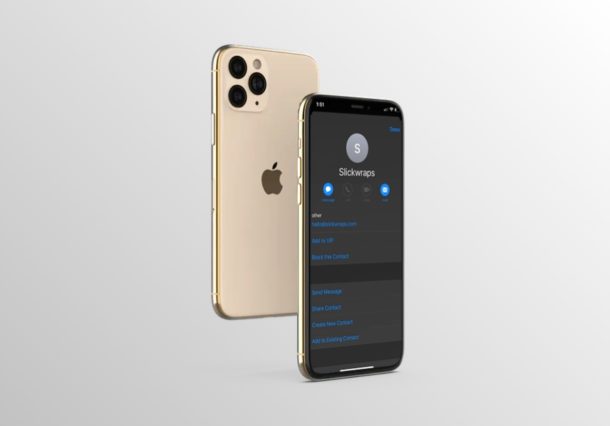
- Now, simply choose “Block this Contact”. You’ll be prompted to confirm your action.

These are pretty much all the steps that you need to follow in order to block a sender’s email address on both the iPhone & iPad.
From now on, whenever you receive e-mails from the blocked sender, they will be automatically moved to the “Trash” folder within the Mail app.
This procedure would come in handy especially when you’re getting spammed with adverts and other unwanted e-mails. Blocking would also prove to be the go-to method if your spam filter isn’t functioning as expected.
If you aren’t too keen on blocking senders, you could simply move the unnecessary emails to the Junk folder within the Mail app and mark emails as spam on iPhone or iPad too. This action essentially marks these emails as spam and any future emails that you receive from the senders of these emails will be automatically moved to the Junk folder.
Not everyone uses the default Mail app that comes out of the box with their iOS devices. if you’re one of those people who stick to the official apps of popular email services like Gmail, Yahoo, Outlook and more, you should still be able to find an option to directly block the sender’s address while viewing their email.
Obviously this pertains to email, but don’t forget that you can also block callers and contacts on iPhone and messages too.
Did you manage to successfully block spammers from sending you unwanted emails? How do you feel about the way Apple’s Mail app manages blocked email contacts? Do let us know your thoughts and opinions in the comments section down below.

I have all the above settings , has Ben for some time, but I still find unwanted email in my in dox from blocked senders, any clue why?
Is there a way to block unwanted email with Mac OS 10.5.5?
There should be a way to synchronize blockings between Mac, iPhone and iPad?
Great advice to block spam emails, but you then need to very regularly check your junk folder or trash, as some good emails get filtered. Even emails to myself from me!
Thanks very much for this timely and informative essay.
Good job!