How to Change Frame Rate of iPhone’s Camera
Do you want to shoot videos at a different frame rate on your iPhone? Perhaps you want to record videos at 24 fps for cinematic visuals rather than smoothness? Or maybe you want to use the smooth 60 fps for a professional video? Changing frame rate of your iPhone or iPad video capture is easy, let’s take a look.
Typically, all iPhones and iPads record videos at the maximum possible resolution and frame rates that their built-in hardware is capable of. Most modern-day iPhones shoot videos at 4k 60 fps out of the box. While these 60 fps videos look really smooth and fluid, they’re not always the first choice for most videographers. Sometimes, recording videos at 30 fps or even 24 fps would be more ideal for vlogging, film-style shooting, and so on. We’ll take a look at how you can change the frame rate of your iPhone or iPad’s camera when recording videos.
How to Change Video Frame Rate of Camera on iPhone & iPad
Switching to a different frame rate for video recording is a lot easier than you think. You can follow these steps regardless of what iPhone or iPad model you have.
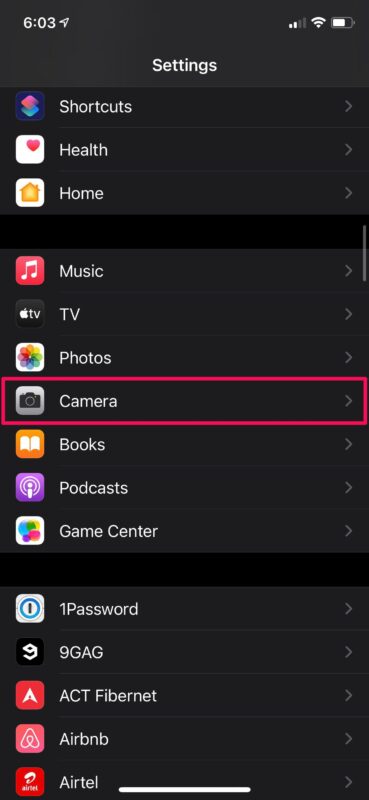
- Head over to “Settings” from the home screen of your iPhone or iPad.

- In the settings menu, scroll down and tap on “Camera” to access your device’s camera settings.

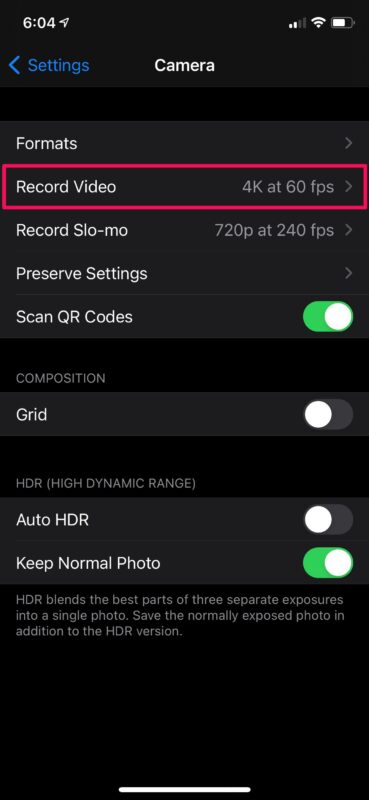
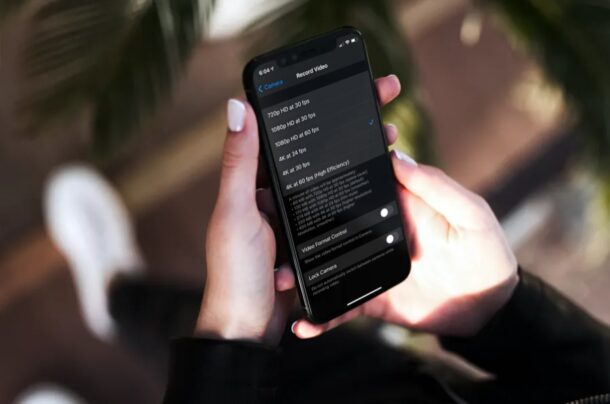
- Here, choose “Record Video” located right below Formats as shown in the screenshot below.

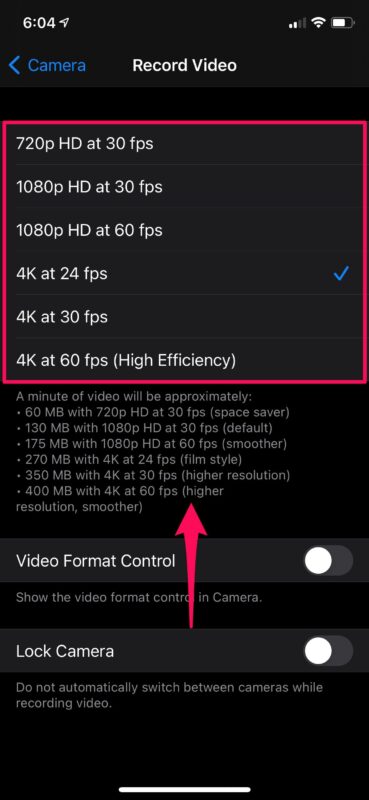
- Now, you’ll be able to select the frame rate as well as the resolution at which you want to shoot videos.

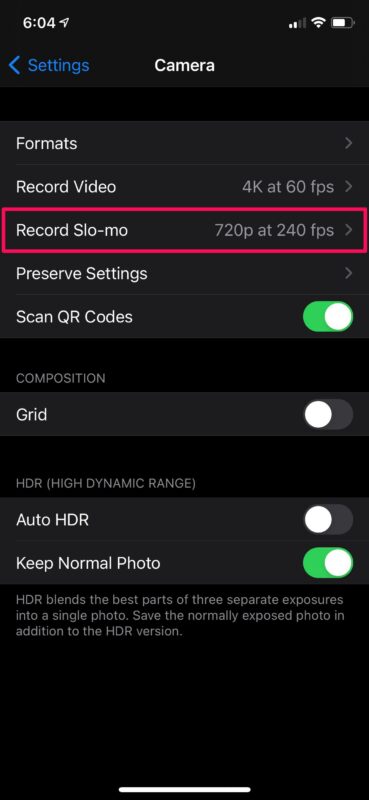
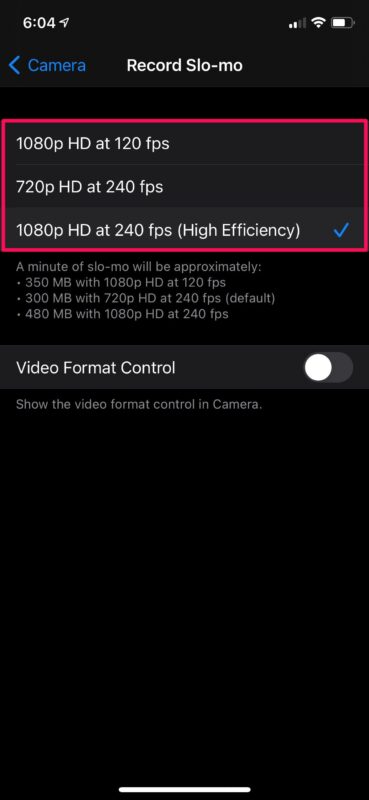
- Likewise, you can also change the frame rate for slow-motion videos. Tap on “Record Slo-mo” to access these settings.

- Select your desired frame-rate and resolution and you’re good to go.

Now you know how simple it is to change the video recording frame rate of your iPhone or iPad’s camera.
From now on, you can shoot videos at just the frame rates you want, based on the content you’re recording. For example, if you’re recording anything fast-paced, you may want that 60 fps frame rate, but when you’re just vlogging or shooting landscapes, switching to 30 fps would be the better option.
You may have noticed that High Efficiency is specified in brackets for certain higher resolution recording options. This basically just indicates that the video will be shot in High Efficiency Video Codec (HEVC) to significantly reduce the file size. This file format offers better compression without any noticeable loss in visual quality.
Quickly Changing Frame Rate on Newer iPhone / iPad Models
If you’re using an iPhone 11 or newer model, you’ll have the option to change the video resolution or frame rate within the Camera app itself which is much easier.
This is available as an option in the upper right corner of ‘video’ mode when using the video camera on iPhone or iPad. Simply tap “HD – 30” to switch between HD and 4K or 30 FPS and 60 FPS.
On older iPhones, you’ll still be able to see what frame rate and resolution you’re recording at, but you cannot adjust it through the camera app. This feature was introduced with the iOS 13.2 update, so devices that are lingering on older system software won’t have that capability.
We hope you were able to learn how you can record videos on your iPhone at your desired frame rates. Does your iPhone allow you to adjust the frame rate within the camera app? How often do you switch between various frame rates? Do share your valuable opinions and experiences in the comments section down below.

