How to Add Funds to Apple ID on Mac
Want to add some funds to an Apple ID right from your Mac? It’s possible, and it serves as a nice way for anyone who wants to set a budget to manage their account balance.
With this approach, you can make transactions on iTunes and App Store without having your credit card or PayPal account always linked to your Apple ID. Instead, you can use your Apple ID balance for purchasing apps and subscribing to Apple services such as iCloud and Apple Music.
A valid payment method is necessary to make purchases from Apple, but this allows for some more options. For example, you can transfer some money to your Apple ID balance and remove the linked credit card or PayPal account if you have security concerns. That situation could be useful if you want to let your kids download paid apps or subscribe to services without giving them endless access to your credit card. By adding funds to their accounts, you’re also limiting how much money they can spend on the App Store.
Let’s take a look at how you can add funds to an Apple ID, from a Mac. You may already be familiar with this process on an iPhone or iPad, so let’s familiarize now with the computer side of things.
How to Add Funds to Apple ID on Mac
To add funds to your own Apple ID, you’ll need to temporarily add a valid payment method like your credit card or PayPal account. Once you’ve done that, simply follow the steps below to get started.
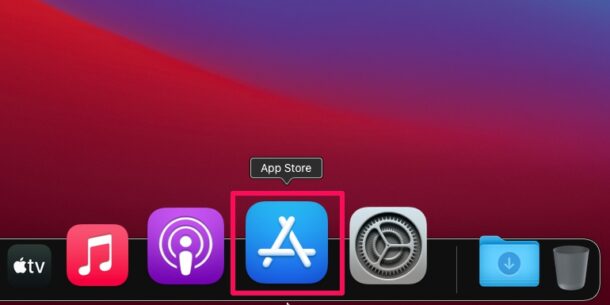
- Launch the App Store on your Mac from the Dock.

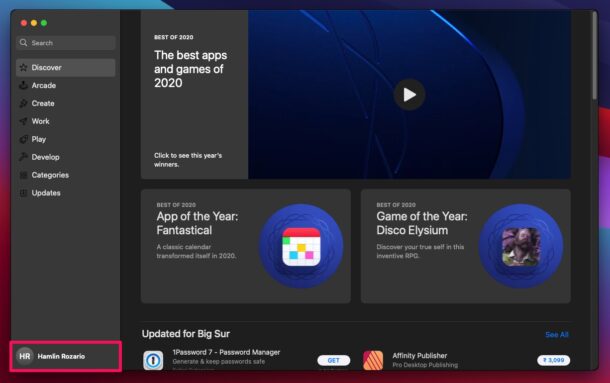
- This will take you to the Discover section of the App Store. Here, click on your Apple ID name located at the bottom of the left pane.
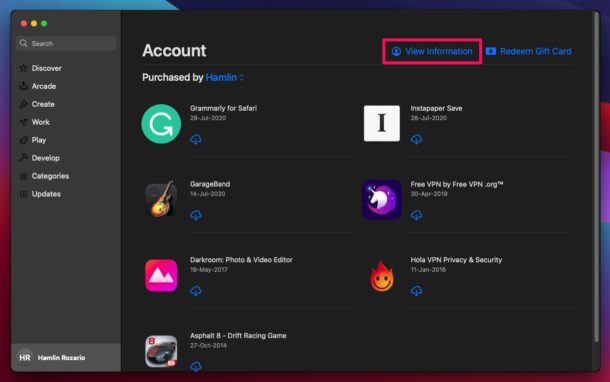
- Next, click on “View Information” located at the top next to the Redeem Gift Card option as shown in the screenshot below.
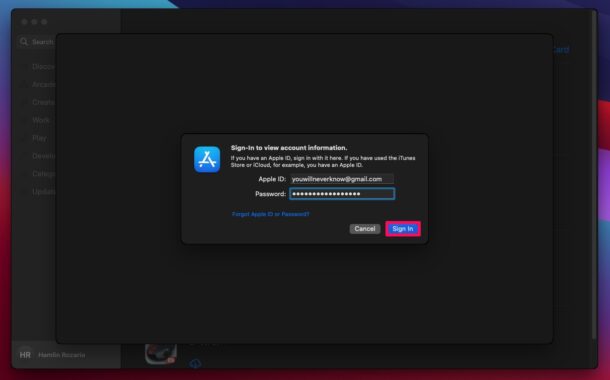
- Enter your Apple ID login details when you’re prompted to sign in.
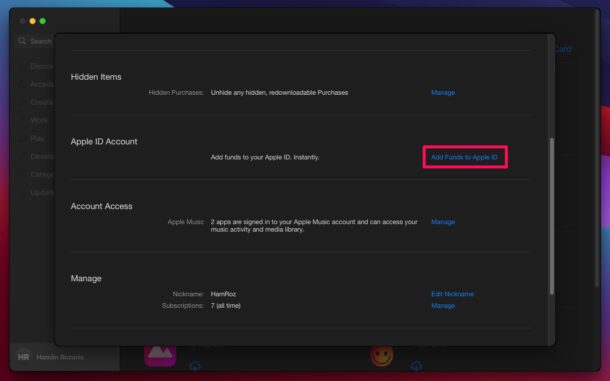
- Now, scroll down to the Apple ID Account section located below Hidden Items. Click on “Add Funds to Apple ID” to continue.
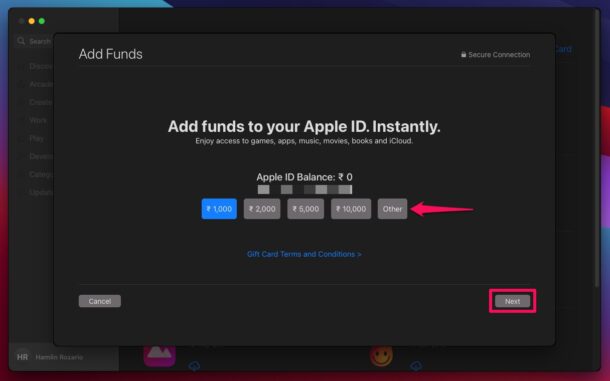
- Here, select the amount you want to add as Apple ID Balance. You can input a custom value by clicking on “Other”. Once you’ve made the selection, click on “Next”.
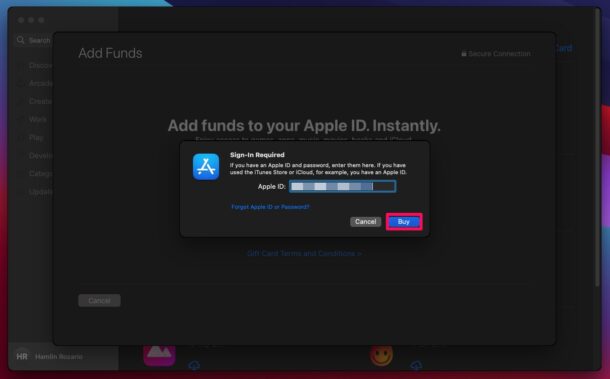
- Now, you’ll be prompted to confirm your purchase. You’ll be prompted to sign in to your Apple account or use Touch ID to authenticate the purchase.
There you go. You’ve successfully added funds to your Apple account.
Now that you’ve added some money to your Apple ID balance, you can remove your linked payment method from the Apple account and still continue making purchases from the App Store and subscribe to services until you run out of balance.
This is just one way to add funds to an Apple account. If you don’t want to link a payment method to your Apple account at all, you can add funds to your Apple ID by sending a gift card by email from another account. This Apple Gift Card can then be redeemed on the App Store for Apple ID balance. You could ask your friends or family to do this for you and you could pay them in cash. This method can be put to good use for transferring funds to your kid’s Apple account right from your device.
If you use an iPhone or iPad, you may also be interested in learning how to add funds to your Apple ID on your iOS/iPadOS device. Are you setting up a new Apple account for one of your kids? In that case, you can create an Apple ID without even adding a credit card by simply trying to download a free app from the App Store, which then allows access to free downloads, and then by using the funds adding methods we’ve covered, lets you set a balance for those accounts.
Were you able to add funds to your Apple account using your Mac without any issues? What’s your take on using Apple ID balance for downloading paid apps and paying for subscriptions? Have you tried purchasing gift cards from the App Store? Let us know your valuable opinions and share your experiences in the comments section down below.

I welcome an Apple ID automatically linked to a PayPal account which hopefully doesn’t require continual logging in to the Paypal account for verification. I’m always nervous that Paypal is going to lock me out of my account because my own attempts to log in are supposedly suspicious. It causes me more harm than good when they lock me out of my own account. It’s highly unlikely a hacker has hacked my password; far more likely is it is me trying to get into my account either from another device or location. And as you may imagine, I really need to get access to my funds when I try to log in to my own financial apps.
I can’t use the other option it’s not working for me can you please help?