Convert Images on Mac Quickly from Finder

MacOS offers a super simple and fast way to convert images, directly from the Finder on the Mac. Thanks to the handy Quick Actions feature, Mac users are able to convert any images from anywhere in the Finder, with just a few clicks.
This is a powerful and useful feature that is often overlooked, so let’s check out how this image conversion feature works, so you can quickly convert images while using the Mac.
How to Convert Images on Mac the Fast Way with Quick Actions
Ready to convert images on a Mac with the Finder? Here’s how it works:
- From Finder, locate the image you want to convert
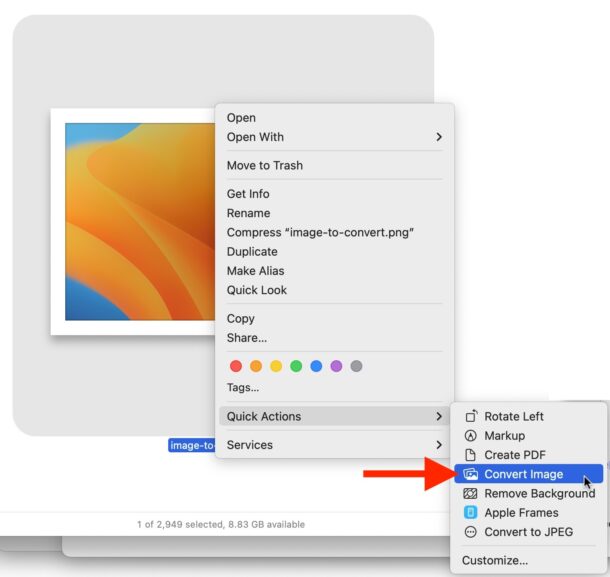
- Right-click, control-click, or two-finger click on the image you wish to convert, and go to “Quick Actions” and then select “Convert Image” from the menu
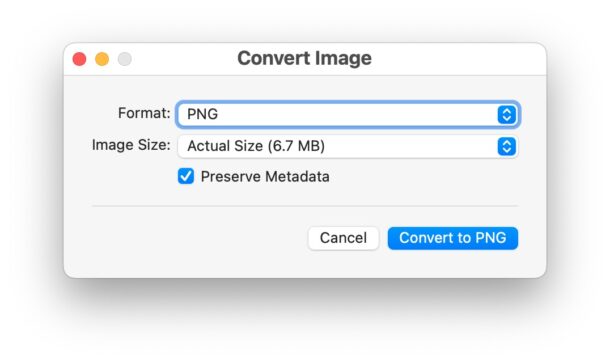
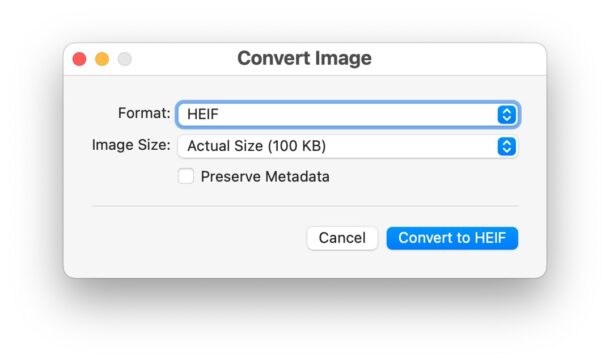
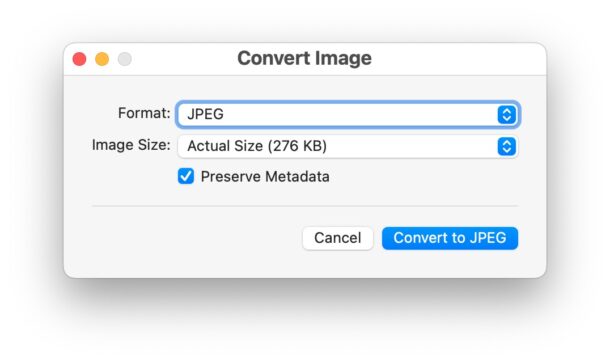
- Select the file format type you wish to convert the image to; JPEG, PNG, HEIF, and select the image size (choose ‘Actual Size’ if you do not want to resize the image), and choose whether or not you wish to preserve metadata, then click on the “Convert” button


The image will convert almost instantly and appear in the same folder with the same file name as the origin image. For example, if you had a photo named “SampleImage.jpg” and chose to convert that to PNG using the Quick Action image conversion trick covered here, the converted image would become “SampleImage.png”.
This Quick Action image conversion tool is super fast and powerful, but you may have noticed that it is limited to JPG, PNG, and HEIF/HEIC formats. If you wish to convert to additional image file formats, you’ll want to use Preview to convert the images and access additional file format types to convert the image to.

And by the way, if you simply just want to convert to JPG, one of the most common image file types encountered on the web, you can do that directly with the Convert to JPG quick action as well, which we discussed here regarding webp images, but it applies to other image formats too.
This is just one of a variety of Mac Quick Actions features and capabilities that are available by default, but you can go even further and create your own custom Quick Actions too if you’re into tinkering your workflow at that level.
Do you use the image conversion Quick Action in the Mac Finder? Do you use another method for converting images on the Mac? Let us know in the comments.


When the HEIC format first turned up I created 2 Workflows using Automator, one saved to batch convert HEIF to JPG, the other to batch convert JPG to HEIF. I could have done the same for PNG or TIFF formats, if needed. I simply highlight multiple files and drop them on the relevant Workflow to convert all in seconds.
The same link from Colm
https://support.apple.com/en-ca/guide/preview/prvw1012/11.0/ [webpage supposedly covers High Sierra all the way up to Ventura] seems to have a distinct difference for older macOS versions:
“In the Preview app on your Mac, open the file, then ***choose File > Export.***
Click the Format pop-up menu, then choose a file type.
If you don’t see the file type you want, hold down the Option key as you click the Format pop-up menu to see specialized or older formats. […]”
If anyone out there can double-check and test this on their versions of macOS, maybe this might help in still getting the job done.
Where can I find a tutorial on the uses, pros, and cons of various image file types?
My go-to method for converting to png is to take a screenshot. Also, some websites prevent the saving of images so screenshots are the only choice for those.
Thanks.
So how would I use this to change a JPEG or HEIF to ONE OF the following formats: ORF, PEF, SRF, DNG, NEF, or CRW?
This assumes you are using Ventura… not possible via Catalina
Here you go for OS Catalina https://support.apple.com/en-ca/guide/preview/prvw1012/11.0/mac/10.15
I am running macOS Monterey and Convert Image is in my contextual menu
– Right-click image(s) in Finder
– From “Quick Actions” submenu, choose “Convert Image”
What version of Mac OS is this for. Does not appear in Big Sur 11.7.4
The “convert image” feature isn’t available in Mojave, so it must be in newer MacOS versions only.