How to Make a Calendar Public on iPhone & iPad
You may be familiar with calendar sharing on your iPhone and iPad. However, if you’re looking to share a calendar with more than just a few people, there’s a better way to do it. It turns out that you can use the Public Calendar feature to make a calendar accessible to a large group of users from your iOS/iPadOS device.
The stock Calendar app on the iPhone and iPad allows you to share calendars with other contacts, making it easy to organize meetings with your colleagues, collaborate on events, and keep up with your schedule in general. Apart from the basic sharing feature, the Calendar app also gives users the option to make a particular calendar public. This doesn’t immediately make the calendar viewable to everyone. Instead, you get a link to the calendar that can be shared with anyone who wants access.
How to Make a Public Calendar from iPhone & iPad
The following steps are applicable to all recent versions of iOS and iPadOS:
- First, launch the stock Calendar app on your iPhone or iPad.

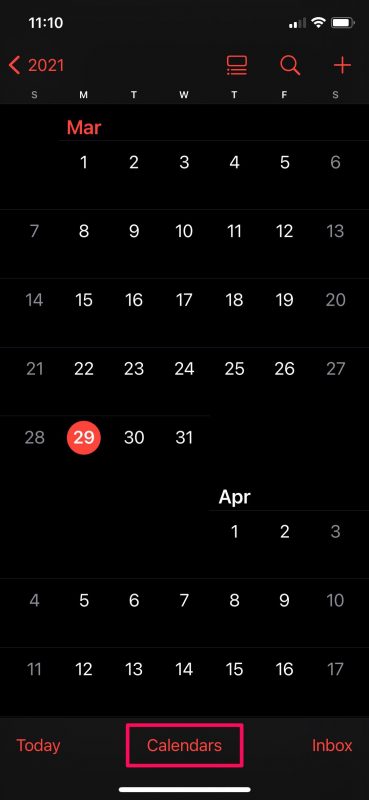
- Upon opening the app, you’ll obviously see your calendar. Tap on the “Calendars” option from the bottom menu as shown below.
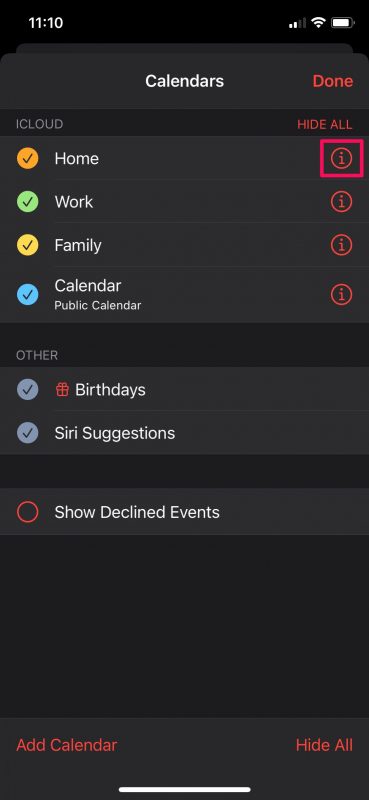
- This will list out all the calendars that are stored on iCloud. Tap on the “i” icon next to the calendar that you want to make public.
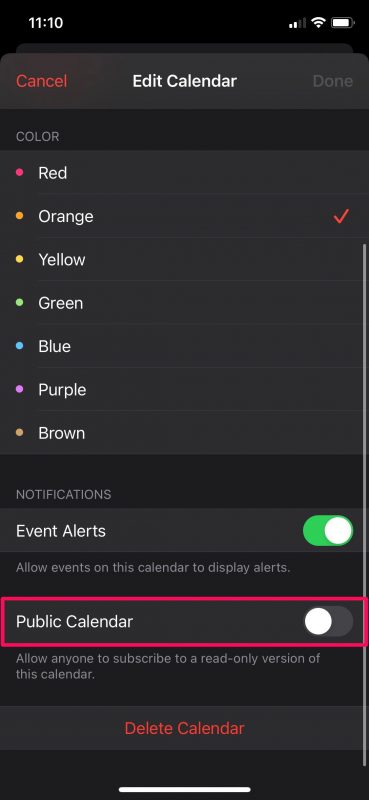
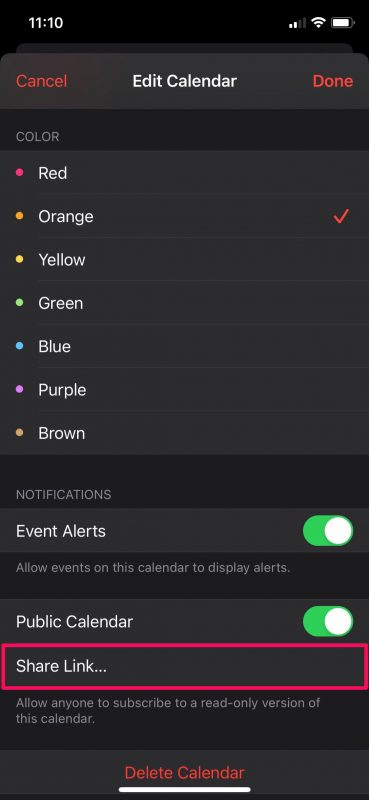
- You’ll be taken to the Edit Calendar menu where you’ll be able to make all the necessary changes. Scroll down to the very bottom of this menu to find the Public Calendar option. Use the toggle to enable this feature.
- Once enabled, you’ll have the option to share the link to your public calendar. Tap on “Share Link” to bring up the iOS share sheet.
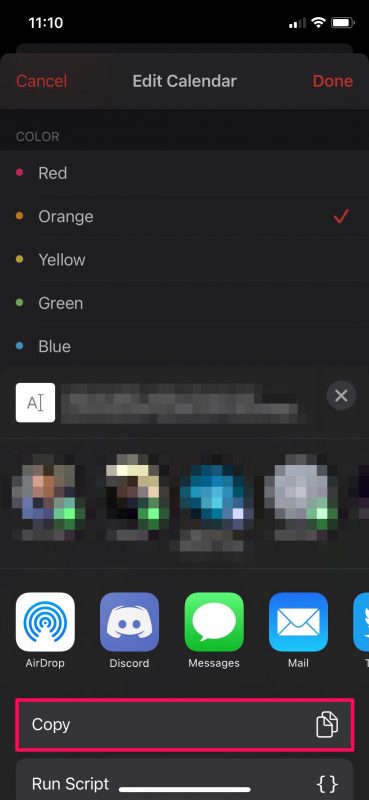
- You’ll see the link at the top of the share sheet. You can just copy this link and paste it somewhere else or you can share it with your contacts.
That’s pretty much all there is to it.
Once you make the calendar public, it will be indicated as a Public Calendar when you view your calendar list within the app. If you ever decide to change your mind, you can head back to the Edit Calendar section and use the toggle to make the calendar private again.
Note that the people who have access to your public calendar will not be able to make any changes to your calendar or the events stored in it. They basically just have access to the read-only version of your calendar. If you want the other users to make any changes, you’ll need to keep it private and add them to your calendar individually using the built-in sharing feature.
Likewise, if you use a Mac, you can use the native Calendar app on macOS to turn any calendar in your list into a public calendar too. If you’re interested in learning more about it, let us know and we’ll make sure to cover it pretty soon.
What’s your take on this optional feature? How often do you use it to share your calendars? Should Apple add editing as an option for public calendars as well? Do let us know your personal opinions and feel free to leave your valuable feedback in the comments section down below.
