How to Share iPhone & iPad Screen with TeamViewer
TeamViewer is a popular software that offers a free and convenient way to share your iOS device’s screen to someone who’s willing to offer you technical assistance from a remote location.
People primarily use TeamViewer on Mac & Windows PCs as a remote control software to access desktops in a different location and provide technical support. Although you can’t remotely control an iPhone or iPad using TeamViewer on a computer, the screen sharing feature should be good enough for any sort of guidance in most cases. This wouldn’t be possible without the built-in screen recording feature that Apple introduced alongside the release of iOS 11.
If you’re trying to use TeamViewer on your iOS device for remote assistance, you’ve come to the right place. In this article, we’ll walk you through the necessary steps for sharing your iPhone or iPad screen with TeamViewer.
How to Share iPhone & iPad Screen with TeamViewer
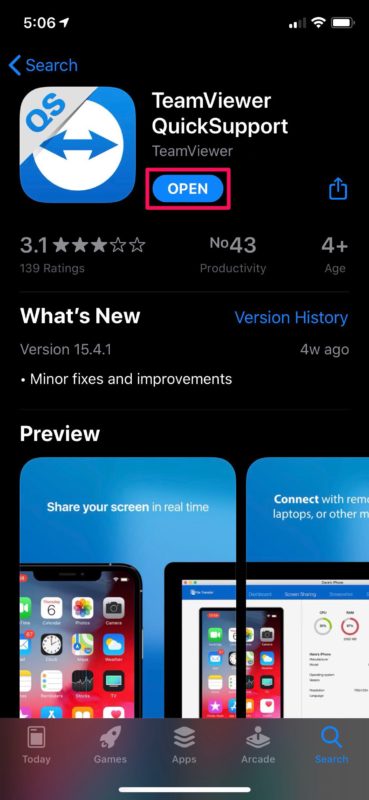
We’ll be using the TeamViewer QuickSupport app to share your device’s screen. It’s free to download from the App Store. Once you’ve installed it, simply follow the steps below to get started.
- Open “TeamViewer QuickSupport” on your iPhone or iPad.

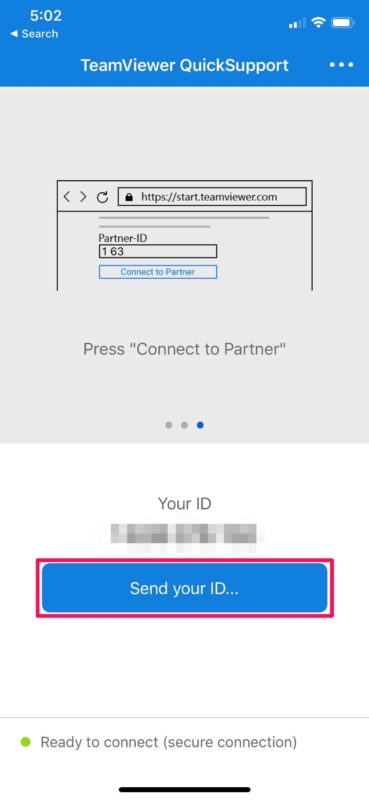
- You’ll notice your TeamViewer ID as soon as you open the app. This can be shared with your partner who’s trying to view your device. You can also tap on “Send your ID” to open the iOS Share Sheet and copy/paste the link wherever you want to.
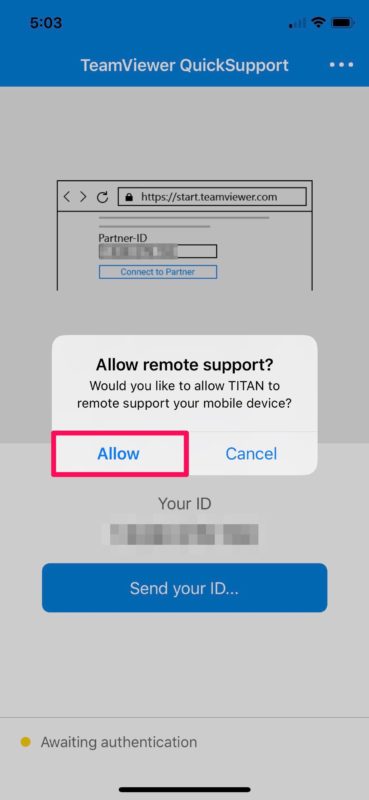
- Now, tell your partner to head over to start.teamviewer.com on their computer, type in the ID you just shared and click “Connect to Partner”. This will open a prompt on your device’s screen. Tap “Allow” to give remote support to TeamViewer.
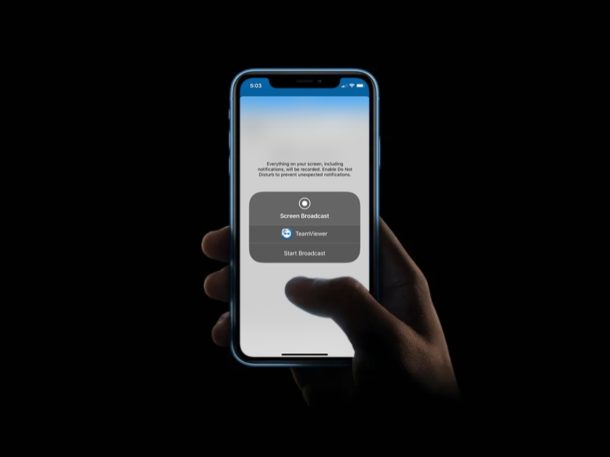
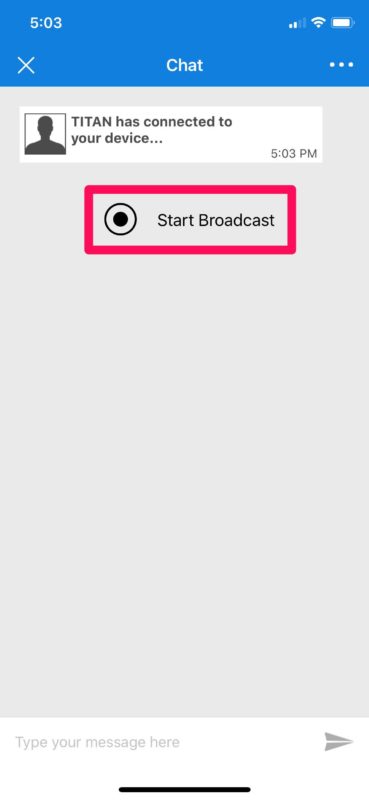
- This will establish the remote connection with the computer. Now, tap on “Start Broadcast”.
- Once again, tap on “Start Broadcast” the begin the screen sharing session.
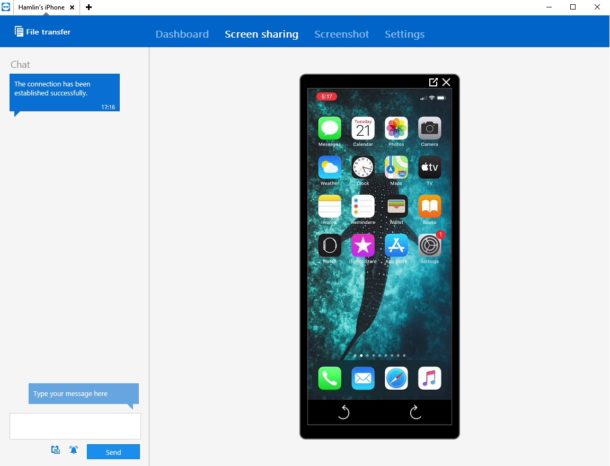
- The content that’s displayed on the computer will look something like this. You can chat while you’re screen sharing to provide instructions.
- In order to stop sharing your screen, tap on the red screen recording indicator located at the top-left corner of the screen and choose “Stop”.
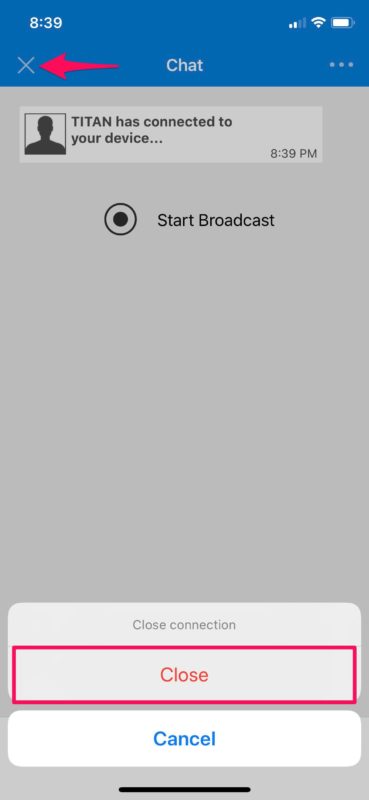
- When you’re done with the remote session, tap on the “X” icon located at the top-left in order to close the connection.


There you go. Now you’ve learned how to share your iPhone and iPad screen to a PC or Mac using TeamViewer.
Before iOS 11 came out, users had to resort to jailbreaking to get a similar functionality on their devices. Thanks to the built-in screen sharing feature, TeamViewer users can now remotely access your iPhone or iPad with ease.
Similarly, you can also use the regular TeamViewer app to remotely control your Windows PC or Mac with just your iOS device within a matter of seconds. It’s free for personal use too, so you don’t have to spend any money.
Support personnel and tech gurus can take advantage of this nifty feature to assist people and resolve the issues they’re facing with their devices. If you’re not quite content with TeamViewer, you can try out similar software like AnyDesk which lets you screen share at a frame rate of 60 fps. You can also use video calling apps like Skype, Zoom and Hangouts for effortless screen sharing.
We hope you managed to share your iPhone and iPad screen using TeamViewer for remote assistance. Have you tried out any other software for the same purpose? If so, how does it stack up to TeamViewer? Do let us know your thoughts and opinions in the comments section down below.

The instructions show the Chat screen when the request to connect is made. This does not come up automatically. Should the user switch to the Chat screen? Otherwise starting broadcast is a royal pain.
It doesn’t work. The iPad stop after few minutes as it is not possible for iOS to keep Teamviewer running in the background, and it goes to the background as soon as you leave the Teamviewer screen…
Same here … I can’t get TeamViewer to work to share my iPad screen.
I followed all the steps and was able to connect once I started the broadcasting, but once screen sharing a message came up at the top saying that the broadcast would stop in 1 minute, but that I could continue to screen share. However, when the minute was up the screen sharing stopped, as well. I keep repeating these steps with the same outcome. What’s going on??