Fix iPhone Proximity Sensor Problems
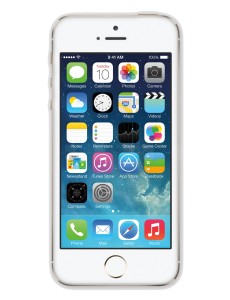
Some users who have upgraded to iPhone OS 4.0 (iOS 4) have noted that the proximity sensor behaves differently, sometimes it’s just less sensitive, a bit slow or lagged, and other times it’s just not as responsive. In the worst case scenario, the iPhone is up to your ear and the device doesn’t detect that it is close, so your ear or face will actually tap on buttons on the screen and either mute the call or even hang it up! This is obviously a software problem and an official fix is expected soon, but for the time being we have a few options that help to remedy the situation.
Here are two solutions to fix the iPhone proximity sensor problems that have been reported:
Reset your Network Settings:
* Tap on the Settings icon
* Tap General then tap on Reset
* Tap on “Reset Network Settings”
Try making a few phone calls and holding the iPhone up to your ear, if the proximity sensor is still behaving strangely, try the following:
Reset All Settings on the iPhone:
* Tap on Settings
* Tap General
* Tap Reset
* Tap “Reset All Settings”
After both you should restart your iPhone. These are the solutions offered at the moment, as mentioned before there is expected to be a software update to resolve the proximity sensors sensitivity so that it will detect when it is near your ear.
The iPhone 4 has been a huge hit for Apple, sales are through the roof as they struggle to maintain iPhone 4 availability with the huge demand for the device. That’s not to say their haven’t been some hiccups with the launch, users have reported some issues with the reception as well as the aforementioned proximity sensor issue. These problems will be sorted out soon with a fix from Apple.
Of course it’s good to have a sense of humor about things, so if you want a good laugh check out some iPhone 4 humor

 You can easily turn OS X’s wonderful Spotlight search engine into only an application launcher for Mac apps by adjusting the Spotlight search settings that are found within System Preferences.


 Oh the rumor that never dies: iPhone is coming to Verizon. This has been speculated for years, but now the partnership of Apple and Verizon seems nearly certain, at least according to a report by Bloomberg. Citing two anonymous sources,