pbcopy & pbpaste: Manipulating the Clipboard from the Command Line
Copy and Paste are absolute necessities for virtually all computer users, and if you find yourself working in the command line frequently, you’ll want to know how to manipulate the clipboard of Mac OS X directly from the terminal prompt. That’s what the Mac commands pbcopy and pbpaste are for, and as you may have guessed the two commmands do exactly what they sound like, pbcopy is to copy, and pbpaste is to paste through the command line. They’re actually quite powerful and you’ll be sure to find them useful the next time you’re hanging out with your bash, tcsh, zsh, or whatever is your preferred shell prompt.
We will cover a quick explanation on how to use pbcopy and pbpaste to manipulate clipboard data, with some examples indicating how to redirect the output of terminal commands as input into the clipboard, and of course, how to expel the contents of the clipboard into the command line with pbpaste.
Using pbcopy & pbpaste from Command Line on Mac
pbcopy: takes standard input and places it in the clipboard buffer
pbcopy is simple enough to use, basically direct something into it, and it’ll copy it into the clipboard buffer. This can then be accessed either through pbpaste, or the standard Finder’s paste command (command-v). Here’s how to use it:
$ pbcopy < file.txt
That's it, now the contents of file.txt will be in your clipboard, ready to paste where ever. But pbcopy is much more powerful than that, and you can direct the output of commands and programs to be copied as well. Here's an example with the command 'ps':
$ ps aux | pbcopy
This pipes the results of the ps command into the clipboard, once again it can be pasted anywhere. If you want to filter your results a bit, you can throw do that too. An example using the grep command is:
$ ps aux | grep root | pbcopy
This pipes the results of the 'ps aux' command, but filters specifically for 'root', and copies only those results into the clipboard. Cool huh?
pbpaste: takes data from the clipboard buffer and writes it to the standard output
pbpaste is equally simple to use, it will retrieve whatever you have placed in the clipboard buffer and spit it out. In it's most simple form, simply type:
$ pbpaste
This will print whatever data you copied from the pbcopy command or the Finder's copy command (command-c). You can easily route this output into a file via the command line to access later if you want though, with this simple command:
$ pbpaste > pastetest.txt
Filtering what is pasted is very useful though, and the command structure is much like what we saw earlier with pbcopy. We'll filter for 'rcp' but of course you can filter for anything you want
$ pbpaste | grep rcp
What you'll see pasted is only what matches your search for 'rcp' inside the data in the clipboard.
![]() There's much more use to be had with pbcopy and pbpaste, but that should give you a general idea of how to use it and perhaps give you some ideas to implement them in your own productivity. The screenshot simply demonstrates that you can copy and paste from the command line into a Finder app (in this case, TextEdit) without losing any formatting.
There's much more use to be had with pbcopy and pbpaste, but that should give you a general idea of how to use it and perhaps give you some ideas to implement them in your own productivity. The screenshot simply demonstrates that you can copy and paste from the command line into a Finder app (in this case, TextEdit) without losing any formatting.
And yes you can do use the pbcopy and pbpaste commands at the terminal and then interact with them again from the GUI of MacOS by using the standard Mac copy and paste keyboard shortcuts of Command+C and Command+V. It goes the other direction too, a copy from the GUI can be pasted with pbpaste at the command line.
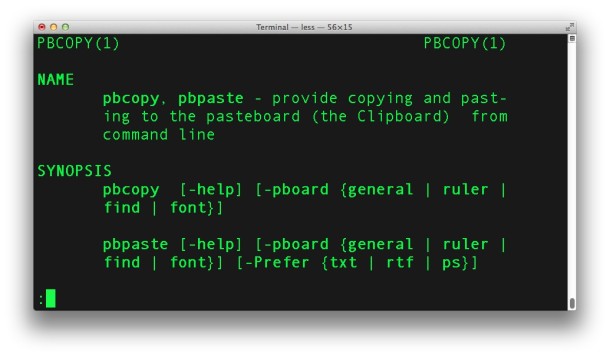
Users who are interested in learning more powerful uses of pbcopy and pbpaste to modify the pasteboard of Mac OS X through the command line are encouraged to review the commands man pages, which are basically interchangeable and cover both sides of the command. Accessing that is easily achieved through 'man pbcopy' or 'man pbpaste' where you will see some more details of the command usage, as well as other options for how to use the commands, adjust encoding, strip or maintain rich text details, and so much more.

Thank you for the post .
What does the pb stand for in pbpaste?
Thank you.
PB stands for “paste board”… this is what the clipboard was originally called in the NeXt system that macOS was derived from.
Copy an URL from a website to the clipboard. E.g.: the URL of an podcast ( == audiofile).
Then …
curl -LO `pbpaste`
The command downloads the file into the current working directory.
Doesn’t work here…
I found this solution but I’m sure there’s something more efficient:
link=$(pbpaste); curl -LO $link
Depending on the environment, pbcopy and pbpaste might replace non-ASCII characters with question marks. It can be avoided by setting the __CF_USER_TEXT_ENCODING variable: `__CF_USER_TEXT_ENCODING=$UID:0x8000100:0x8000100 pbpaste`. See http://hints.macworld.com/article.php?story=20081231012753422.
[…] text, or a command string that you want to securely transfer from one Mac to another? Combining the command line clipboard tools pbcopy and pbpaste with SSH we can do exactly that, and it doesn’t matter where the other Mac is located:LAN, […]
[…] covered pbcopy & pbpaste a while ago, they’re just command line interfaces for the Mac OS X clipboard but combined […]
wau, I love osx … but this is new and helpfull
[…] puesto que el programa que extrae los EXIF tambien funciona en Mac, y se puede usar el comando pbcopy para copiar el resultado al portapapeles, pero no lo he probado porque no tengo un Mac … si […]